That fancy camera gathering dust in your closet? You don't need it. The phone in your pocket is already a video powerhouse that most filmmakers from a decade ago would have killed for.
As an iPhone user, you're carrying a professional-grade camera and editing studio everywhere you go. No film school required—just a few smart tweaks to your settings, a decent microphone, and some basic lighting knowledge.
This guide cuts through the complexity with straightforward steps to edit videos on your iPhone—the essential tricks that make the difference between 'obviously shot on a phone' and 'wait, how did you make that?'
Can you edit videos on iPhone?
You can edit videos on an iPhone using the built-in Photos app or iMovie, both of which offer essential editing tools.
In the Photos app, you can trim your video, adjust color and brightness, and apply filters. However, it doesn’t support merging multiple clips or adding text overlays—you’ll need iMovie for those tasks. iMovie allows you to trim clips, add titles, background music, sound effects, voiceovers, filters, and seamless transitions.
iMovie works across Mac and iOS devices and supports 4K video. However, its editing tools may not be sufficient for professional creators who require advanced features.
Read more: How to use Apple Continuity Camera for professional videos
Popular video editing apps for iPhone
When editing videos on an iPhone, you're not limited to the built-in iMovie. Here are some popular third-party apps that offer advanced features:
CapCut: Known for its AI-powered effects, motion tracking, and seamless integration with TikTok, CapCut is ideal for social media creators.
Adobe Premiere Rush: Offers a user-friendly interface with a stock media library, making it suitable for quick edits and professional projects.
Videoleap: Stands out with AI tools for image generation, filters, and recoloring, providing a fun and creative editing experience.
How to edit videos on iPhone—complete guide
With some footage, creativity, and your iPhone, you can easily edit and produce high-quality clips. Below is a tutorial on how to edit videos on iPhone using the Photos app and iMovie.
1. Open the Photos app
|
2. Find and select your video
Tap the Videos album and select your video.
|
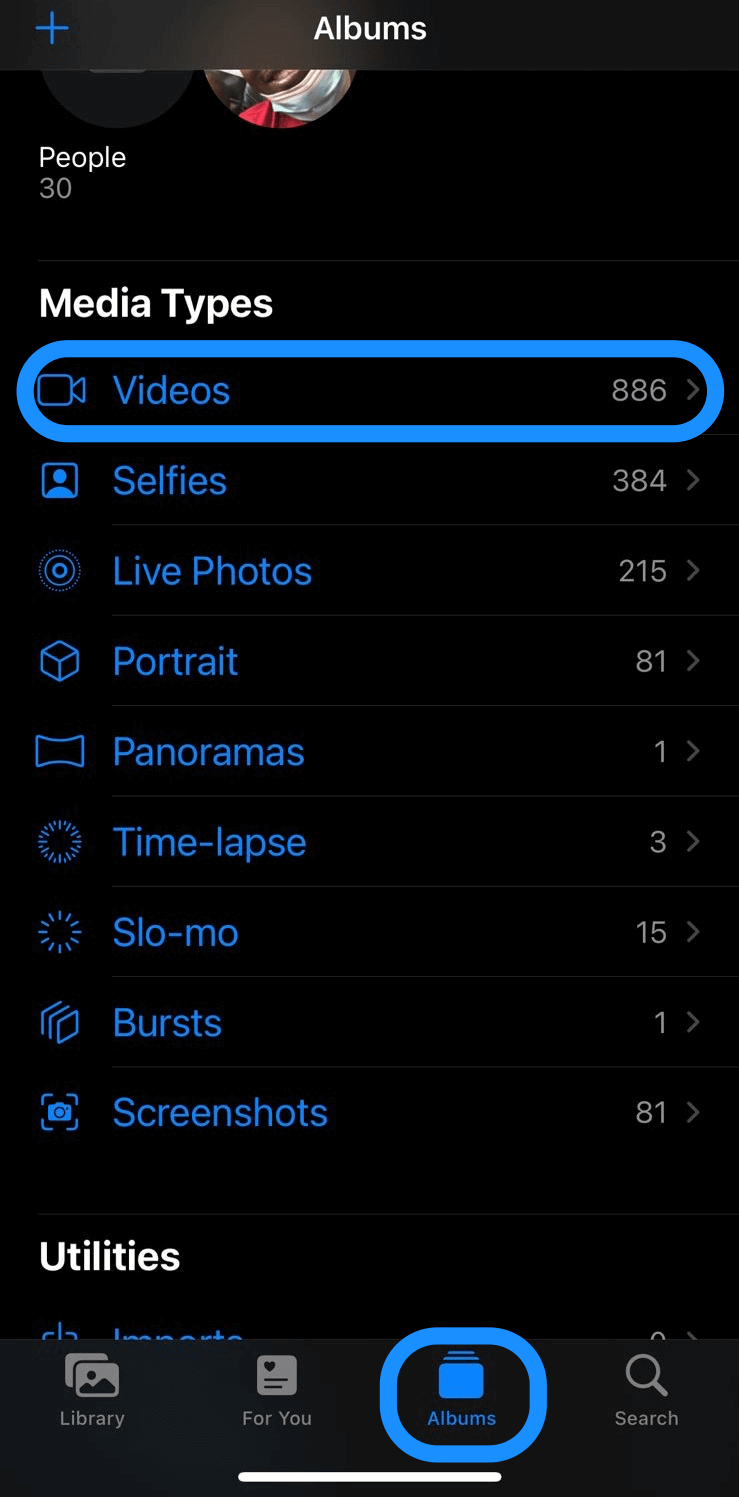
This step may vary depending on your iOS version. For example, in newer iOS versions, the Videos album is easily accessible, while earlier versions may require navigating through Albums > Media Types > Videos.
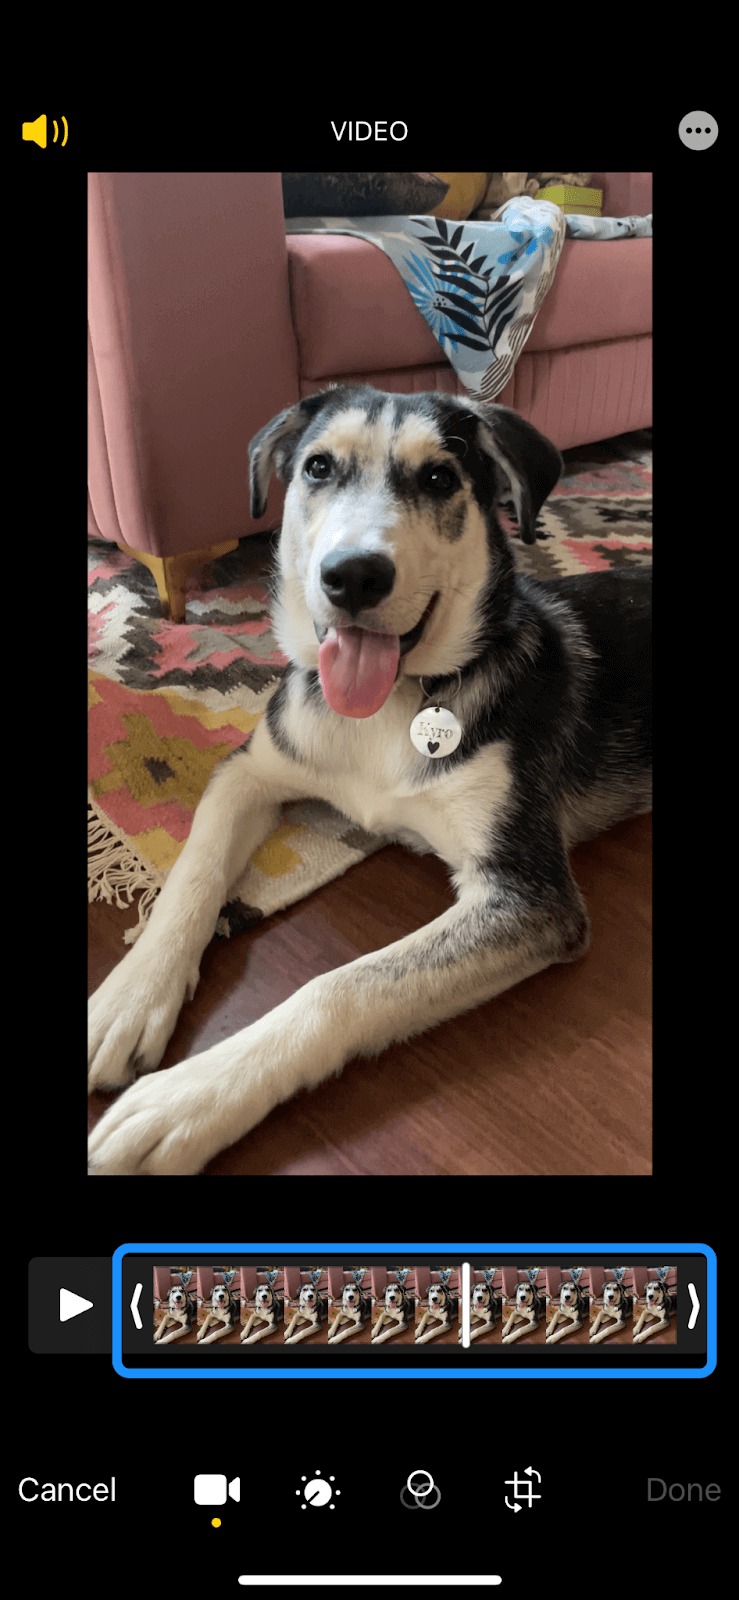
3. Tap 'Edit' to begin
|
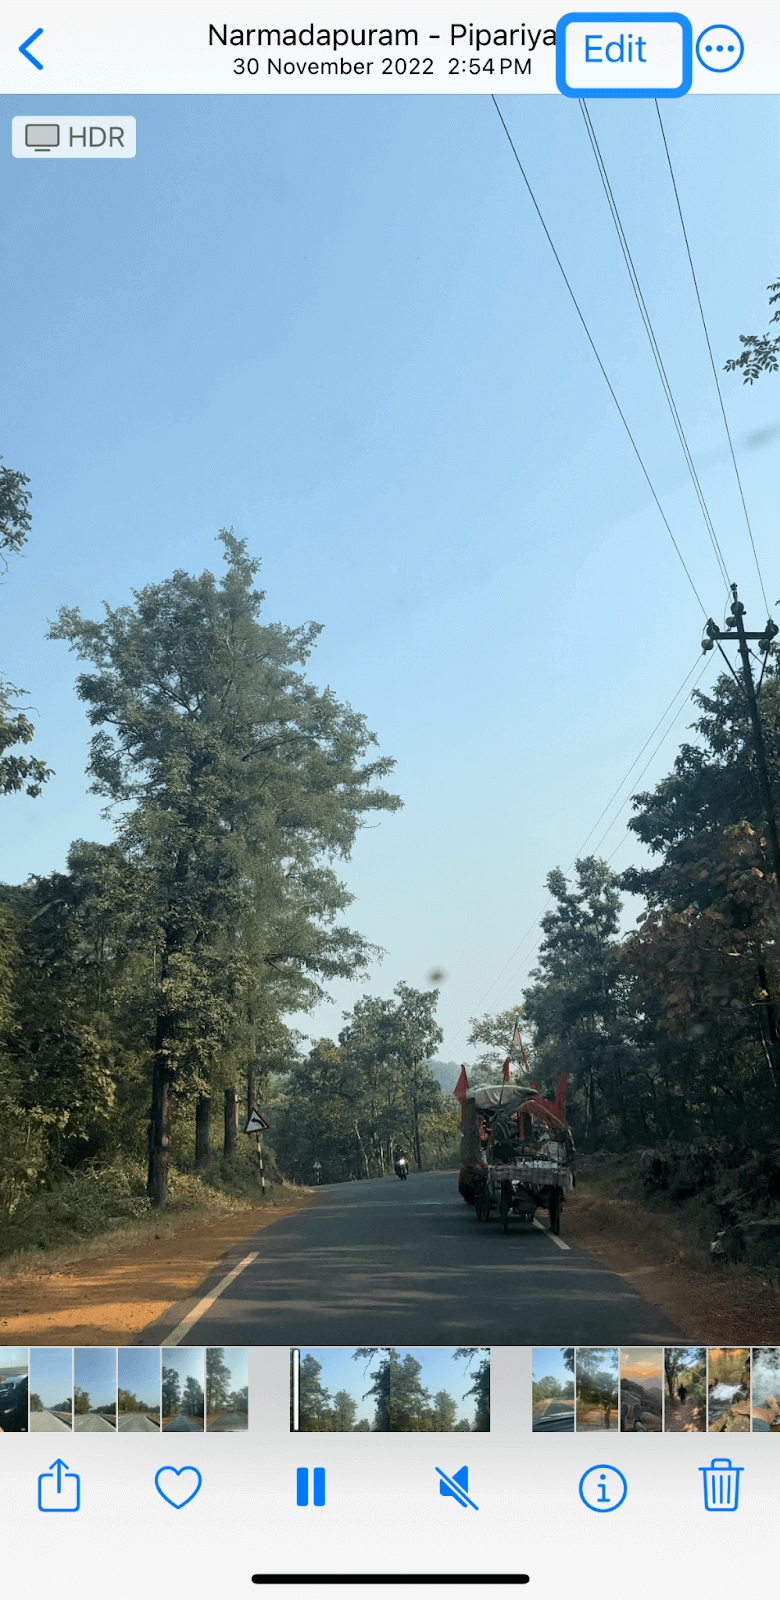
Note: If you just recorded a video using the Camera app, tap the box in the lower-left corner, then tap Edit in the top corner to start editing immediately.
A timeline bar will appear at the bottom of the screen showing each frame of your video.
|
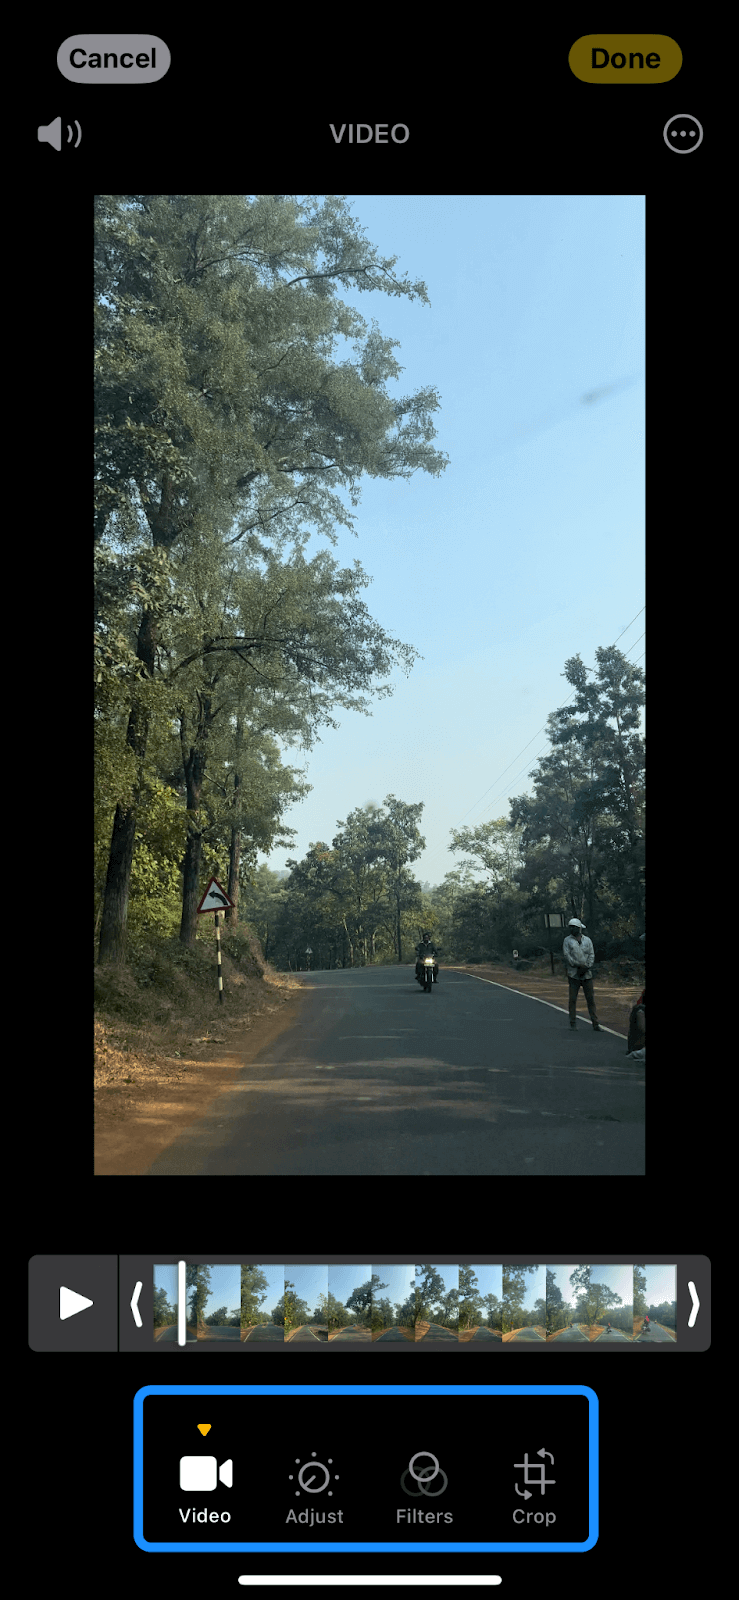
Below the timeline bar, you'll find a set of four editing options:
Edit: This camera-like icon brings up the video timeline.
Adjustment: Select this tool (shaped like a dial) to tweak your video's exposure, brilliance, shadows, highlights, contrast, warmth, saturation, vibrancy, tint, sharpness, and other attributes.
Filter: Tap the filter icon (shaped like three rings) to apply different color filters, such as original, vivid, dramatic, mono, and silvertone to your video. Use each filter's slider bar to increase or decrease its intensity.
Crop: Crop your video by dragging the guidelines until you get the portion you want.
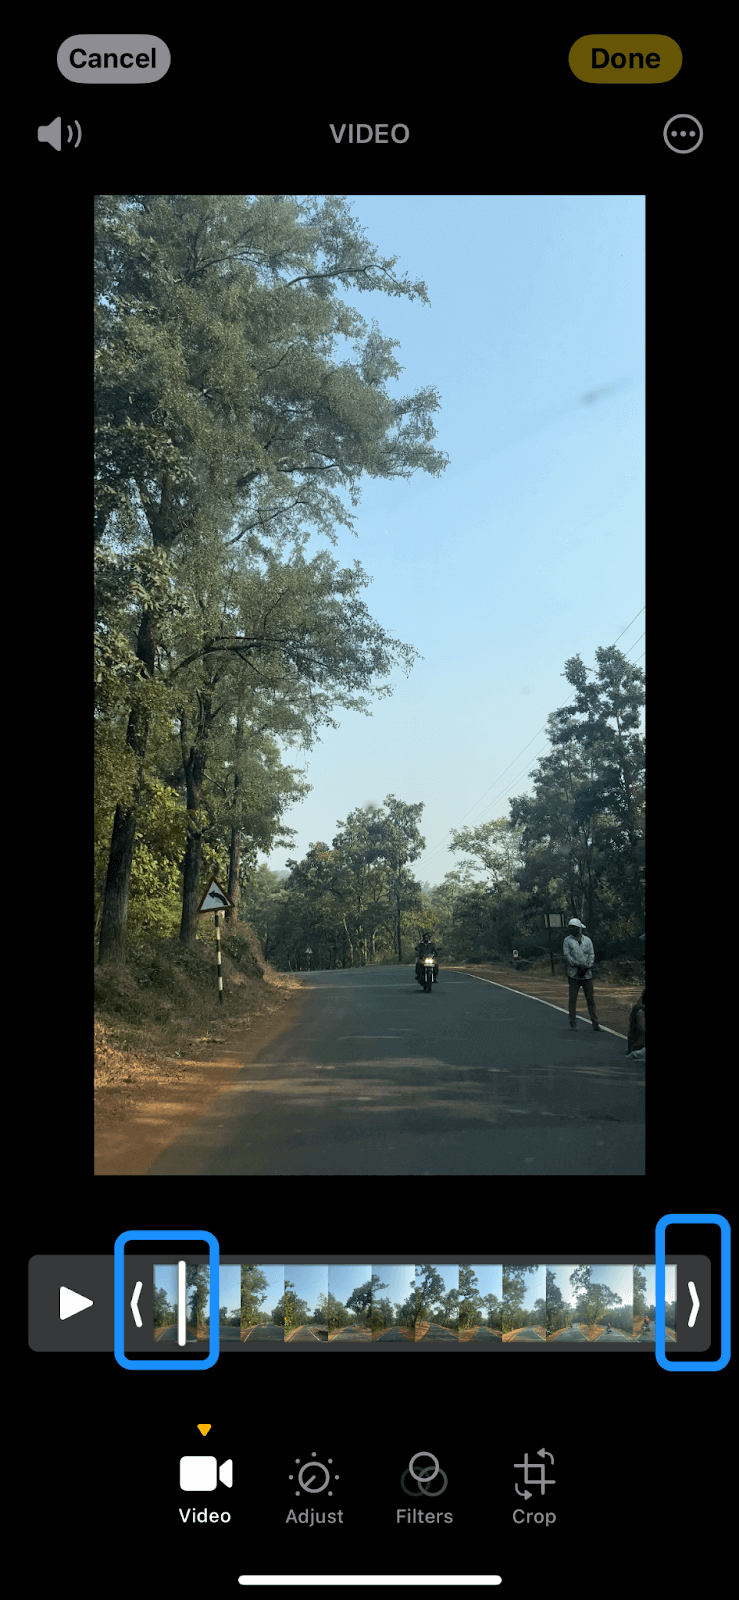
4. Adjust video settings and effects
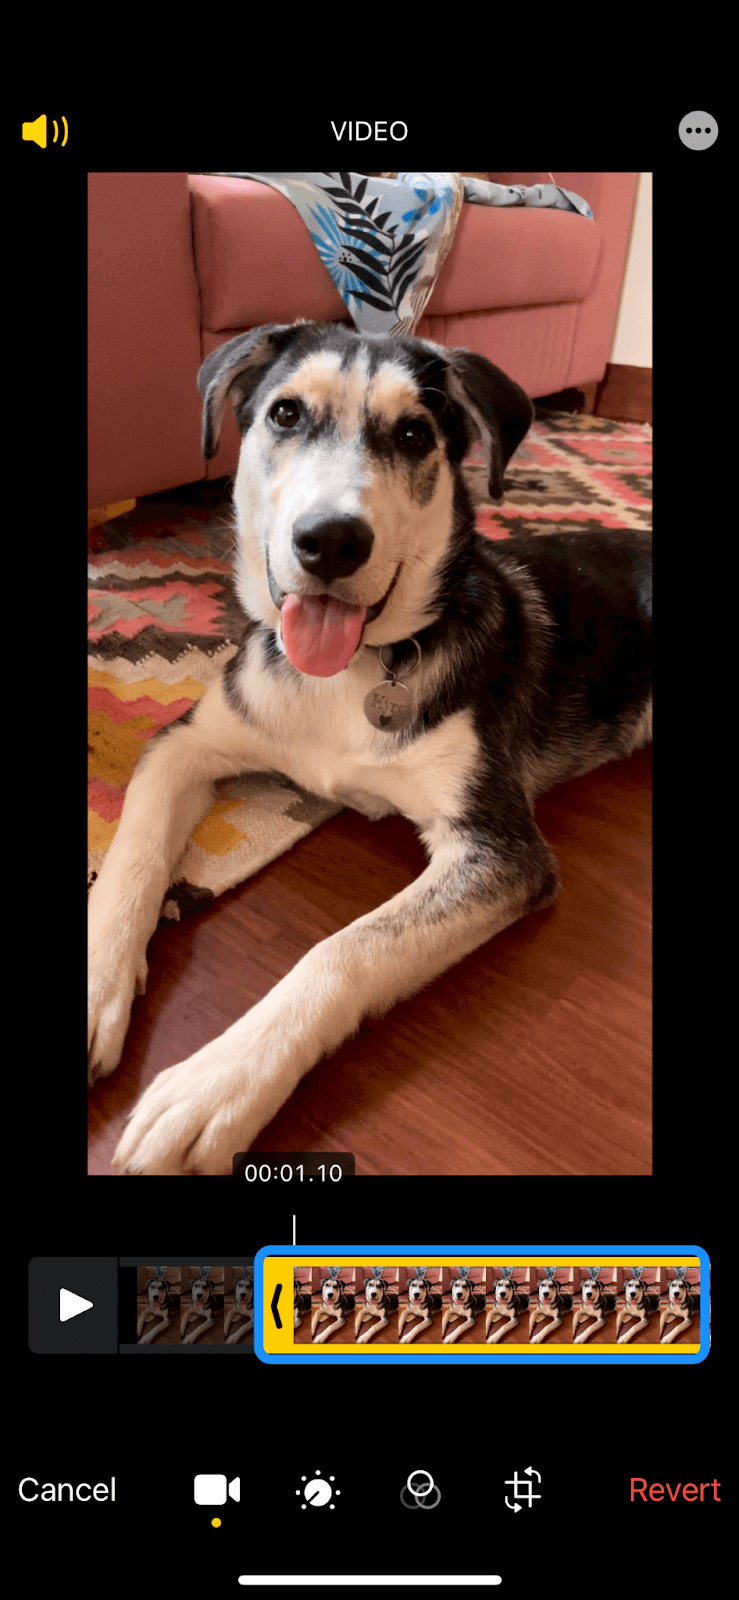
Tap and hold either end of the timeline to activate the trimming tool (indicated by a yellow border).
Move the sliders to adjust the start and stop times, trimming out unwanted portions. For precise editing, tap and hold an anchor to expand the timeline.
|
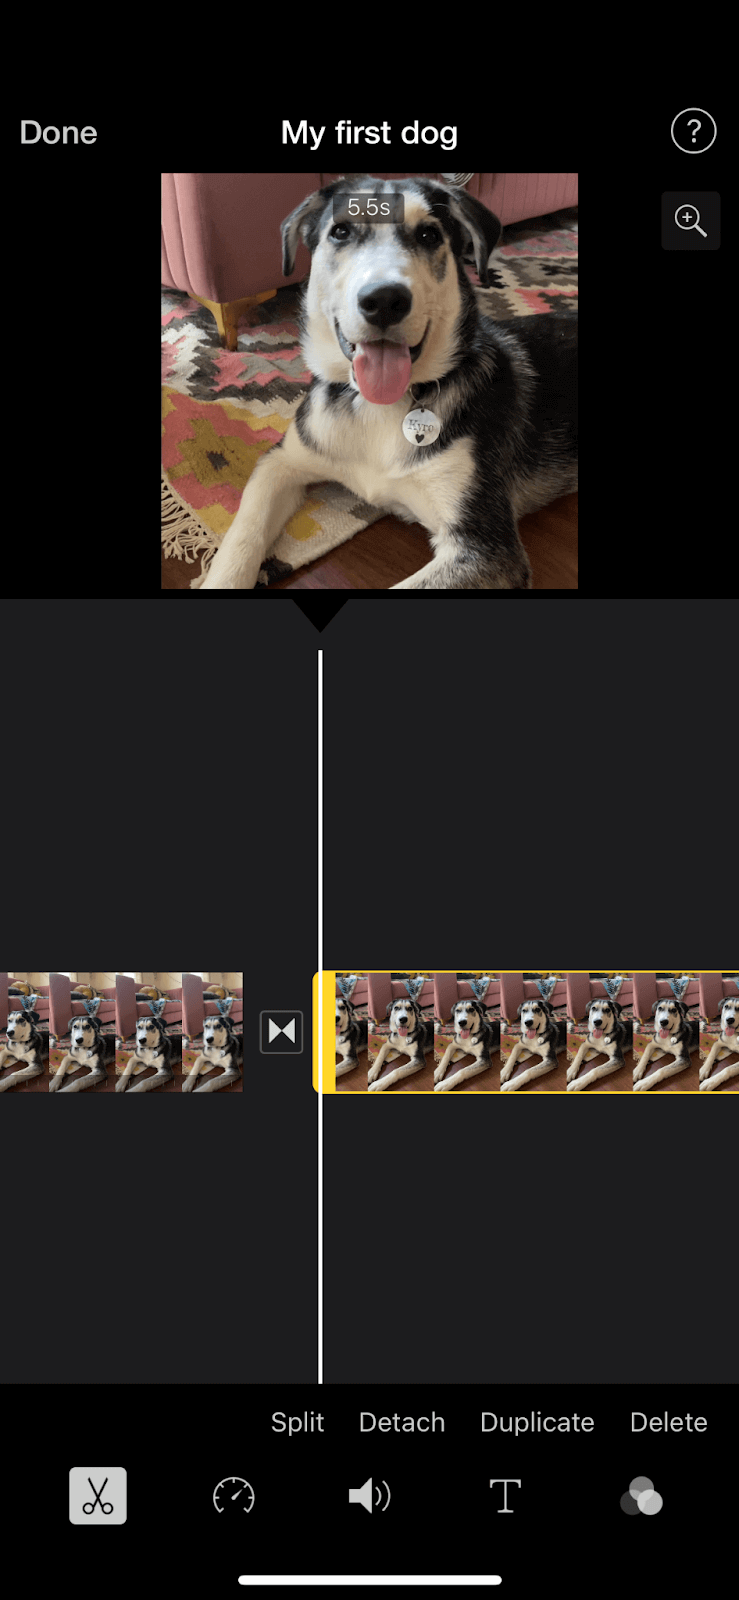
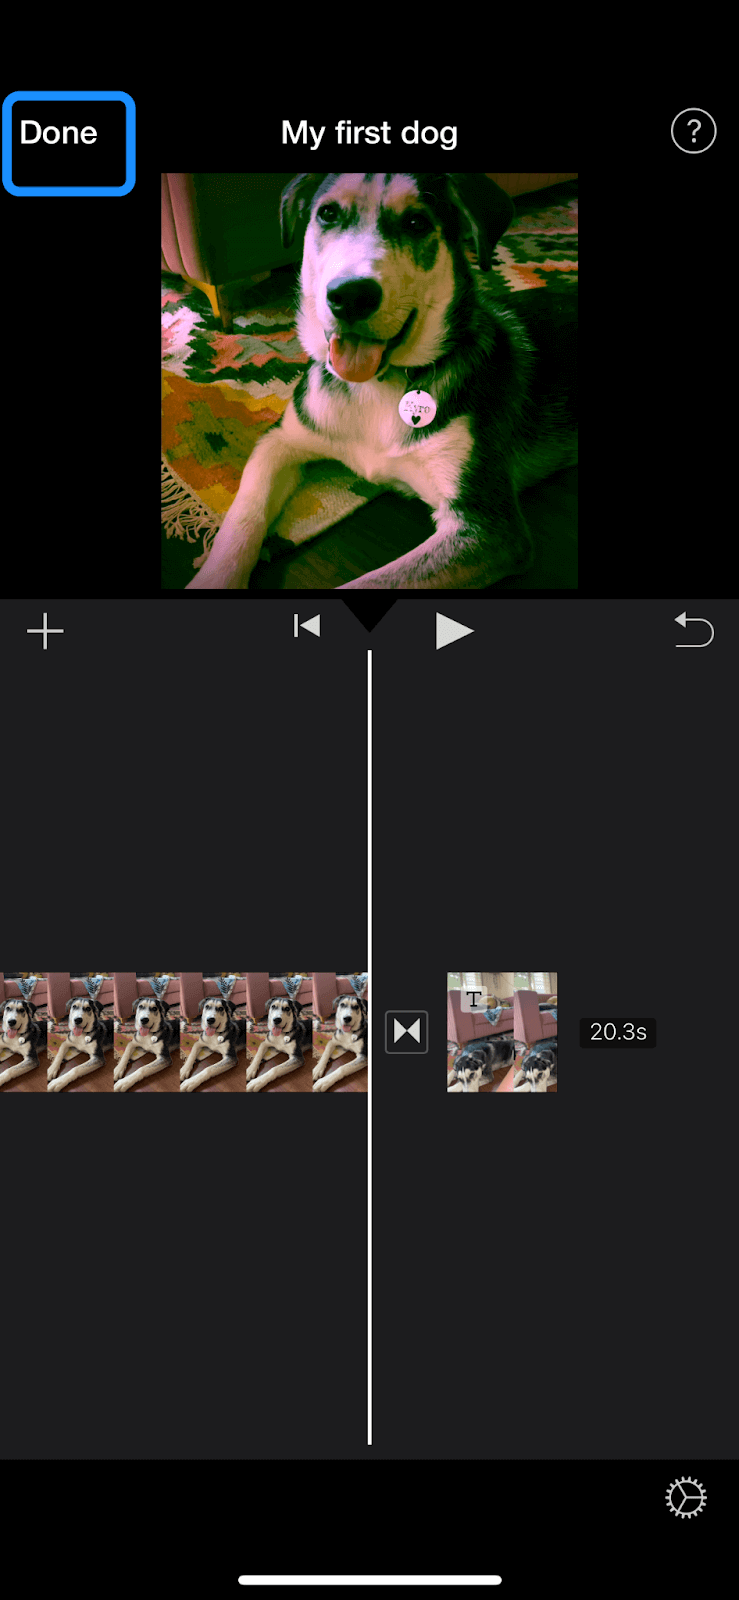
5. Add text, captions, or visual elements
Adding captions or subtitles makes your video accessible to hearing-impaired viewers and those watching without sound, ensuring they don’t miss key moments.
You can add text, titles, or captions using the Photos app, but it requires logging into iCloud.com, making the process cumbersome.
A more convenient option is iMovie (how to add subtitles in iMovie), which offers various tools to add and edit text directly within the app. Here's how:
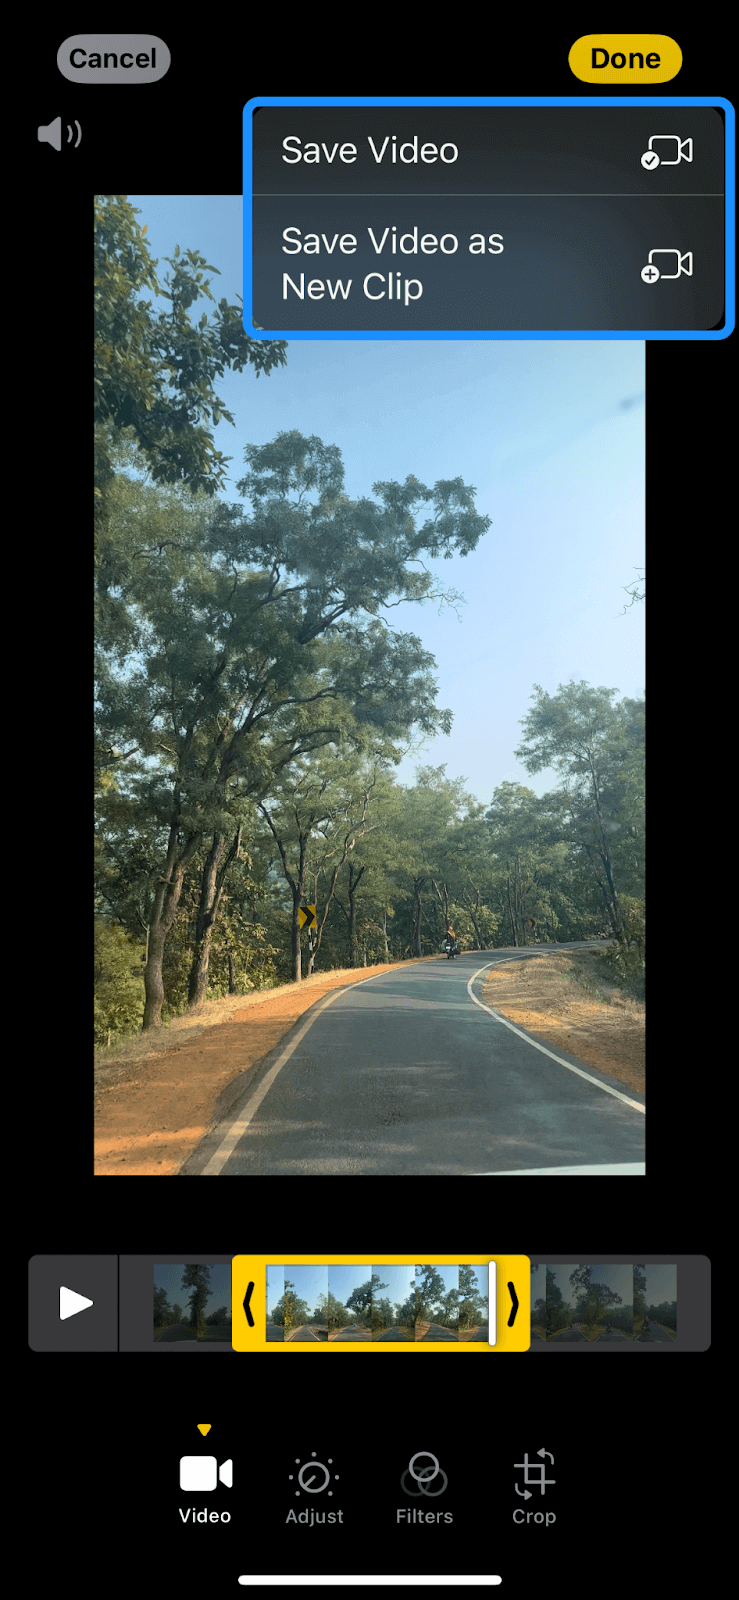
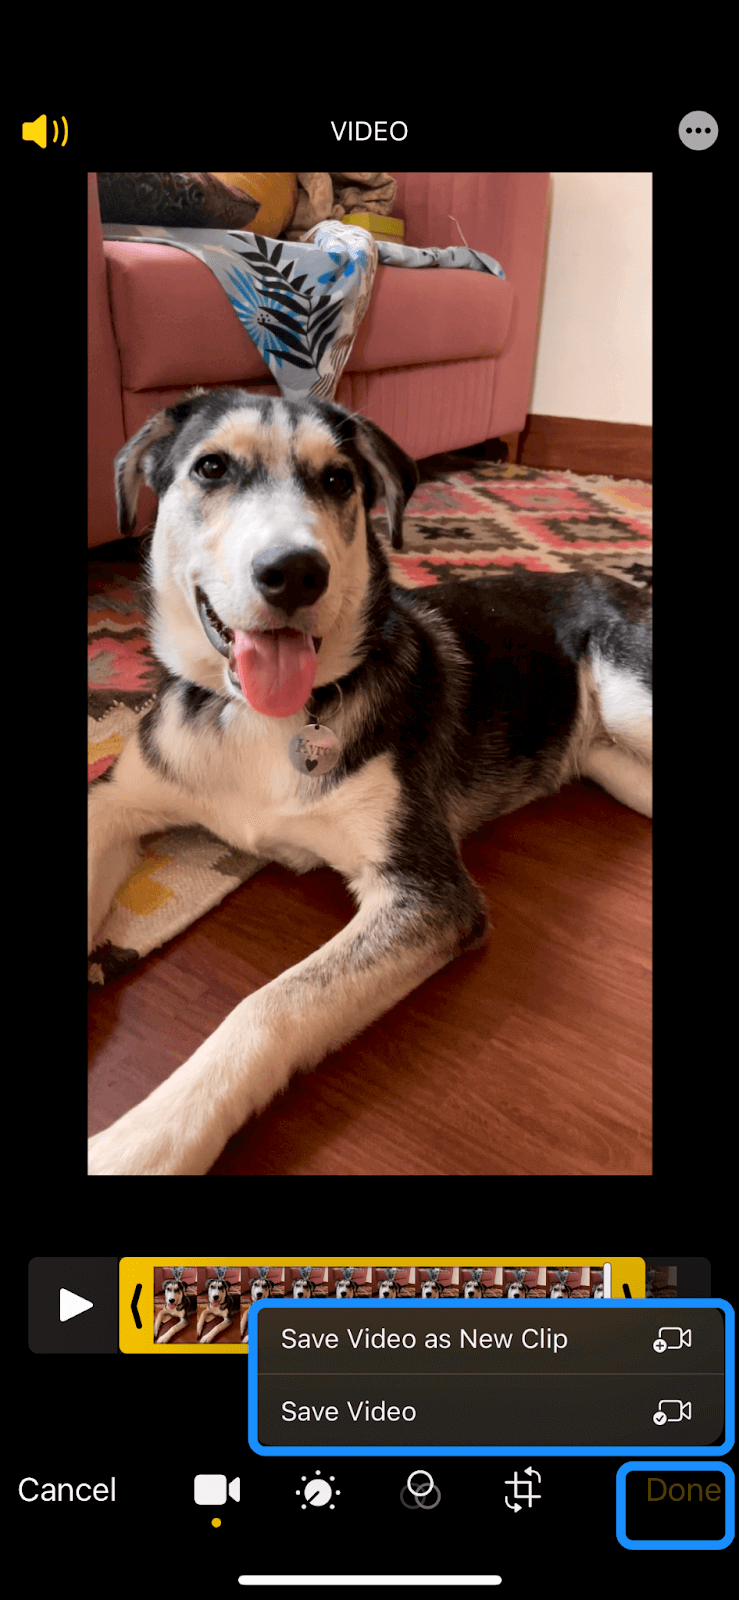
Tap Done in the Photos app, then save the trimmed clip before switching to iMovie to add your text, captions, or markup.
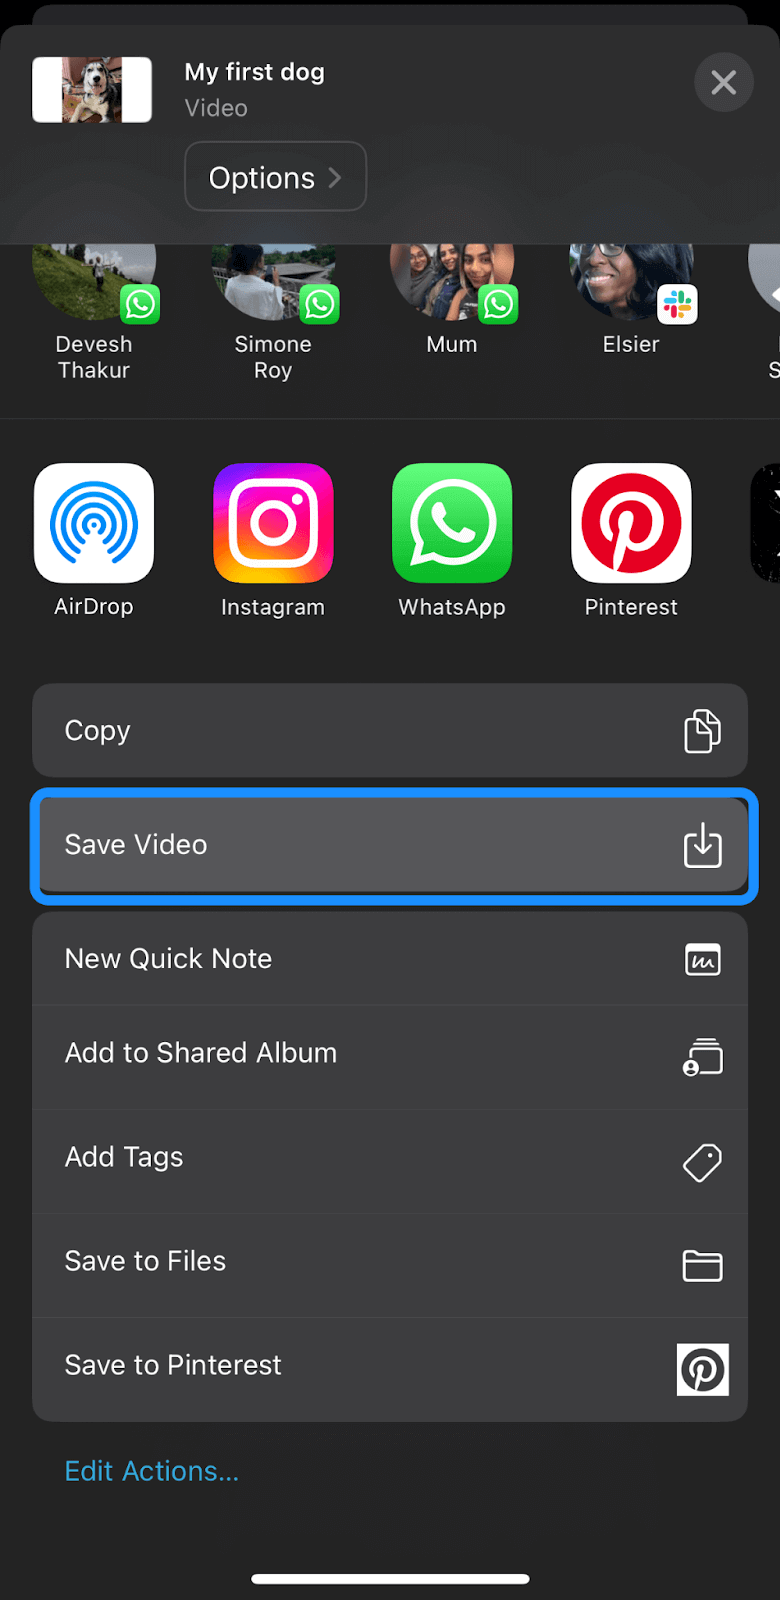
Tap Save Video to save the trimmed clip or Save Video as New Clip to save both versions of the clip.
|
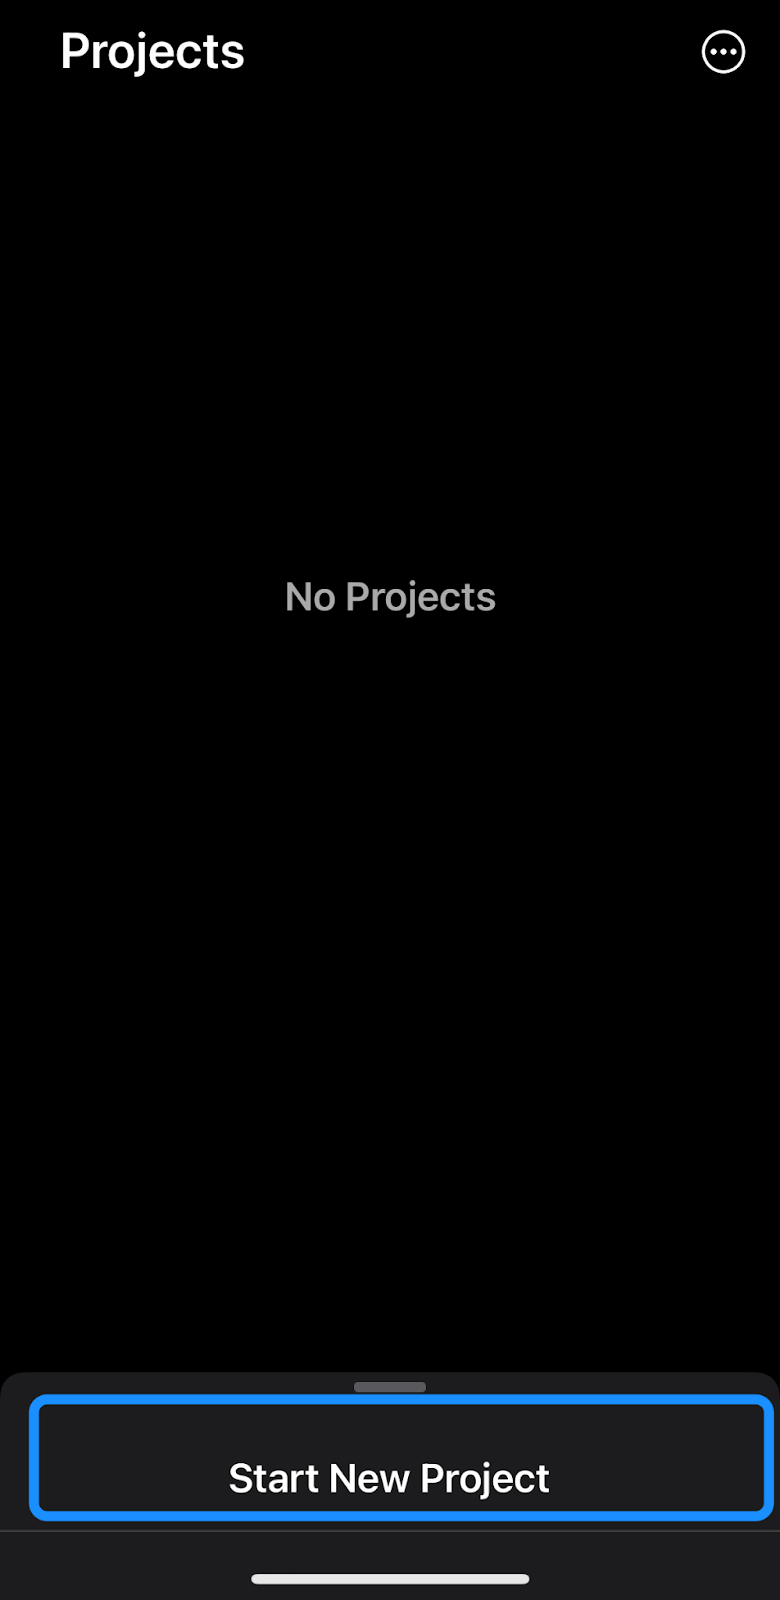
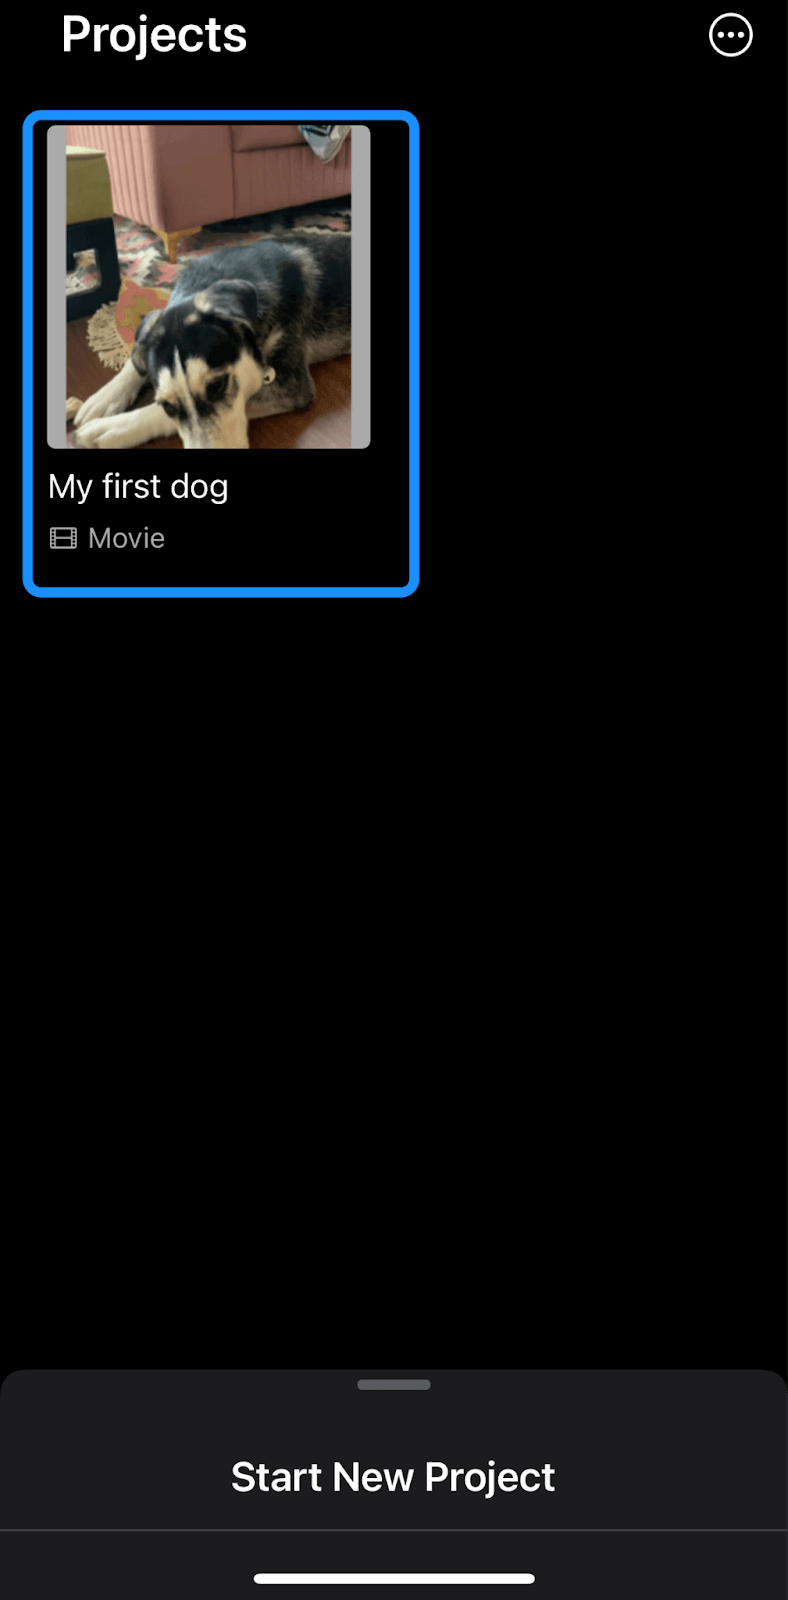
Next, download iMovie from the App Store, then tap to launch it. Then, select Start new project.
|
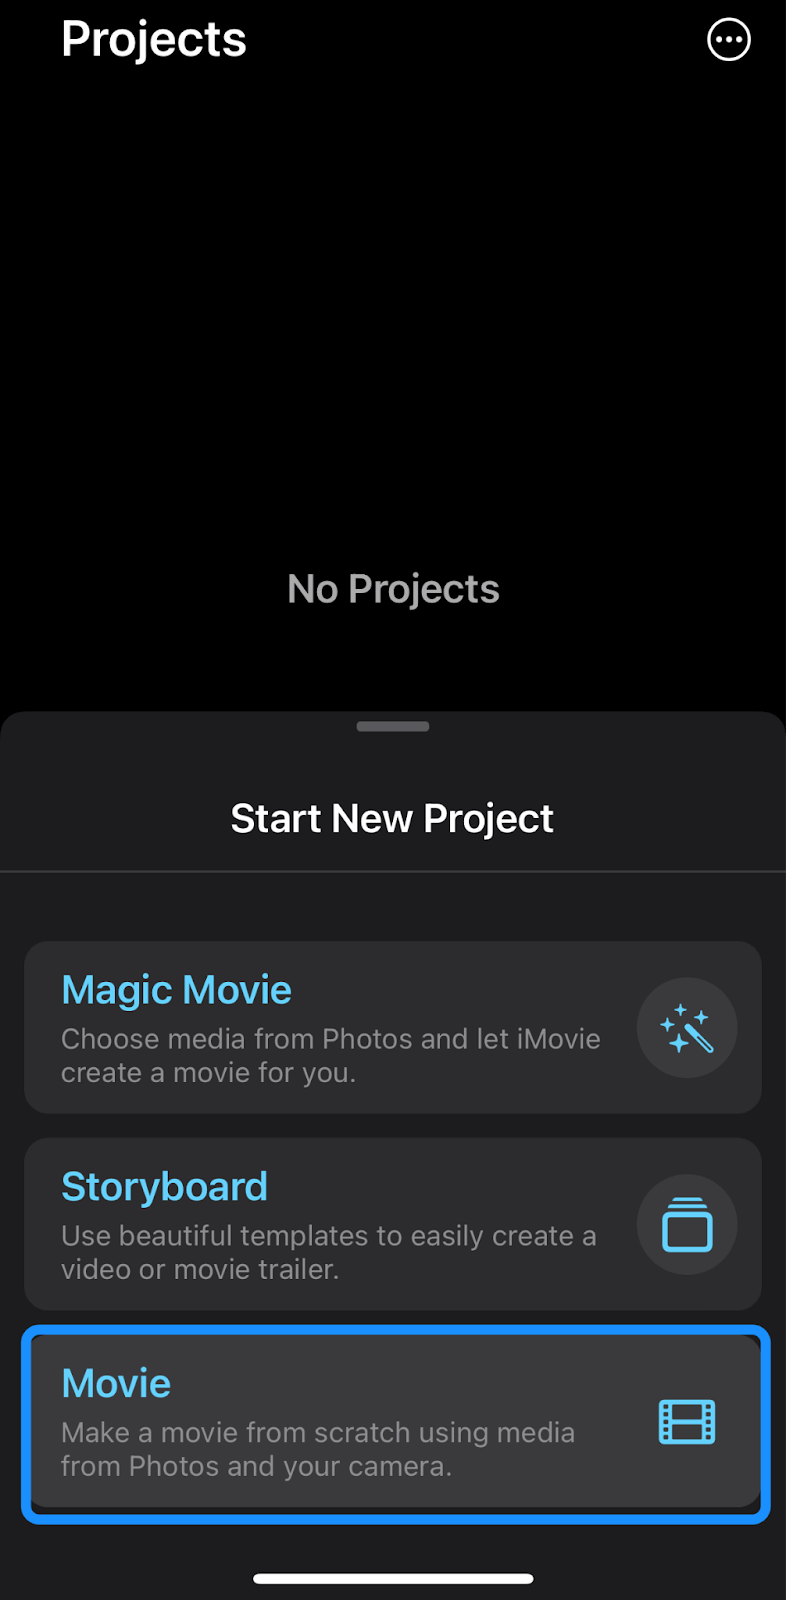
Tap the Movie option to create a new project.
|
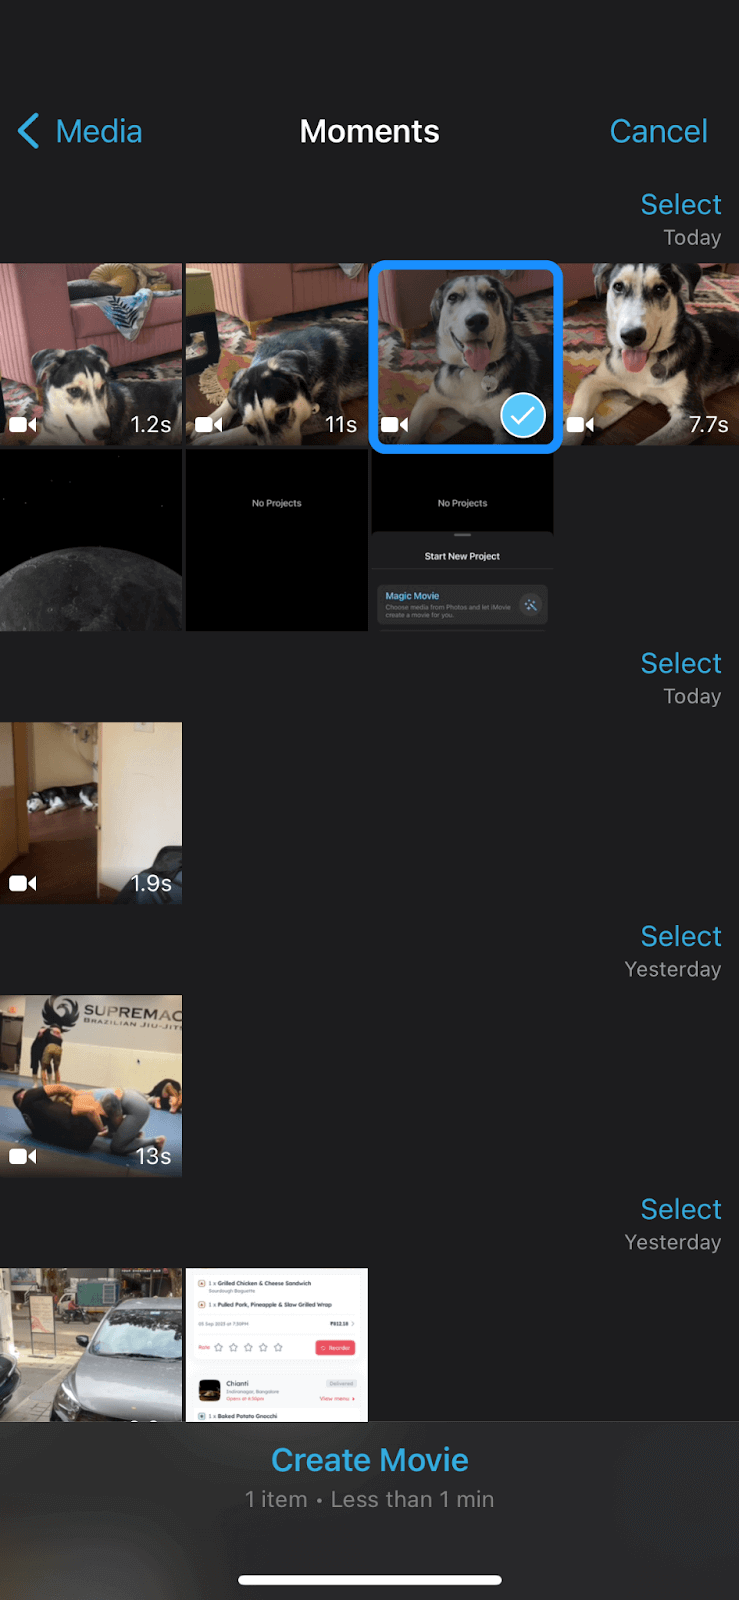
Select a clip to upload from the most recent videos you recorded directly or uploaded to your iPhone.
|
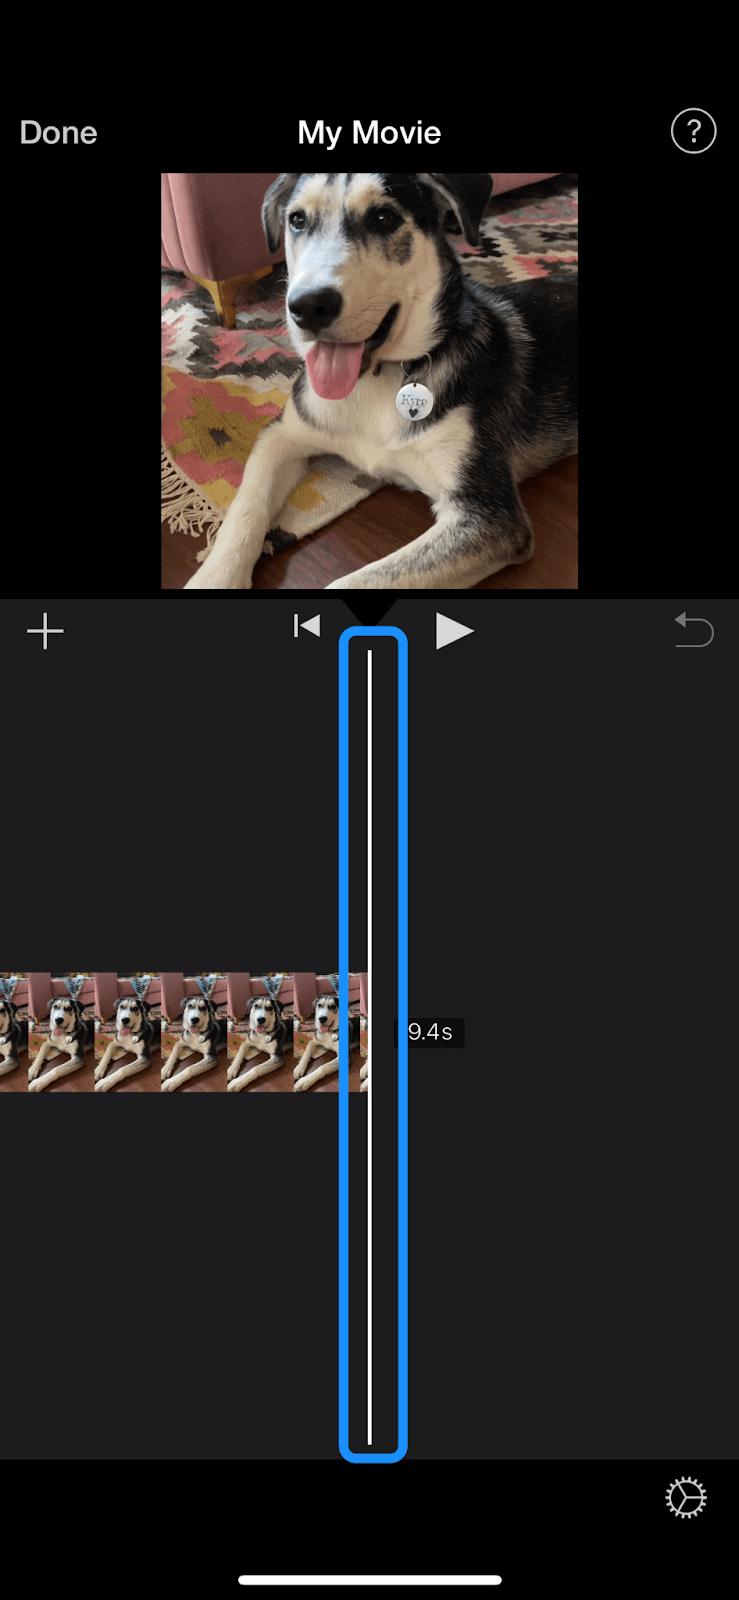
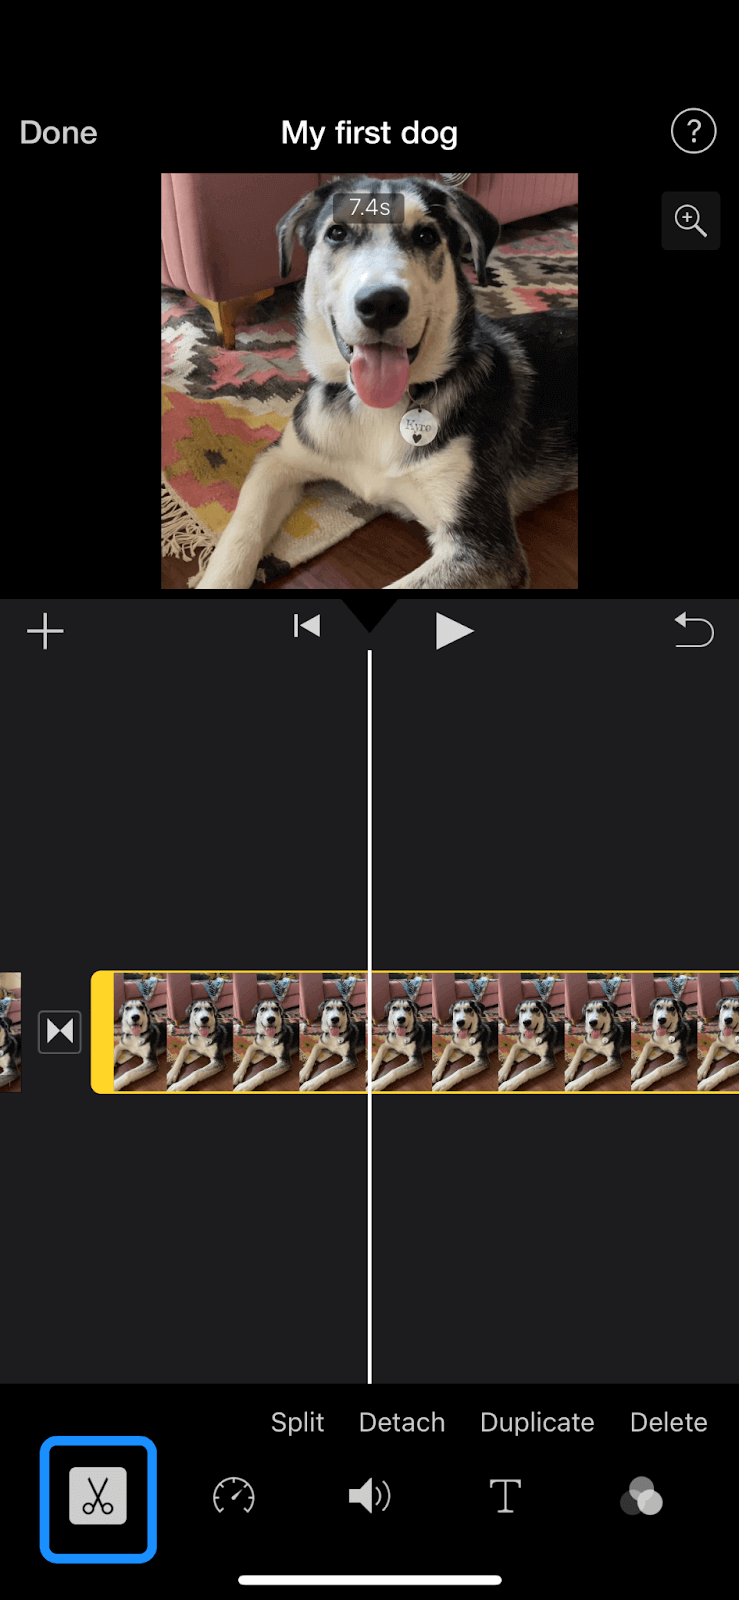
Scroll the timeline bar so the playhead (white vertical line) appears where you want to add your video.
|
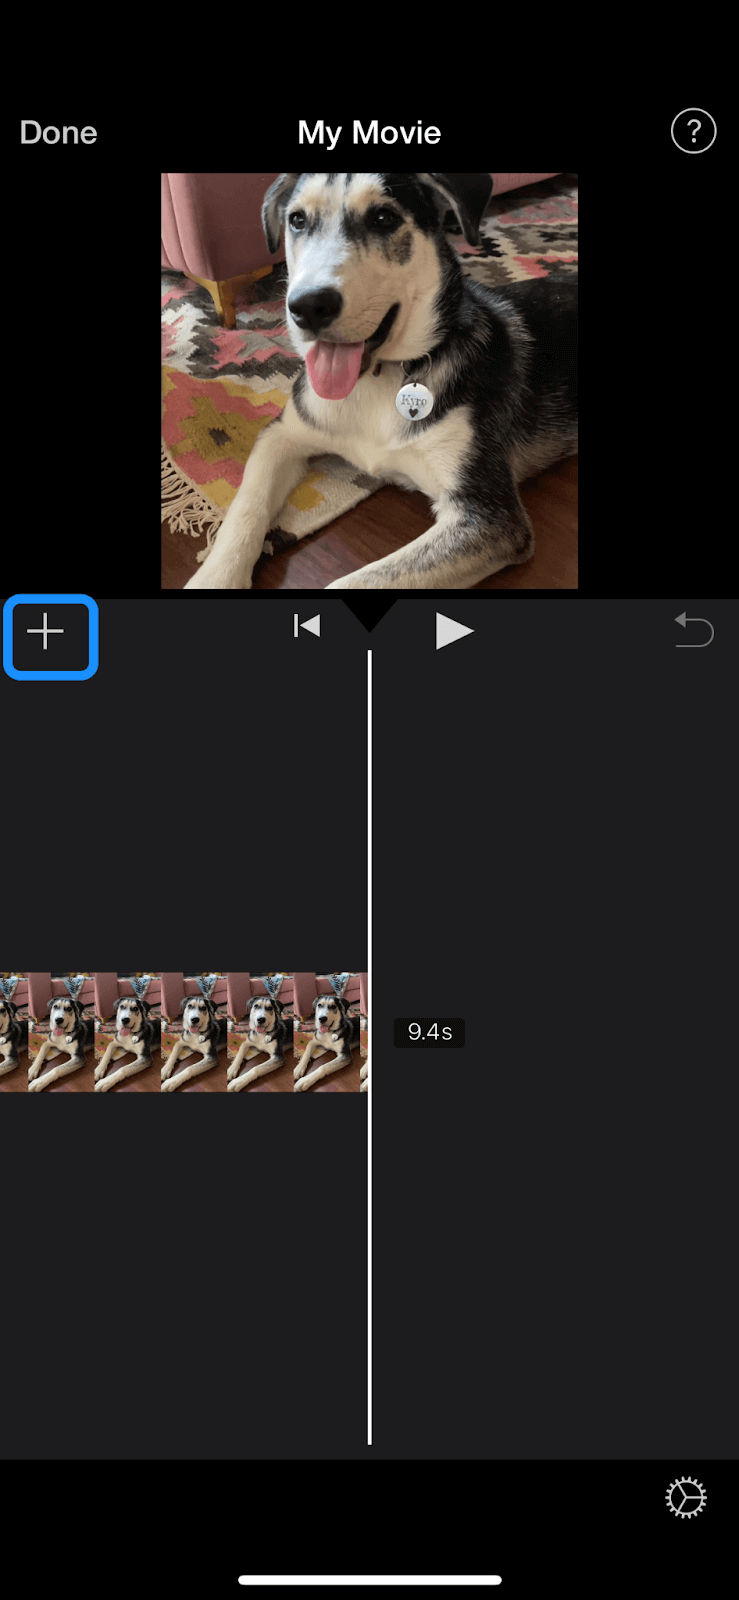
Tap the Add Media (+) button.
|
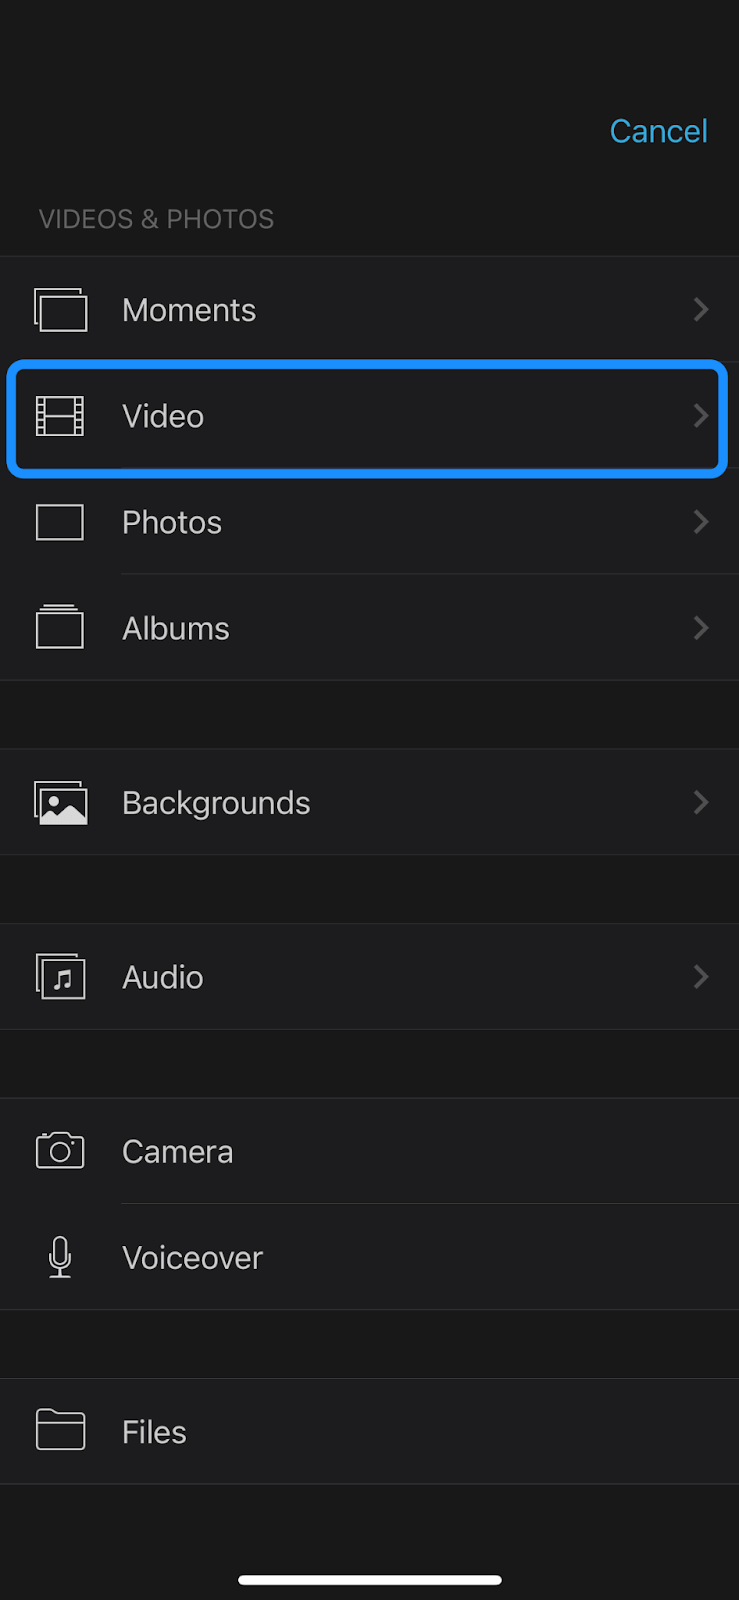
Select Video.
|
Select Video, then tap the T (or text) option. You'll find a variety of templates and text styles to choose from, each with different font sizes and animations.
|
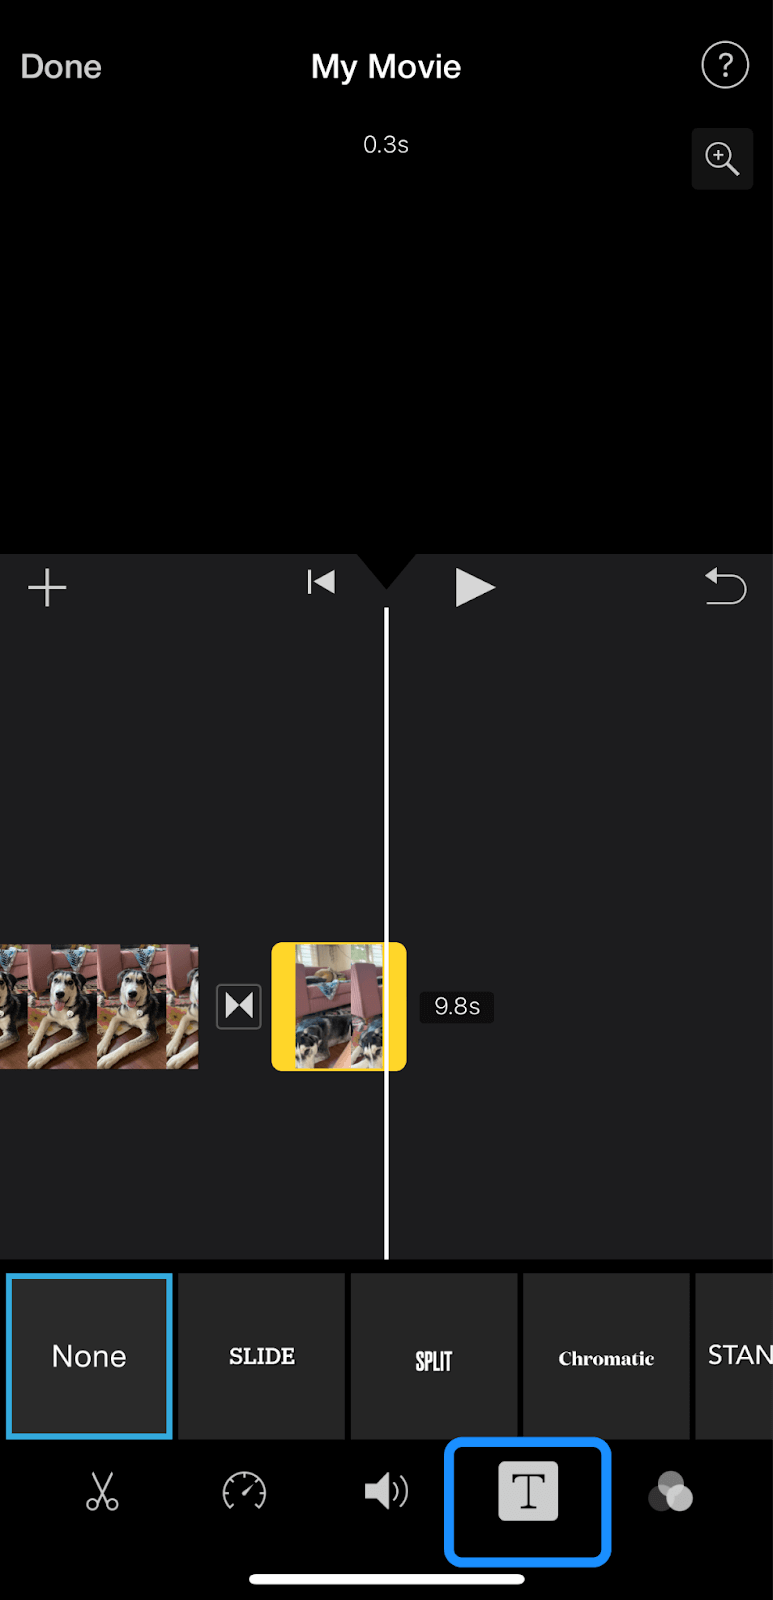
Tap on each style to preview what the text will look like, and pick the right one for your video. Enter your text and select where it'll be displayed: in a lower corner or across the middle of the screen.
|
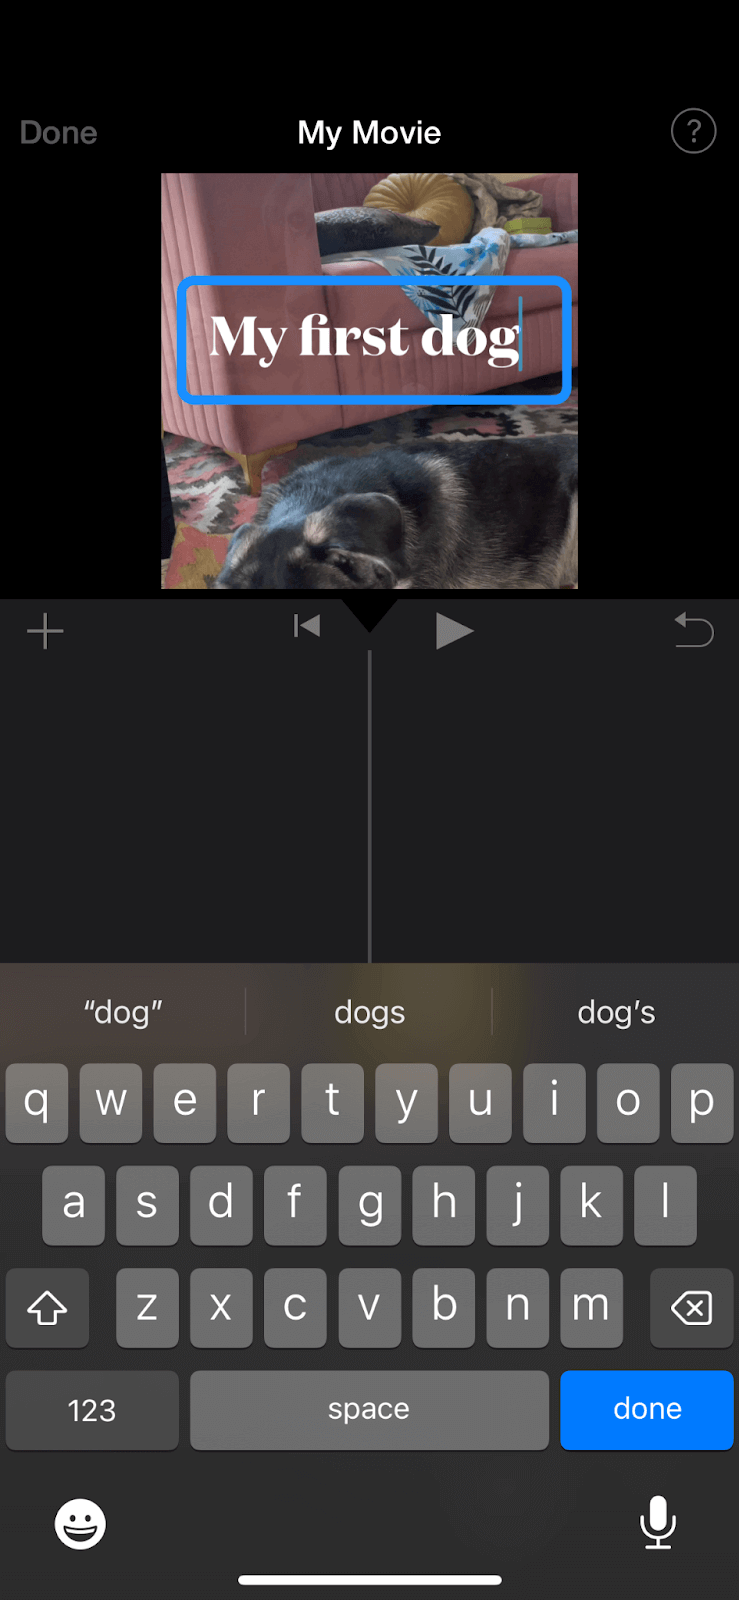
Tap Done in the top left corner of the screen.
Next, tap the Play button to preview your video in landscape full screen mode and ensure your captions/subtitles are accurate. If you notice a wrong word or misspelling, revert to edit mode, select the video, and tap the T (text) icon.
|
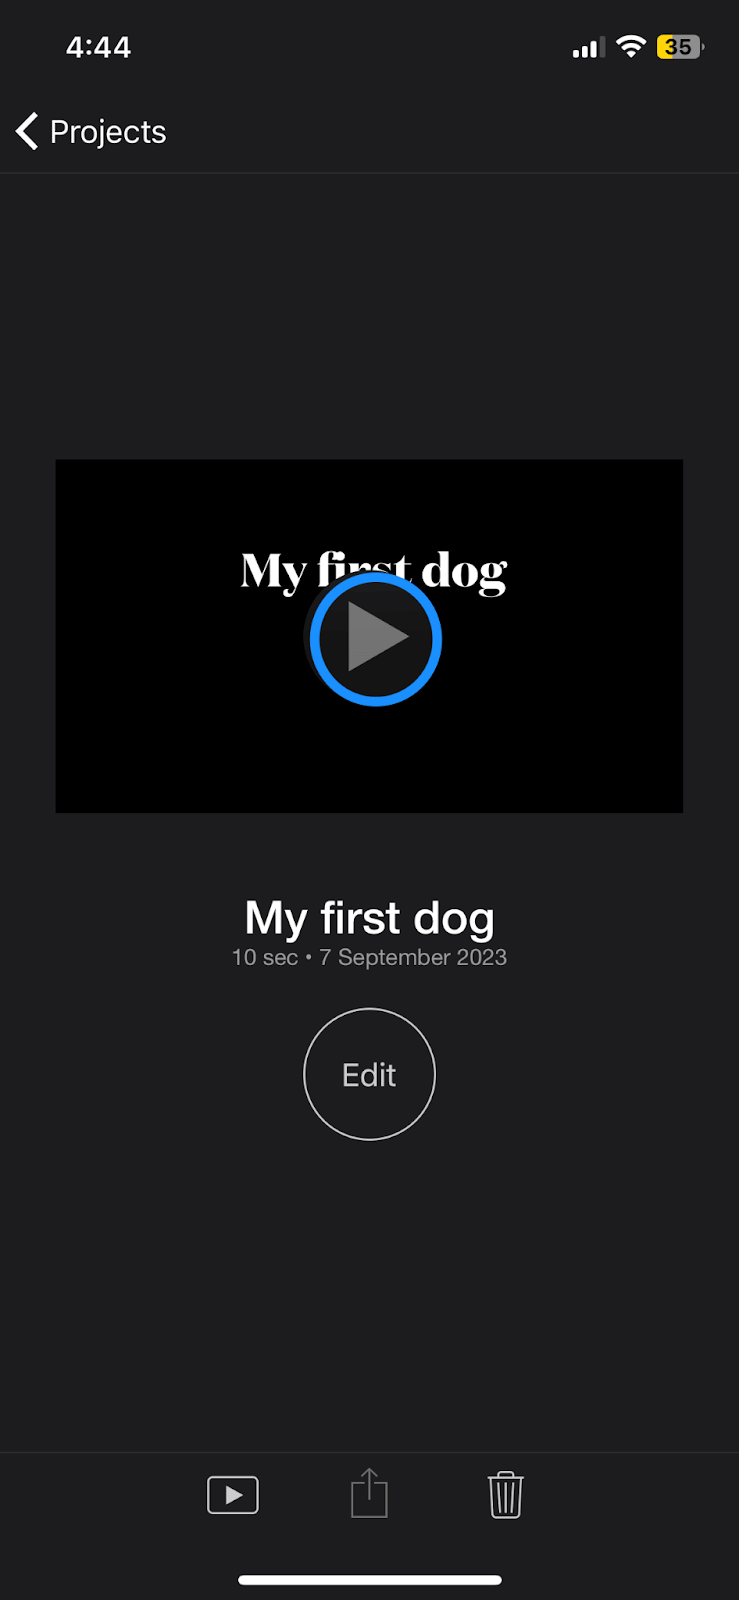
When you're happy with the text, select Save Video to store the video on your iPhone.
|
Tip: If your iPhone storage is full, check out our guide on how to send large, high-quality video files using your phone (iOS or Android) to explore available services and platforms.
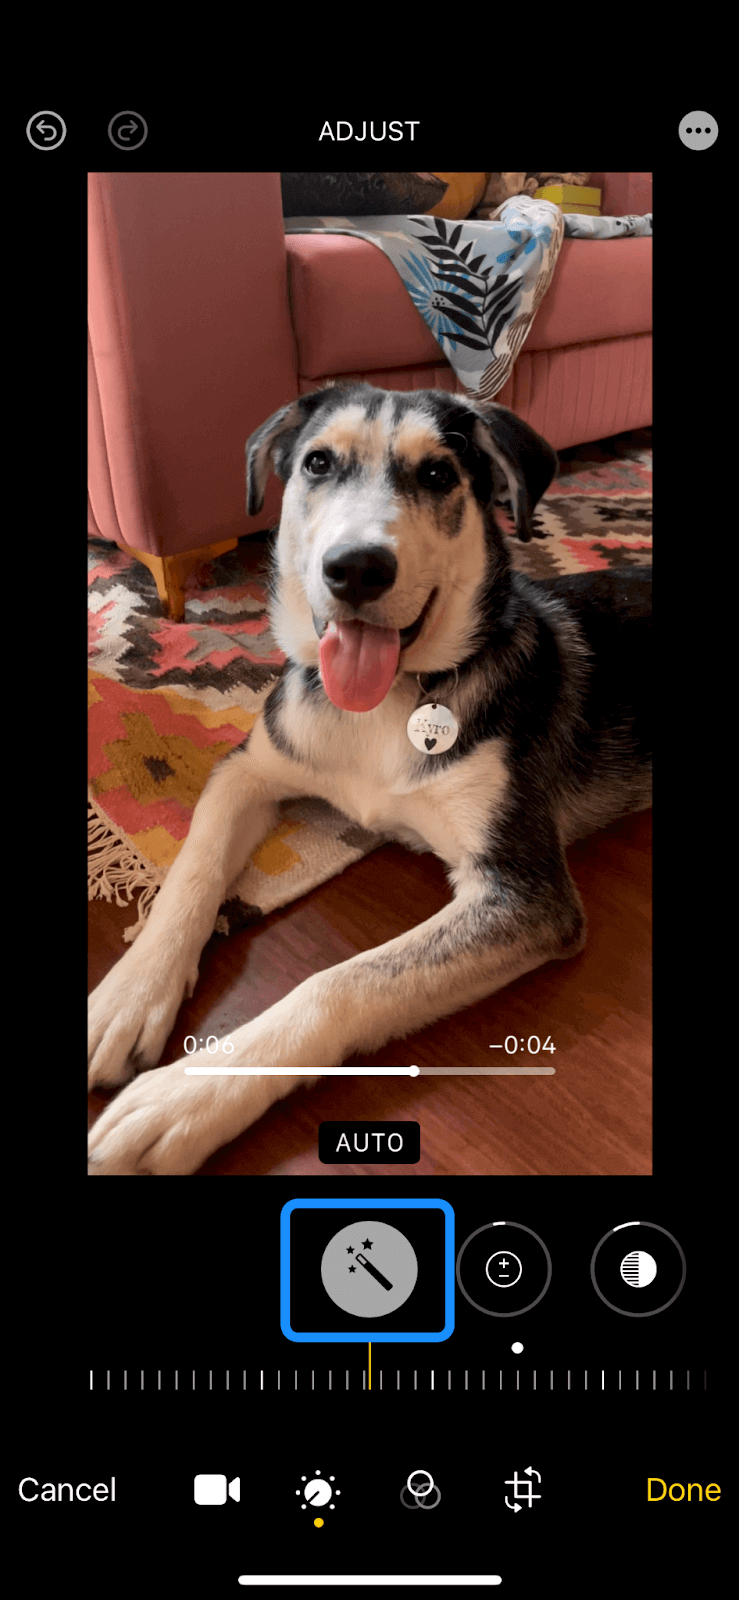
6. Use Auto-Enhance for quick improvements
Apple's auto-enhance feature—which resembles a magic wand—automatically adjusts your video's color and brightness levels.
Sometimes the Auto-Enhance tool can brighten or saturate your video in ways you didn’t intend. It’s worth trying for a quick fix, especially if your footage is slightly dim or flat, but always preview your results before saving. You can use the slider to dial back intensity. If you don’t like how it looks, tap the Auto Enhance icon again to revert.
You can try Apple's auto-enhance tool, which automatically adjusts color and brightness. However, it doesn’t always yield the best results—sometimes overexposing or oversaturating the video.
|
Use the slider to adjust the intensity of the edits.
|
To remove the auto-enhancement from your video, tap the Auto Enhance tool again (when disabled, the Auto Enhance icon will change from pale to dark gray).
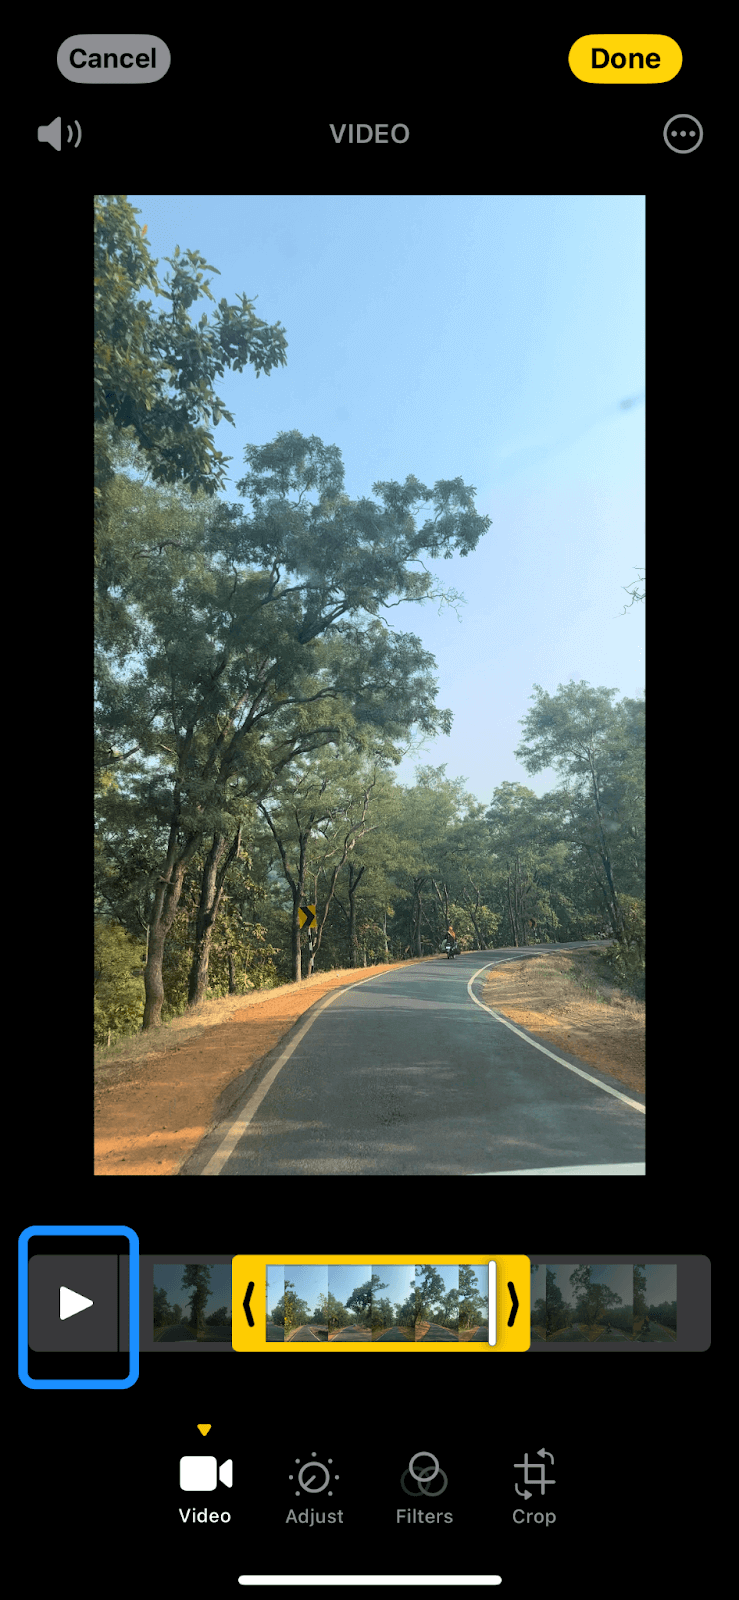
7. Preview your edited video
Tap the Play button to preview your trimmed video.
8. Save and share your video
When you're finished, tap Done.
How to trim videos on iPhone
You can trim a video to adjust its length, split it into separate clips, or rearrange sequences.
1. Tap the iMovie app.
2. Select the video you want to trim.
|
3. Enter Edit mode. Tap the Video in the timeline. A yellow highlight around the clip indicates you're in Edit mode.
4. Use the Trim tool to shorten or lengthen your video clip.
|
5. Adjust trim points.
|
For easier editing, pinch open in the center of the timeline to zoom in on the video and see more detail.
Drag the clip's edge toward the center to shorten it or away from the center to lengthen it.
If you can't drag the edges, there may be no additional footage available, or the clip is at its shortest allowable length (0.3 seconds in iMovie).
How to cut and split videos on iPhone
Whether you use Photos or iMovie, you can trim a video to change its start and stop points.
1. Open the Photos app.
2. Select the video you want to cut and shorten, then tap Edit.
3. Adjust cut points.
Drag the ends of the frame viewer to adjust start and stop points, then tap Done.
|
4. Tap the Play button to preview the shortened video.
|
5. Tap Save Video (saves the trimmed clip) or Save Video as New Clip (keeps the original version and saves an additional trimmed clip in your library).
|
If you overwrote the clip, tap Edit, then select Revert to undo the changes. If you save it as a new clip, you can't undo the changes.
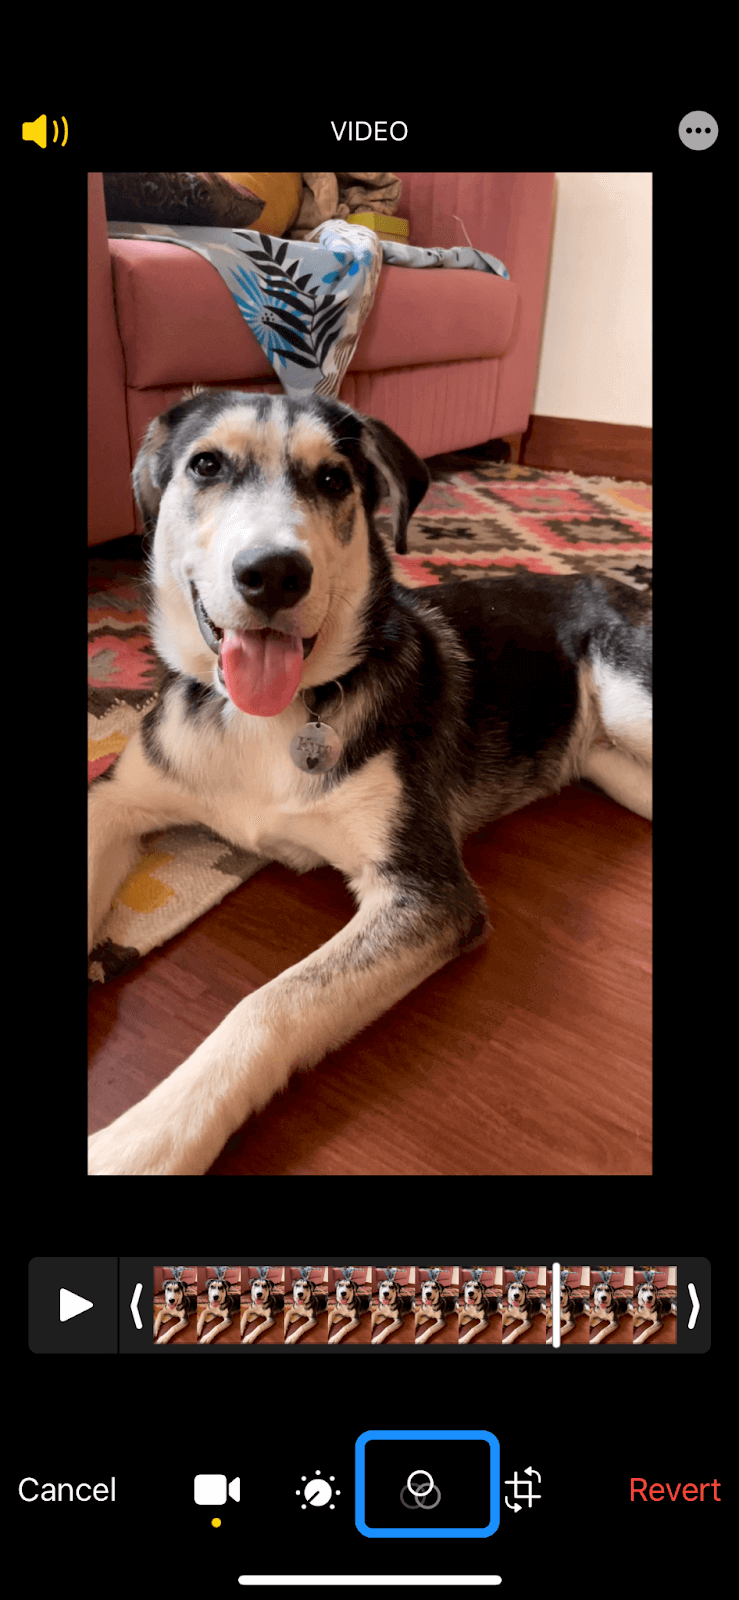
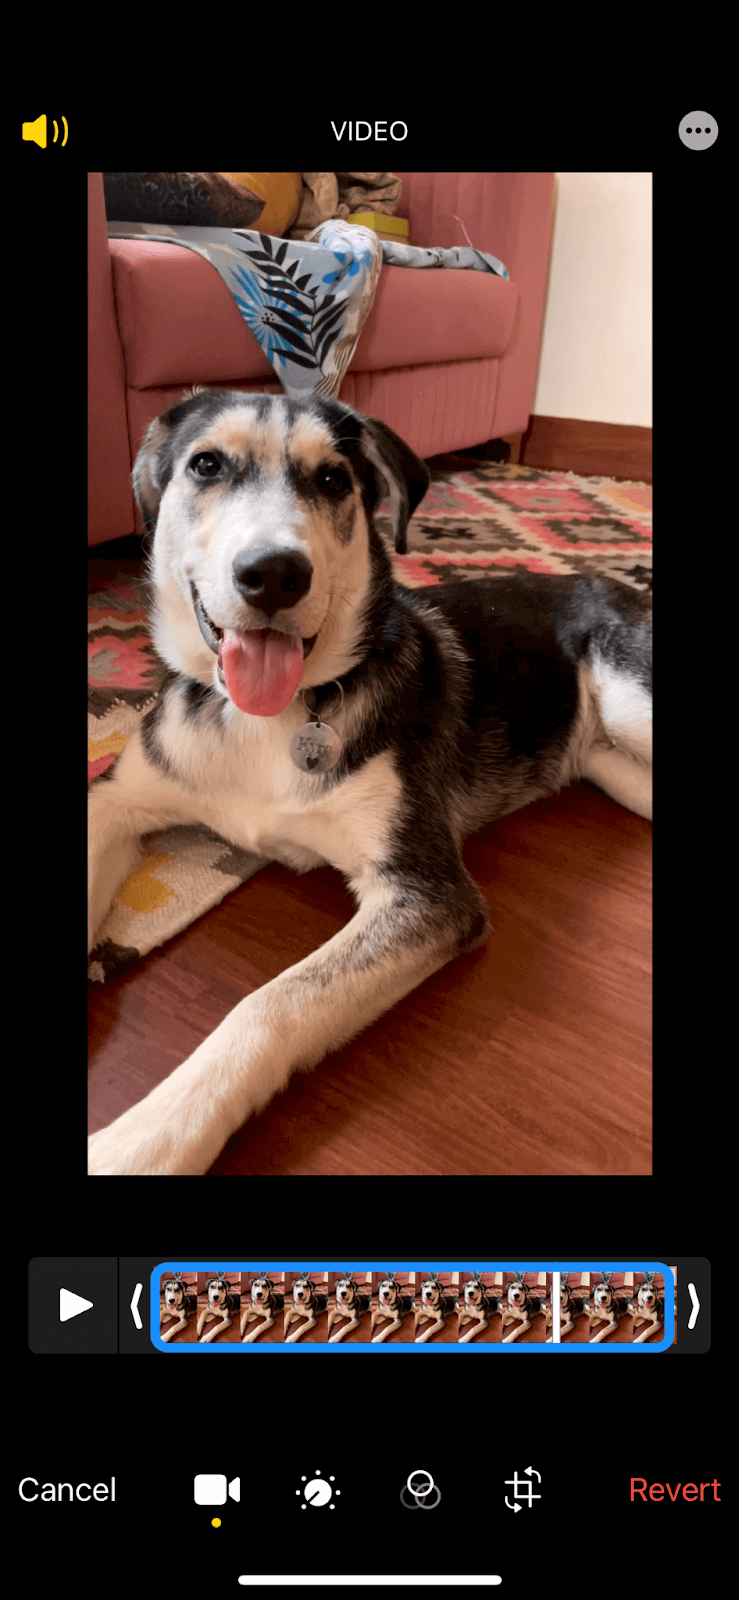
How to add filters and effects to iPhone videos
You can add iMovie’s video filters to clips in your project or the entire project to enhance or change how they look, such as converting a color clip to Sepia or black and white.
Rotate your video if needed: Open the Photos app and tap Edit, then tap the Crop tool. Tap the Rotate button (a square with an arced arrow) until your clip looks right, then tap Done.
Continue exploring filters by tapping the filter icon (three rings). You can also scroll down for more details on adding filters to individual clips and adjusting effects as needed.
To add filters to a single clip:
1. Tap the Photos app to launch it.
2. Tap on the video you want to add filters to.
3. Select clip in the timeline to reveal the inspector ('i') icon.
|

4. Access the Filters tool (shaped like three rings).
|
5. Choose a filter to preview it in the viewer.
|
6. Adjust filter intensity by dragging the slider below the timeline right or left.
|
7. Tap outside the filters to dismiss them, then tap Done > Save Video or Save Video as New Clip.
|
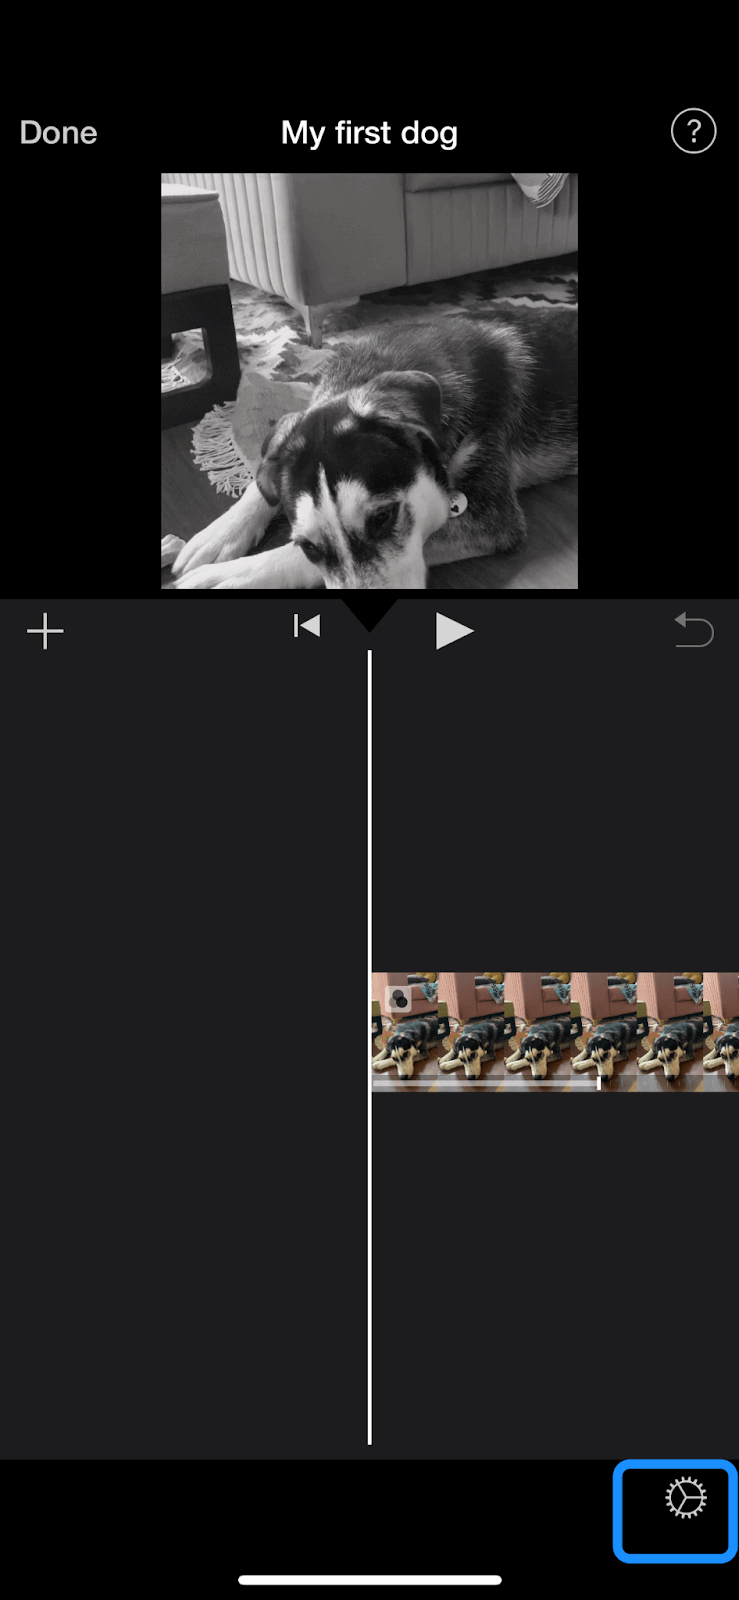
To apply filters to an entire project, open iMovie, select your video, then tap the Project Settings button (gear icon) at the bottom right.
1. Open the iMovie app and select your video.
2. Next, tap the Project Settings button (shaped like a cog wheel) in the bottom right corner.
|
3. Tap a filter to select it.
|
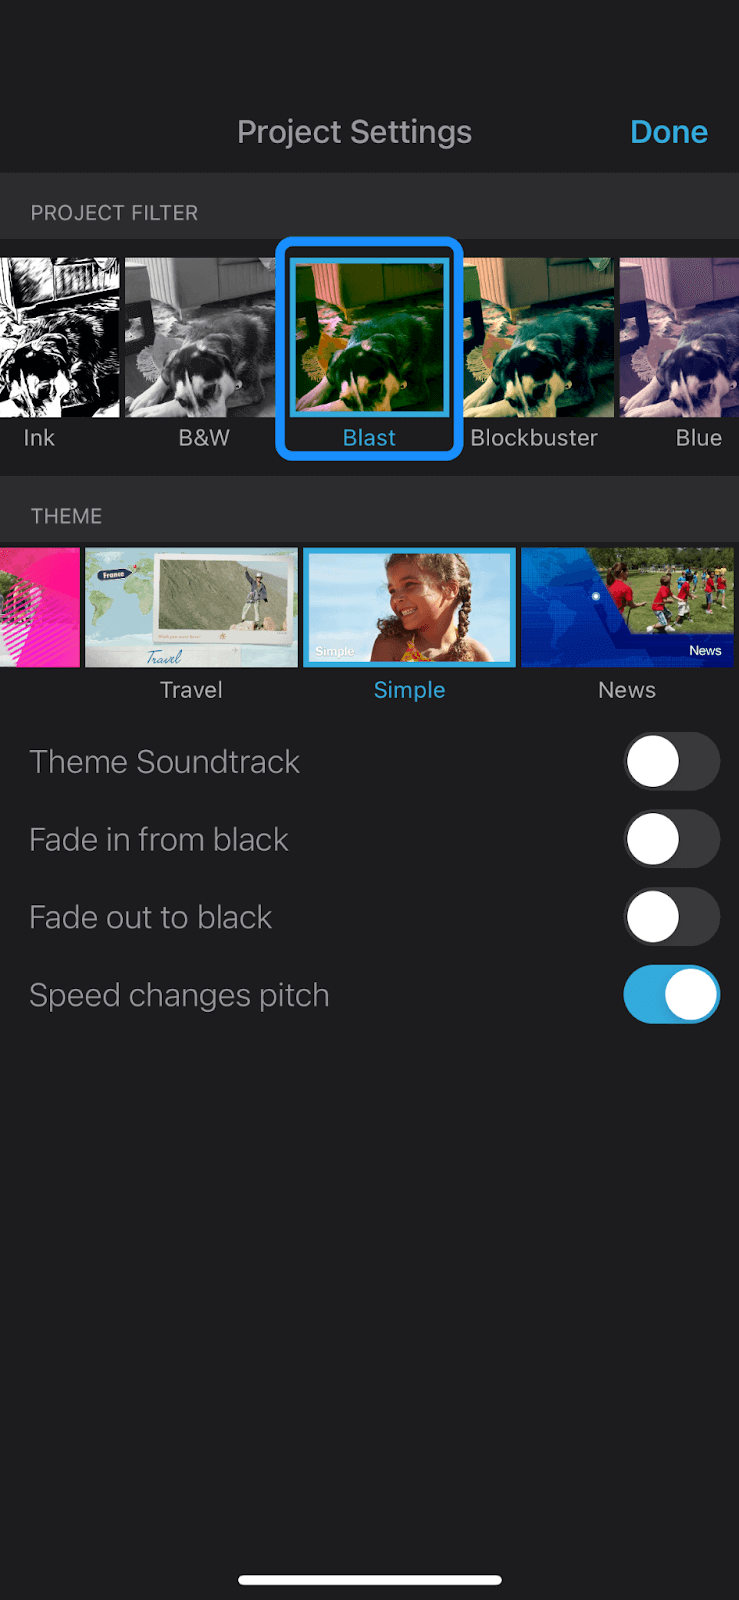
4. When you're finished, tap Done.
|
Read more: How to create a podcast on an iPhone
Advanced audio editing on iPhone
To enhance your video's audio, follow these steps:
Adding Background Music: Use iMovie to add music from your library or select from its built-in music library.
Adjusting Volume: Tap on the Volume icon in iMovie to adjust levels for each clip individually.
Spatial Audio Editing: Use Apple's support for spatial audio to create immersive soundscapes, as detailed in Apple's documentation.
Audio Mix (iPhone 16 models): If you recorded your clip with Spatial Audio on an iPhone 16, you can tweak voices, dial back background noise, or replicate a studio-like environment. Open Photos, tap Edit, then tap Audio Mix to choose your preferred audio setting.
Advanced iPhone video editing with Descript
If iPhone video editing doesn’t meet your needs, consider advanced software like Descript. It offers features beyond basic editing, helping your TikTok or YouTube videos stand out.
Descript isn't available for iPhone yet, but you can create a free account and use features like color grading, overlays, Studio Sound, text-based video editing, and royalty-free music.
iPhone video editing FAQs
Do iPhones have built-in video editors?
iPhones come preloaded with the Photos app and iMovie app. Both apps have built-in features for editing videos on the device without syncing them to a computer or downloading extra apps.
How do you cut parts out of a video on iPhone?
You can edit a video on an iPhone using the Photos app. Tap Photos, select your video, then tap Edit. Adjust the video settings to change the start and stop times, then drag the guidelines until only what you want to keep is visible. Alternatively, use the iMovie app by selecting the video you want to edit and using the Trim tool to adjust the Video to your liking. When finished, save your video to your phone's storage or share it on your favorite social media platform.
How to edit iPhone videos without third-party apps
Yes! You can edit a video on an iPhone without downloading extra software. Both the Photos app and iMovie come preinstalled to handle your core editing tasks—trimming, applying filters, rotating, adding text, and more. If you ever need advanced flair, you can explore paid or free third-party apps. Otherwise, Photos and iMovie are enough for most everyday projects.
What are some popular third-party video editing apps for iPhone?
Popular third-party video editing apps for iPhone include CapCut, Adobe Premiere Rush, and Videoleap. These apps offer advanced features like AI-powered effects, motion tracking, and creative tools that go beyond the capabilities of iMovie.
How can I edit slow-motion videos on iPhone?
How do I add text or captions to my iPhone videos?
You can create captions in iMovie or the Photos app. If you only want to trim and add simple text, crop your video in Photos and choose Markup on iCloud.com or use iMovie’s Titles feature. In iMovie, tap Create Movie, add your clip, then select the T (text) icon and pick a style. Enter your text, position it where you want, and Save Video when done.
How do I combine multiple video clips into one on iPhone?
You can easily merge multiple clips in iMovie. First, open the iMovie app, then tap Start new project and select Movie. Pick the video clips you want to combine by tapping each one, then tap Create Movie. iMovie will place the clips on a single timeline. When you’re happy with the combined video, tap Done, then Save Video to store the merged clip in your Photos library.
To edit slow-motion videos on an iPhone, open the Photos app and select your slow-motion video. Then, tap Edit and adjust the speed using the speed control slider. Save your edited video to preserve the changes. This feature is available on newer iPhones, allowing you to enhance your slow-motion captures effectively.