Video production is complicated. Even a simple vlog involves writing, scheduling, filming, editing, publishing, and promotion.
It’s important to make managing the production process as simple and efficient as possible to ensure the quality of your burgeoning video podcast or YouTube channel.
Building a video production process that works for you has its benefits. It will make room for the creative aspects like writing, storytelling, and editing to not only be efficient but allow space for you to create your best projects.
vWhat is the video production process?
Video production is about more than just pressing the Record button on your camera. It involves turning an idea into a visual product that aligns with your vision, through careful planning, execution, and editing.
There are three stages of video production:
- Pre-production: The planning phase, in which you lay the groundwork for your video shoot.
- Production: The execution phase, where the actual filming takes place.
- Post-production: The editing phase, where you bring all the footage together to create the final product.
Each phase is essential to delivering a high-quality video that engages your audience and communicates your message, whether it’s just you or you have a video production team. Let’s go over each step in detail.
Stages of video production
The pre-production process
Video strategy/goals
Video strategy and goals are the foundations of your video production process. This is where you define the purpose of your video, the message you want to convey, and what you hope to achieve with it.
Whether it’s increasing brand awareness, educating your audience, or promoting a product or service, having clear goals will guide all the subsequent steps in the production process.

Budget/scope
Your budget will dictate the resources you allocate to the video project, including the quality of equipment you can use, the talent you can hire, and the locations you can shoot in. The scope of the project, on the other hand, refers to the scale of the video, the length, and the number of scenes.
Story selection
Story selection involves choosing the narrative or message of your video. This could be a persuasive documentary, a fictional narrative, an explainer video, or something more in the video marketing space: a brand story, a product demonstration, or maybe a customer testimonial. Whatever it is, the story should align with your goals and resonate with your target audience. Start with storyboarding several ideas and choose the one that meets your needs.
Learn more: Narrative structure: How to compose the best story for your footage
Project timeline
Setting a project timeline helps keep the video production process on track. It outlines when each phase of the process should be completed, from the initial planning to the final editing. A well-defined timeline ensures that all team members know their deadlines and can manage their time effectively.
Script creation
Script creation is where the narrative or message of the video is put into words. The script serves as the blueprint for your video, outlining the dialogue, voiceovers, and visual elements. It guides the production team on what needs to be filmed and helps the editor understand the flow of the story. A well-written script is essential for conveying your message in a clear and engaging way.
Talent/characters
The talent you use in your video could be professional actors, members of your organization, or customers. Talent should be able to deliver your message convincingly and connect with your audience. If your video involves characters (i.e., actors playing fictional roles), they should be well-developed and relatable.
Production team/equipment needs
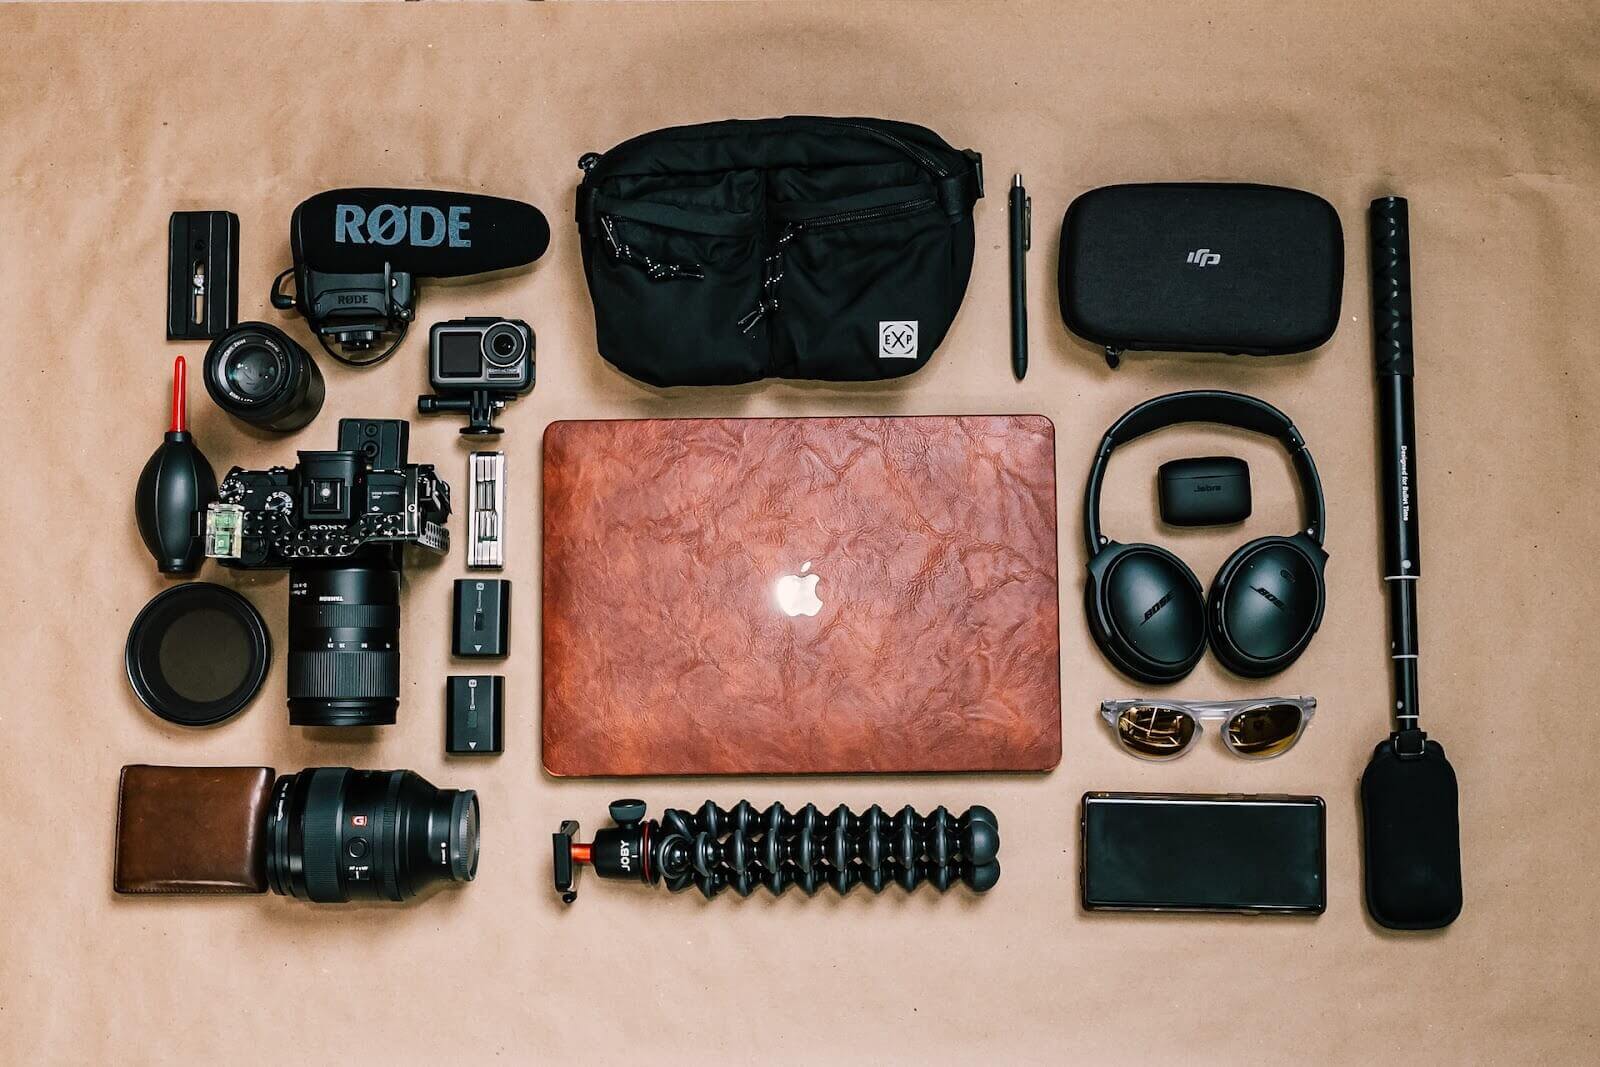
A production team could include a director, producer, camera operators, sound technicians, and other specialists, depending on the complexity of your video. Equipment needs can range from a simple camera and microphone to a full studio setup with professional lighting and sound equipment.

Location scouting
This part of the process involves finding suitable locations to film your video. The location could be a real place, like a business or an outdoor location, or a set created in a studio. The location should align with the story and aesthetic of your video and be practical for filming.
Factors to consider for capturing the best video when scouting locations include the lighting conditions, the acoustics, the availability of the location, and any potential disruptions to filming — which often arise filming a corporate video at a workplace. When location scouting, remember to take notes so you remember to incorporate any specific scenery or landmarks into your shot list.
The production process
Setting up the sound/lighting/video equipment
This step involves preparing the set for filming. It includes setting up the cameras, arranging the lighting, and ensuring the sound equipment is ready to capture clear audio.
Conducting interviews
If you plan to conduct interviews, potential interviewees could be individuals with firsthand experience in the story you’re telling, experts in the field, customers, or members of your organization. Interviews should be conducted in a quiet, well-lit environment to ensure the best audio and video quality.

Recording voiceovers
If your video requires voiceovers, those are typically recorded during the production phase. Voiceovers can be used to narrate the video, provide additional information, or provide transitions through the narrative. The voiceover artist should have a clear, pleasant voice and good diction to ensure the message is easily understood.
Capturing B-roll footage
B-roll is additional footage used to support the story and add visual interest to the video. This could include shots of the environment, close-ups of relevant objects, or raw footage that illustrates the points made in the video. Capturing high-quality B-roll can really enhance the final video.
Descript has a built-in media library complete with B-roll. You can also get stock B-roll footage from the following sites:
The post-production process
Logging the interviews
After the production phase, the producer will review all the footage and transcribe the interviews. This helps organize the material and identify the best clips to include in the final video. The transcriptions can also be used to create subtitles or captions for the video.
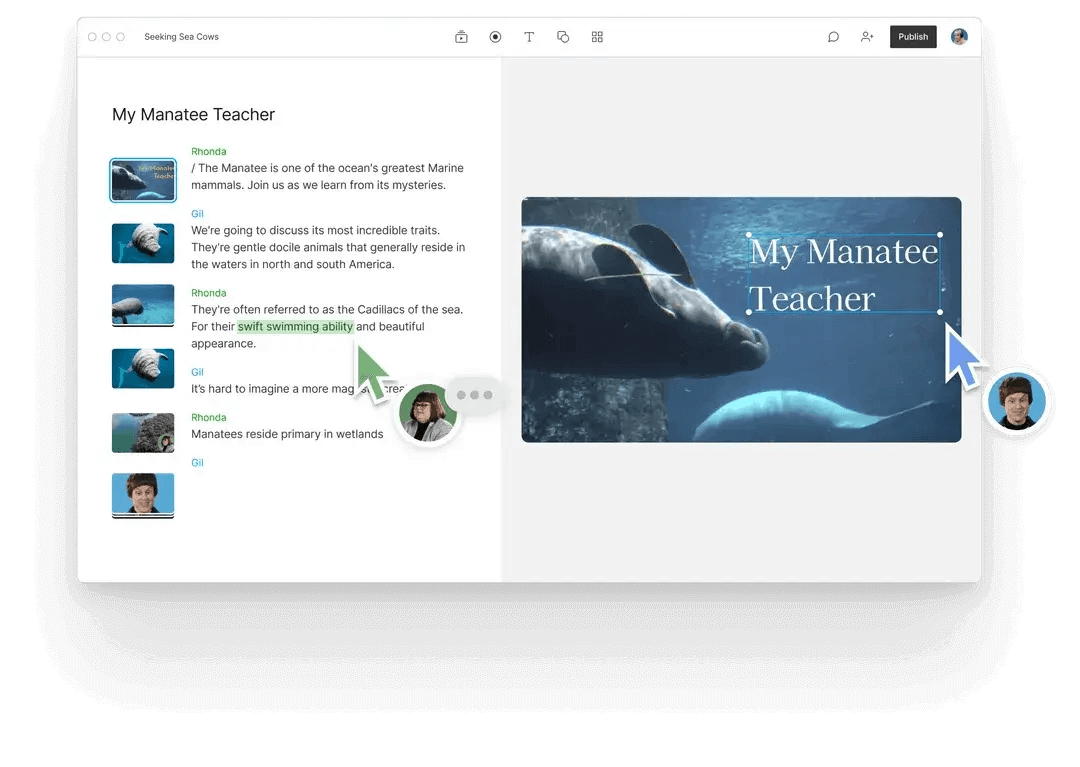
Tip: Use Descript to automatically transcribe your interview and edit the audio or video right from the transcript.
Producing the final story
Producing the final story involves assembling the footage and interviews to create a cohesive and engaging narrative. This step requires a good understanding of storytelling techniques and video editing skills. The final story should align with the video’s goals and effectively convey the intended message.
Music selection
Choosing the right music for the video is an important part of the post-production phase. The music should complement the tone of the video and enhance the viewer’s emotional engagement. Whether it’s a catchy tune for a promotional video or a dramatic score for a documentary, the right music can make or break your video.
Video Editing
Video editing is where all the elements of the video come together. The editor will cut and arrange the footage, add the music and sound effects, insert graphics or special effects, and adjust the color and sound.
Good video editing can make the difference between a video that is engaging and professional and one that falls flat. The video editing process can either be done in house or outsourced to freelancers or a professional video production company.
Tip: Descript’s video editor relies on AI to do a lot of the tedious, technical post-production work, so you can focus on your story.

Reviews/approvals
Once the initial version of the video is edited, it’s time for reviews and approvals. This involves showing the video to the relevant stakeholders — that is, anyone who needs to give final approval, and that one friend who loves holding stakes — and gathering their feedback. Any necessary revisions are made during this stage to ensure the final video meets your project’s goals and standards.
Final delivery
In the last step of the video production process, the video is exported to its final format, ready for distribution. File format is dependent on where the video will be shown, whether it’s social media platforms like YouTube or Facebook, broadcast television, or in-person presentations. The video is then delivered to the client or uploaded to the platform, ready for the audience to view.
5 video production process tips
1. Know your end goal by planning backward
We’ve written before about the importance of setting a standard video workflow and letting that dictate when and how often you upload content. The best way to start building a production plan is to work backward.
Let’s say you want to upload to YouTube (or your hosting service, or TikTok, or wherever) on the 15th of every month. Maybe that means completing all edits by the 14th, so you have plenty of time to create your thumbnails and metadata and to write some social posts. If it takes you five days to edit, you’ll need to have all your video shot and other assets assembled by the 9th. Keep working backwards through your workflow until you get to the point where you start writing or planning your shoot, a.k.a. Day 1.
2. Work in batches
Batch filming is when you film multiple episodes at once and release those episodes over time. It’s a great solution for creators who aren’t beholden to current events or other real-time content, or if you need to hire a crew but can’t afford to pay more than one day rate for a single video.
Similarly, it’s often helpful to schedule dedicated editing days when you can crank out multiple videos at once. That doesn’t mean you have to edit them all beginning to end. One good tactic is to break up your workflow into parts that can be tackled in batches on separate days. So, you might do all your rough cuts on Monday, all your sound editing or mixing on Wednesday, all your graphics on Thursday, and all your color correction on Friday.
This can help ensure continuity in your content and consistency in the look and sound of your videos. Plus there’s a good chance you’ll be using different tools at different post-production stages — even if you use Descript — so batch editing will cut down on time switching between your editing app and your motion-graphics tool, and so on.
3. Use project management apps
Making videos involves some degree of project management. If you don’t keep track of who’s doing what and when, you’ll soon enter a world of madness and frustration.
Fortunately there are a bunch of good project management apps for video production. We’ll break down some of the ways you can use them to streamline your workflow and keep things organized.
For the idea capturing and writing stages, apps like Evernote and Simplenote can be helpful. For folks who prefer visuals over to-do lists, tools like Pinterest or Milanote can help you ideamap half-baked ideas. A dedicated Google Doc works fine for capturing ideas, as does a notebook you keep in your pocket or bag.
Do Stuff creators, Leigh Cooper and Soo Zee Kim, are passionate about writing a narration that gets you hooked. For them, planning episodes means a lot of writing and a lot of ideas flying around.
“Ideas for future videos wind up as a list,” Leigh says. “Scripts wind up in Simplenote. Email drafts. Instagram captions. Video metadata. Everything starts in Simplenote and goes other places as and when it needs to.”
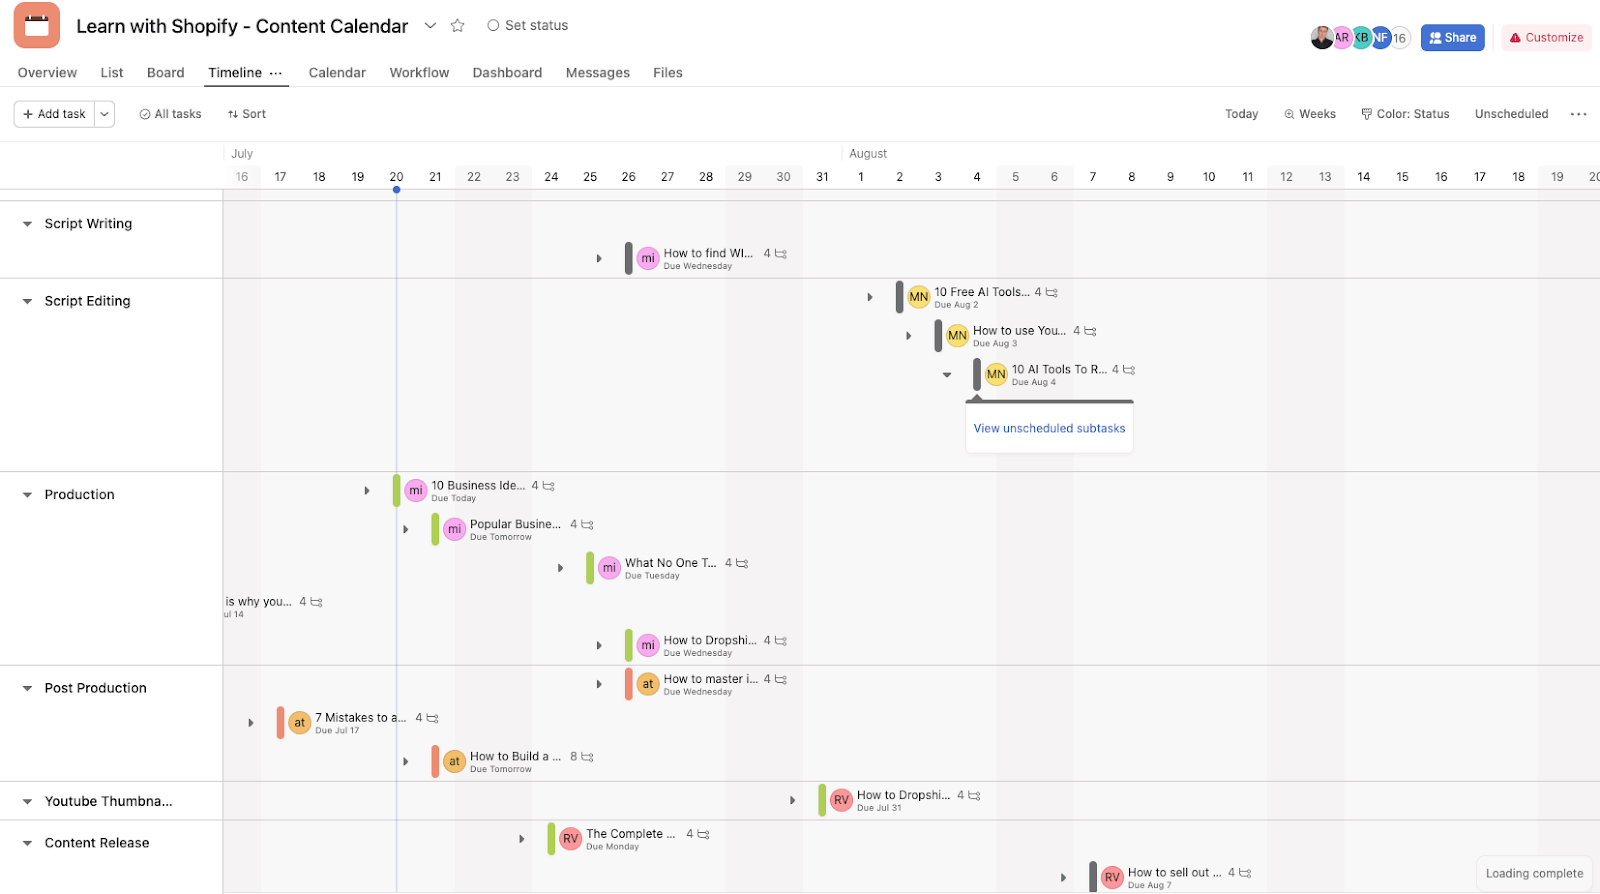
My colleague Lara Unnerstall, a video producer at Descript, uses the workflow and project management platform Asana for all of her video work. She likes it because it’s so conducive to collaboration — the essence of any video production.

“Regardless of whether it’s just you or one or two people, just having one place where everyone can see everything will make your life a lot easier,” Lara says. “Especially if there’s an actual shoot involved.”
Asana, Simplenote, Notion, and other project management platforms are each useful in different ways. The benefit of Asana is that it’s easy to scale up for multiple projects and invite collaborators. Simplenote is more pared down and text-based, giving it a low barrier to entry for those who are starting solo or just want to keep things simple. Notion is a great middle ground—a powerful platform that can work for just about any project, with simple, easy-to-follow graphics and user flows.
Finally, use your calendar app. Create calendar events for every stage of your workflow and set them to repeat every month (or week or whatever).
4. Name your files in a useful way
Like process, file naming is important for keeping yourself organized, efficient, and sane. When you’re shooting multiple takes, working with B-roll, or have different shots, you’ll have a lot of video files flying around. Using a standardized naming system is the only way to keep track of everything and be able to find it quickly when you need it.
Unfortunately, naming any version of your video “.final” is just begging to be jinxed.
Lara and her team follow the same basic format for naming all of their files: TITLE>DATE>VERSION. Each project has a specific title, date, and multiple versions if more than one are produced in a day. So it might look like this: DescripTip-07-15-2022-v1. Don’t overlook the v1 or v2 — they’ll save you from ending up with “FinalFinalDefinitelyTheLastOne.mov” (it’s happened).
Some teams might add other elements to file names, like the client’s name or the editor’s initials. Whatever works for you. Free applications like Post Haste can be a lifesaver by ensuring every file has the exact same naming organization structure, making it easy for others to hop in and out of your project files.
You can also create a blank template folder that you duplicate and customize for every episode. Just remember to be consistent and stick to a system that works for you.
5. Systematize everything
Setting up production documents in a consistent way does more than help keep you organized. At the least, make recurring calendar notifications for brainstorming sessions, whether it’s once a week, twice a month, or quarterly. If you’re interviewing an author, break down the number of pages you have to read per day to finish their book and plot it out. If you’re doing a weekly day-in-the-life vlog that goes up every Friday at 9 a.m., set your calendar to remind you to upload your video every Wednesday at noon. Do the same when creating social posts.
All of these things may sound like no-brainers, or things you don’t want to deal with. But making video comes with some annoyances. The goal should be to systematize everything, except for the parts that can’t be systematized. That’s the creative work—the hard, fun work of making something great.
Video production process FAQ
What are the 4 steps of video production?
The four steps of video production are:
- Pre-production
- Production
- Post-production
- Distribution
What is the basic workflow of video production?
The basic workflow of video production involves three main stages: pre-production, production, and post-production. In pre-production, you work on the concept, script, and logistics. Production is when you shoot the video content. In post-production, you'll edit footage, mix sound, and add visual effects to create the final video.
What is included in video production?
A video production includes everything from concept development to distribution. Pre-production tasks include scriptwriting, casting, and location scouting. Production involves shooting the video content with good lighting and sound. The post-production process involves editing, adding music and sound effects, color grading, and rendering. Lastly, the video is distributed to the intended audience.


