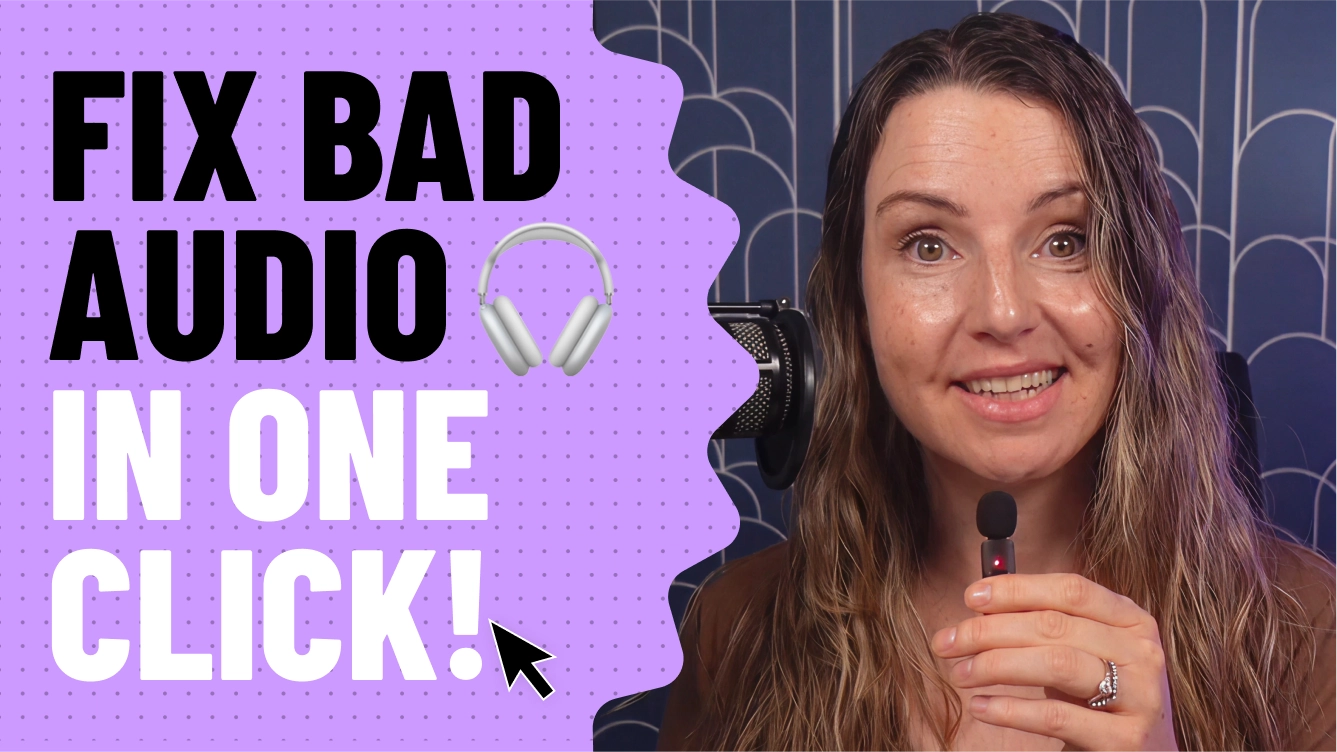
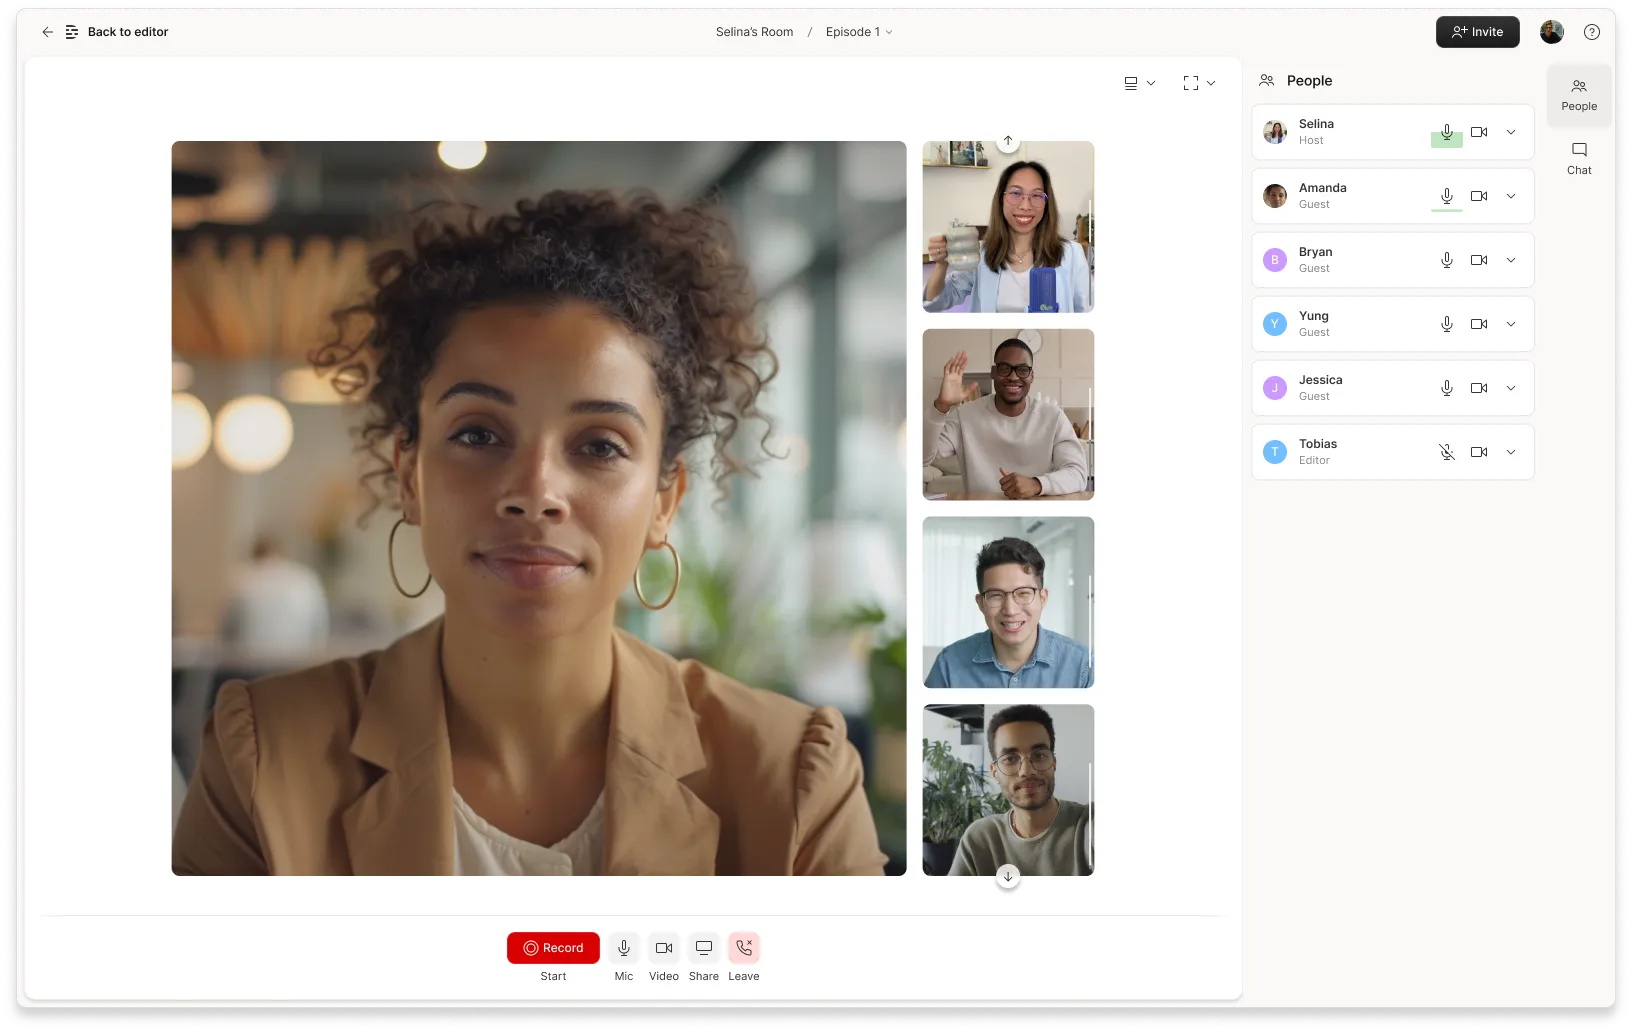
It’s amazing how easily you can achieve quality audio these days. Sound quality is typically an assessment of the accuracy, fidelity, or intelligibility of audio output from an electronic device, which basically means how clear and true-to-life your recording sounds. The microphones in smartphones and the sound enhancement technology in tools like Descript have made it so you can whip out a voice memo on your phone and turn it into professional(ish)-sounding audio in no time.
But if you want high-quality audio, for music, a podcast, an audiobook, or a narrative version of your last will and testament, you need to do more. The good news is a few concrete actions both before and after recording will get you the best-sounding audio possible. And remember, the cleaner the sound you capture on the front end, the easier you’ll have it in post production.
10 tips to improve audio quality
Check out these 10 tips for how to improve audio quality of a recording. Just keep in mind that some will be more relevant to your specific circumstances than others.
1. Record in a quiet location
Improving sound quality doesn’t always call for expensive equipment and advanced technical know-how. The easiest way to capture a high-quality audio recording is to find the quietest recording space possible. While it’s somewhat obvious to close your windows and avoid recording near noisy outdoor distractions (traffic, barking dogs, airplane routes, construction sites, etc.), it’s equally important to focus on noise removal inside of your recording space. Turn off air conditioning, fans, furnaces, and any unnecessary electronics (including phones). And use headphones, which can pick up more imperceptible sounds — like the faint buzzing from a lightbulb or the low hum of a nearby refrigerator — that you can’t always hear on your own.
2. Avoid echo
While it’s entertaining to shout inside a tunnel and hear your voice echo back at you, unwanted echo within an audio recording is no fun for anyone. Taking steps to eliminate echo prior to recording is a key factor in improving your audio quality.
A good rule of thumb is to stay away from locations with hard surfaces. Recording in a space with lots of soft surfaces — carpet, curtains, tapestries, and soft upholstered furniture — will help absorb sound waves and reduce echoing. Smaller rooms also tend to fare better than larger rooms too. If you have a lot of hard surfaces like wood floors throughout your house, try recording in a walk-in closet surrounded by hanging clothes.
3. Invest in a decent microphone (if you can)
Optimizing your recording environment is the first step, but the quality of your audio also depends greatly on the quality of your microphone. The good news: built-in microphones on desktop computers and laptops have come a long way, and technology has given us editing tools, like Descript’s Studio Sound, that can help make a voice recording on a bad mic sound like it was recorded in a studio. So if you can’t afford a mic, just record in a suitable space and make sure you have the tools to clean it up in post-production.
Even better news: there’s a slew of cost-effective external USB mics that require minimal setup and plug directly into your computer. For a great-quality USB mic at a reasonable price, we recommend the Audio-Technica ATR2100x-USB.
However, if you need to use two mics at the same time (like for a podcast with two hosts in the same location), USB mics are a huge hassle to set up properly. Instead, opt for XLR mics. They’re pricier and require a mixer or audio interface to connect to your computer, but they provide better sound quality and allow you to split each speaker into separate channels (more on separate channels later). The Shure MV7, which has both XLR and USB connections, is a solid XLR pick.
Whether you go for a USB or XLR mic, if you’re an independent audio producer, you’ll likely want a dynamic mic over a condenser mic. Condenser mics are more sensitive and give you crisper sound, but they’re meant to be used in a completely soundproof professional recording studio — so they’ll pick up more unwanted background noise than dynamic mics.
4. Get a microphone stand
After spending money on a mic, protect your investment with a quality mic stand. Mic stands protect your mic from falling over (and subsequent damage), and also prevent it from picking up unwanted vibrations. Plus, they free up your hands, so you can take notes, move cables around, or whittle a set of shrimp skewers while you record.
There are several types of mic stands to choose from, but desk-clamp models like the Rode PSA1 are popular among podcasters. The only caveat is that if you knock the desk while recording, the mic could pick up that movement — so it’s a good idea to mount the stand to a piece nearby furniture instead.
5. Use a pop filter
A pop filter is a screen that goes in front of your microphone and protects it from air expelled by spoken plosives — aka consonants like “p,” “t,” and “k” that cause a burst of air to release from your mouth when you pronounce them. Without a pop filter, the blast of air can hit the microphone and cause an audio distortion. Quality pop filters are easy to find online and in your local audio equipment store for as little as $10.
6. Stay close to your microphone
You can unload a month’s paycheck on the latest top-of-the-line XLR mic, but that premium mic won’t do you any good if you’re standing too far away from it while you record.
To capture the best quality voice recordings, position your mouth four to six inches from your mic.
7. Use a mixer to split up audio channels
While you can certainly record good audio without one, a mixer lets you enhance audio recordings when using two or more XLR mics. Without a mixer, every voice ends up on a single audio channel. That limits your ability to adjust the volume and add other audio effects to individual speakers. For instance, if you have one podcast host who naturally talks way louder than their co-host, you can use a mixer to decrease the recording volume on the loudmouth’s audio track, so in the final edit, both hosts’ volume levels sound equal.
When choosing a mixer, look for one that has enough XLR inputs for the number of people you’ll have on mic.
8. Make a test recording
Just as musicians do sound checks before a big performance, making a quick test recording lets you nip any audio issues in the bud before you start your real recording. Remember that ‘intelligibility’—how easily someone can understand what you’re saying—matters just as much as volume or tone. You can’t always hear audio issues with your own ears, so listen to the test recording with headphones and make any necessary adjustments to your setup. Even though it adds a few extra minutes to your prep time, you’ll be thankful to catch problems beforehand, rather than 30 minutes into your recording session.
9. Properly set your gain
Gain refers to the decibel (dB) input volume of the recorded audio signal. If you set your gain too high (i.e. too loud) it’ll likely create distortion in the audio. To properly calibrate your gain, position yourself in front of your microphone, say a few test sentences at your loudest expected volume. Then check the levels in your recording software to make sure they don’t hit that red “danger” area. If they do, decrease your gain until the levels no longer peak when you’re speaking at the expected volume.
10. Edit your recording
Don’t stress yourself out trying to capture the perfect sound. No matter how well you prepare before you record, you’ll probably bump into an unforeseen element or two that negatively affects the sound quality of your audio file. So expect to spend a little time in post production, where you can fix most imperfections with simple editing work. If you’re publishing a podcast or distributing online, aim for a consistent bitrate—around 96kbit/s or higher—and consider normalizing volume so your listeners won’t have to constantly adjust it.
Luckily with modern audio software, you don’t need to be a professional sound engineer to improve audio quality of a recording. There are tons of software options that novice editors can use to remove background noise, adjust levels, and fix other sound imperfections. We’re obviously biased, but we think Descript is the best option in terms of easy-to-use features to improve the quality of your recordings.
How Descript can improve audio quality
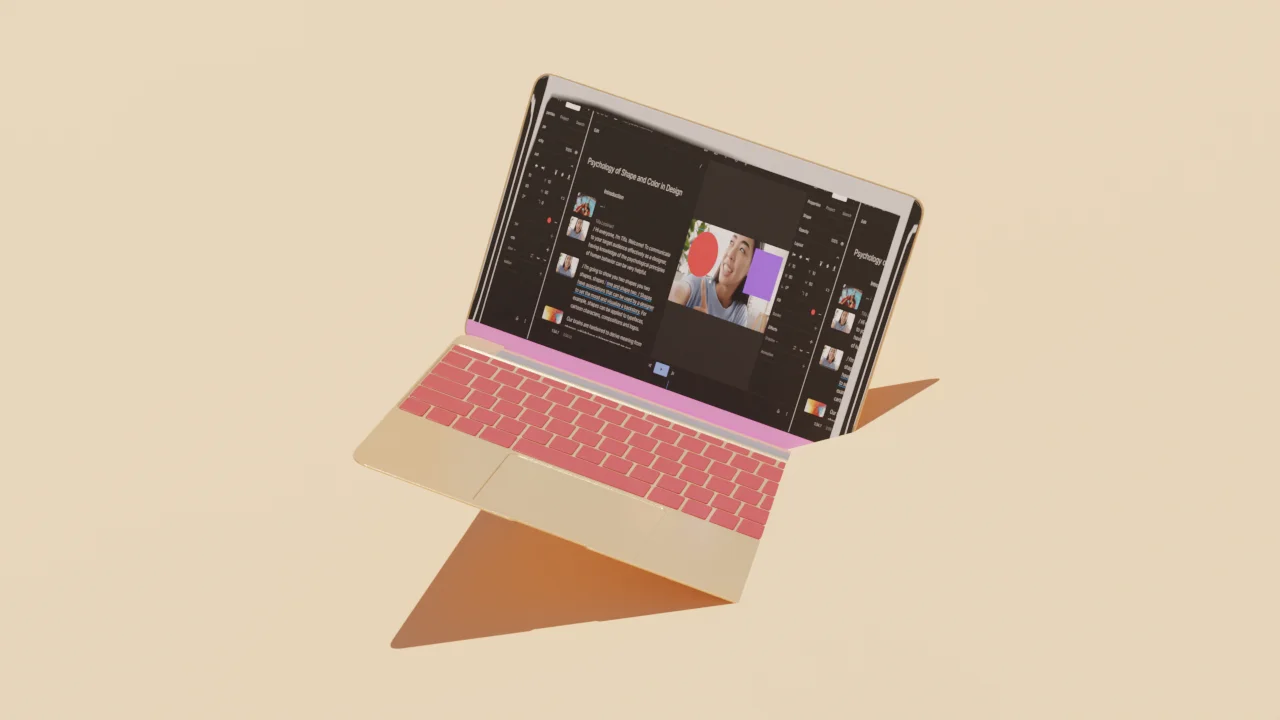
In Descript, you can edit audio or video content using traditional timeline-based editing, or edit by simply changing the text of the automatic transcription, the same way you’d edit a word document. Here are a few other audio editing features that make Descript stand out:
- Studio Sound. As noted above, Studio Sound is a one-click enhancement that makes it sound like you recorded in a professional studio, even when you didn’t. This feature removes background noise and room echo while simultaneously enhancing speakers’ voices.
- Overdub. Ever wished you could fix mistakes by typing what you wish you said? This impressive AI tool creates a text-to-speech clone of your voice that makes adding words to your recording as simple as typing into a word document.
Filler Word Removal. The Filler Word Removal tool detects superfluous filler words and phrases like “um,” “like,” and “you know” and lets you instantly remove them, so you sound more eloquent — and your podcast moves at a quicker pace.
Pro tip: You can also quickly normalize volume in Descript by adjusting gain levels or using the built-in tools to keep everything at a consistent loudness — your listeners’ ears will thank you.
Frequently asked questions
Why does audio quality matter?
High-quality audio sounds clear and professional, so people can focus on what you’re saying instead of background noises or distortion. This creates a better listener experience and keeps them engaged.
How can I remove background noise in Descript?
Enable Studio Sound on the clip you want to clean up. Descript’s AI automatically suppresses background noise and echoes, smoothing out your audio so it sounds professionally recorded.
What is a recommended sample rate and bit depth for recording?
A 48 kHz sample rate and 16- or 24-bit depth are standard for podcasting or voiceovers. This combination provides clear audio detail without creating huge file sizes.
How do I keep audio levels consistent when editing?
Use loudness normalization or volume automation to smooth out uneven parts. In Descript, you can set a target loudness to ensure that all segments remain clear and balanced throughout your recordings.
What’s the difference between compressed and uncompressed audio?
Uncompressed files (e.g., WAV) preserve all recorded details, making them larger. Compressed formats (e.g., MP3) reduce file size by discarding data that’s less noticeable, though this can slightly affect audio fidelity.


%20(1).JPG)


