You have a bunch of high-quality images in your camera roll. You’ve learned—either by experience or browsing content from other creators—that videos get incredible engagement across social media.
Luckily, you don’t have to head out and shoot video footage to take advantage. You can lean on the GIF concept to make stunning videos from images that enhance storytelling, capture memorable moments, or convey messages effectively.
This guide walks you through making compelling videos from pictures, from finding the right software to creating a video your audience wants to watch.
3 ways to make a video with pictures
There are three techniques to turn pictures into video. Let’s explore each one.
Use video editing software
Video editing software exists to make your life as a creator easier. Here’s the step-by-step process of using software to turn images into video.
- Choose software. The first step is selecting a video editing tool that suits your level of expertise. Thousands of creators use Descript, though you can also explore other popular editing options like Windows Movie Maker to get started.
- Import pictures. Once you’ve found your software, open the tool and import the pictures you want to use in your video.
- Arrange sequence. Drag and drop the pictures onto the timeline in the order you want them to appear.
- Add effects and transitions. Enhance your video by adding transitions between pictures, applying effects, and adjusting the duration of each video clip.
Use online video maker tools
If you’d rather not download software, you can create a photo slideshow using an online slideshow maker.
- Select an online video maker. Choose a free video maker tool such as Canva or Visme.
- Create a new project. Start a new project and choose the template or format for your video.
- Upload pictures. Upload the images you wish to include and arrange them within the video template.
- Customize elements. Add text, captions, animations, and background music to enhance your video's appeal.
Use mobile apps for video creation
You don’t need a desktop or tablet to create slideshows. Here’s how to use your smartphone to make videos using images:
- Install app. Download and install a video creation app like InShot, Quik, or Magisto. All options are compatible with popular smartphones like the Apple App Store (for iPhone devices) and Google Play.
- Import photos. Import your pictures from your phone's gallery into the mobile app.
- Edit and enhance. Use the app's features to trim, arrange, and edit your video.
- Add music and effects. Include background music, filters, and effects to make your video visually engaging.
Best practices for creating a video from photos
You’ve got the foundations of your video. Now it’s time to turn your video slideshow into a piece of content that your audience wants to engage with.
Craft a compelling storyline
A storyline helps viewers follow along with your video.
Scenes, context, and meaning are the key components of a great story. Arrange your images in logical order and walk the viewer through a journey using video.
Yulia Saf is one creator who puts this into practice. She says for Miss Tourist, “Slideshow videos provide a dynamic and immersive storytelling platform, bringing destinations to life and giving viewers a taste of local life worldwide.”
Miss Tourist has a montage of images of touring Ireland, which amassed more than 50,000 views in a single week. “Not only did it captivate viewers, but it also helped boost followers, highlighting the power of image-based videos in audience engagement and growth,” Yulia said.
“Our use of image-based videos as travel bloggers showcases our creativity and ability to communicate the essence of a destination. Unsurprisingly, this format has been key to building our brand and gaining a strong following,” Yulia said.
Choose high-quality images
Let’s be honest: there’s a never-ending flood of social posts. Only truly striking images will make people pause long enough to notice your video.
Take this into account when turning your pictures into a video. Only include the highest quality visuals—images that are clear and easy to see, with the subject in focus. Here’s an example from The Tur-Shirt Company:
Maintain a consistent visual style
Consistency is important if you’re an online creator. The goal is for people to recognize your content even if your social media handle or brand name is stripped from the video.
Sarah Roberts, Founder of A Beauty Edit, is one creator who puts this into practice: “Through image-based videos, I can demonstrate the precise and careful application of skincare products, capturing every intricate detail with finesse.
“By providing close-ups of textures, colors, and blends, I take my audience on an immersive journey into the world of self-care and rejuvenation.”
It’s an approach that pays off. According to Sarah, the videos have a remarkable impact on viewer engagement: “The comments overflow with expressions of admiration and appreciation for the guidance provided, and the engagement metrics demonstrate the strong resonance these videos generate.
“Each time I publish one of these videos, I receive at least 25 comments and achieve 10,000 views per post.”
Use appropriate transitions
A video transition is the technique creators use to connect two images.
Instead of defaulting to harsh cuts from one image to another, soften the viewing experience with transition effects like:
- Crossfade, which blends one image into the next
- Wipe, where new images appear behind the old ones in a clockwork fashion
- Slide, where the previous image glides off the side of the screen as the next one appears
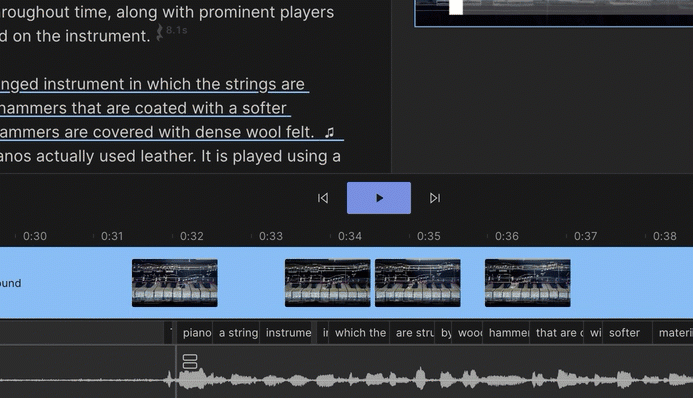
Descript makes it easy to configure these transitions for video slideshows. Just upload your images to the video editor and select a new transition from the project timeline:
Sync with background music or audio
Music goes a long way in setting the scene for your video.
Background music can also stop social media users from scrolling past your content, especially if the platform they're using automatically plays sound out loud.
Find royalty-free music from sources like:
- Descript
- Artlist
- Pixabay Music
- Free Music Archive
Upload your audio file to the image video maker you’ve chosen. Descript will add the music at the start of your slideshow, though you can use the trim tool to cut, trim, and slice background music.
Mind the pacing and timing
Pacing a video is something many creators struggle with when turning their images into a video.
There’s a fine line between leaving photos on the screen for too long and losing the viewer’s interest, and skipping through them too fast and leaving your audience confused.
Unfortunately, there is no golden rule when pacing your video. It depends on the type of slideshow you’re creating. Action videos, for example, are fast-paced. Interviews, on the other hand, need to be on the screen long enough for viewers to read the accompanying text.
Make sure whatever pace you choose is consistent throughout the video. Consistency prevents the viewing experience from feeling too disruptive.
The easiest way to create a video with pictures in Descript
Descript is a free photo video maker trusted by thousands of creators. Let’s walk through how you can use the platform to create a video using photos.
Step 1. Start a new project and upload your images
First, download the Descript app for Mac or Windows. Create your account, open the dashboard, and start a new video project.
Head to the media tab and upload your images:

Step 2. Edit your picture video
Once your photos are in the project, use the timeline feature to rearrange them.
Choose a logical order that makes sense. If you’re giving people a tutorial, for example, hit the space button on your keyboard to preview the video and check the images are in the correct order.
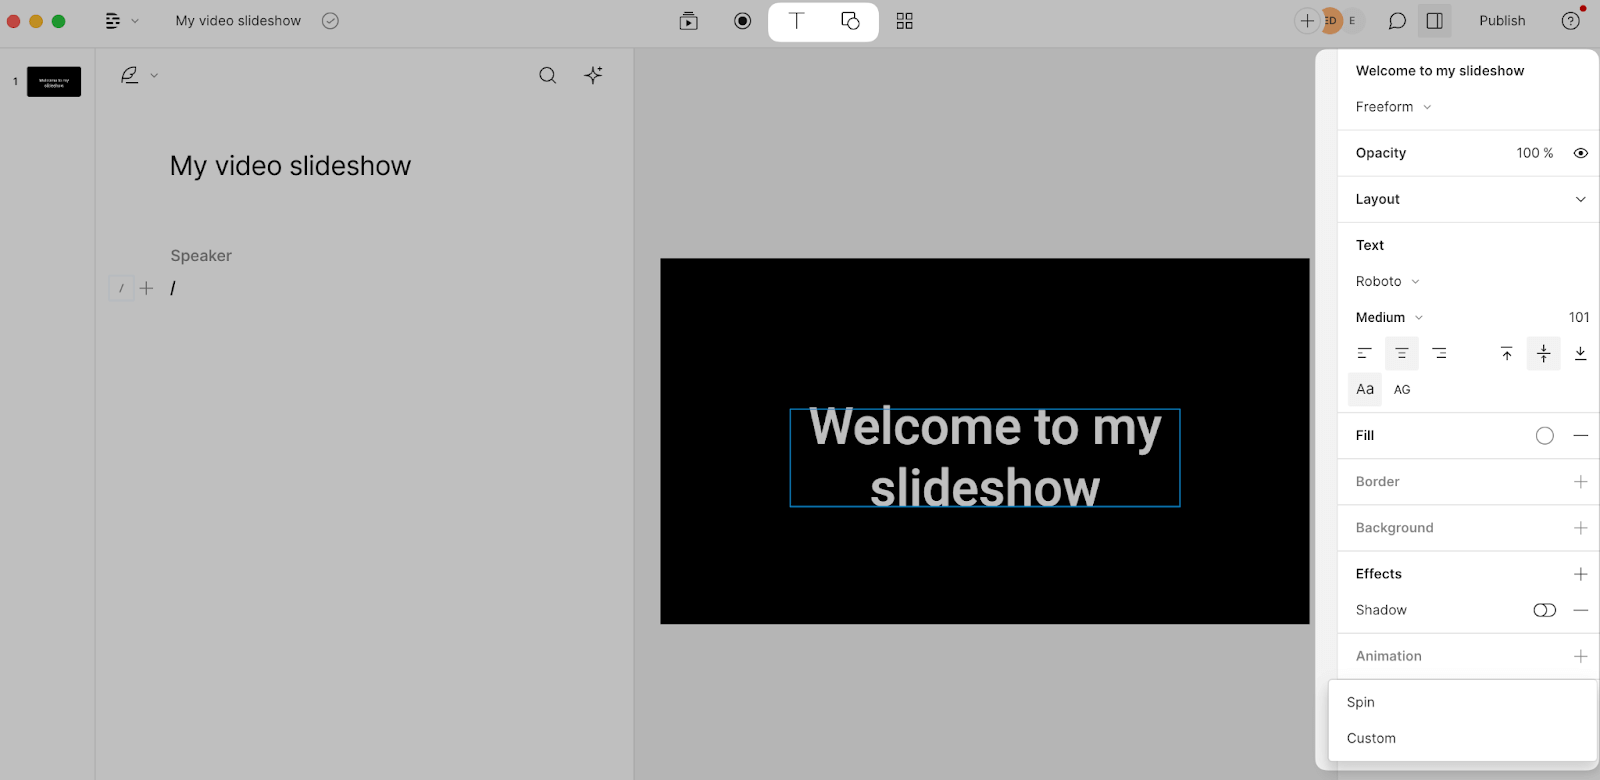
Step 3. Add text and music
Add text, shapes, and music to your slideshow without leaving the Descript dashboard.
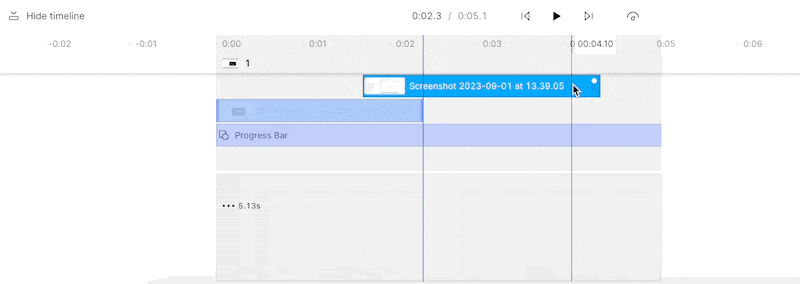
Head to the T icon to add text to your video and customize the font. The shape icon adds squares, rectangles, waveforms, and progress bars—the latter is great for lengthy video content. It shows viewers how far they are in the video.
You can also use the file upload button to add sound effects to your video.
If you’ve found royalty-free music on sites like Pixabay, upload the file from your device. Alternatively, use the built-in library of music and sound effects to add personality to your photo slideshow.

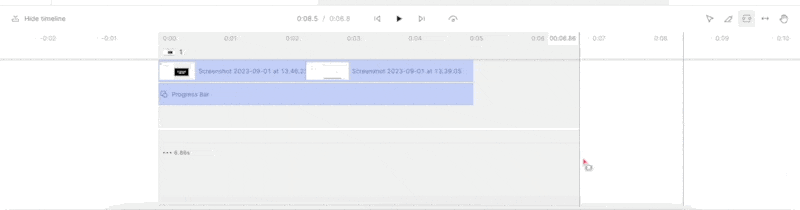
Use the project timeline to play around with your elements and timing. Just click the end of each layer and drag it to suit.
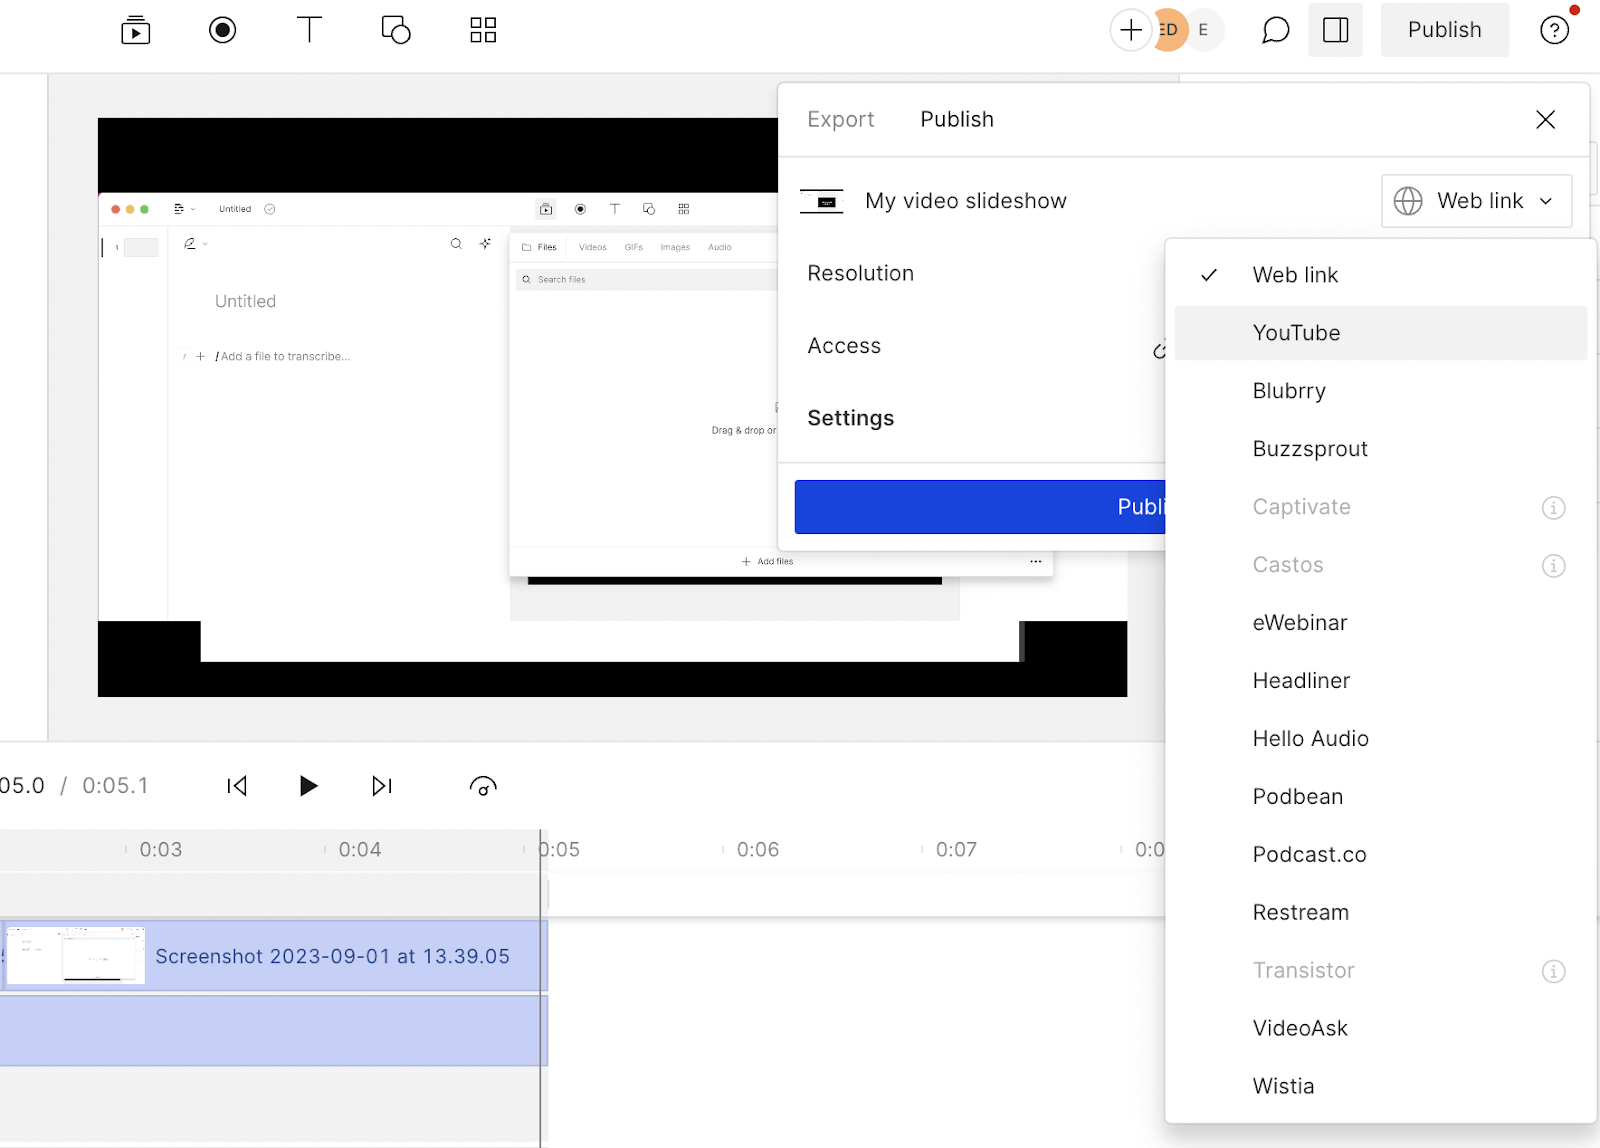
Step 4. Preview, export, and share
Before your image slideshow is released into the wild, spend a few minutes previewing it. Check for any harsh transitions or overlaid photos, and make sure each image is on the screen long enough to understand.
Before your image slideshow is released into the wild, spend a few minutes previewing it. Check for any harsh transitions or overlaid photos, and make sure each image is on the screen long enough to understand. Once you’re happy with your new project, hit the Publish button. You can use the export button to download your slideshow as an MP4 file or share it directly to sites like YouTube and Wistia.
How to make a video with pictures—FAQs
How can I make a video from my photos?
- Open Descript’s video editor
- Upload images from your camera roll
- Arrange the photos
- Add transitions
- Select background music
- Export your slideshow
How do I make a short video with pictures and music?
- Choose a video editing tool like Descript
- Upload your images
- Shuffle the order of your photos
- Upload royalty-free music
- Time the music to your images
- Save and export your video slideshow
Which tool can I use for making a video with pictures and music?
Descript is a user-friendly tool for creating videos from pictures and music. You can upload your photos, drag them onto the timeline, arrange them in a logical order, and add background music. If you want subtitles, text, or stickers, just click T in Descript to add them. When you’re done, Export your slideshow as an MP4 file.
How do I make a video with pictures on my iPhone?
On iPhone, open a mobile-friendly video editing tool (like Descript’s iOS app). Upload images from your camera roll, arrange them on the timeline, and add any music or text you want. When you’re satisfied with the slideshow, export and save it to your camera roll.