With all the good news around podcasting—exploding listenership, ad dollars pouring in, Ira Glass achieving immortality—there’s also one totally vexing news cycle: what to do about video podcasts. You keep hearing you need to make one. But chances are, you haven’t, and for good reasons: it’s hard, it’s expensive, it probably takes everything you’ve got just to get your audio episodes done.
So let’s talk about video podcasts because, quite frankly, there’s a lot to unpack.
Table of contents:
- What is a video podcast?
- Why create a video podcast?
- Types of video podcast formats
- How to make a video podcast
What is a video podcast?
Don’t overthink this one. A video podcast is exactly what it sounds like: a podcast with video. While purists might say it’s a misnomer — a podcast, by many definitions, requires an RSS feed, and video podcasts are mostly hosted and distributed on YouTube, sometimes Vimeo, and podcast websites — a video podcast follows the same rules of an audio podcast but combines audio and video elements together. The video element could be as simple as a static image or as complicated as a fully-produced documentary-style interview.
Video podcasts are an excellent way for podcasters and content creators to share their knowledge, opinions, and stories with a wider audience, while also providing a more personal and interactive experience compared to traditional audio-only podcasts. But you don’t have to choose one or the other: most video podcasts are produced alongside an audio-only version. That way, you can cater to multiple audiences at once.
Why create a video podcast?
Video podcasts are a great platform for educational content, interviews, discussions, and storytelling. By incorporating visuals, such as graphics or animations, you can more easily convey complicated or visual concepts that are hard to explain in audio.
However, adding a visual element to your podcast means more time in the editing booth, possibly a lot more. But, with all the different ways you can add a visual, you get to decide just how much more time you want to invest. And as with all things craft- or content-related, there’s a basic trade-off: the more time and effort you put into it, the better the output.
With that in mind, the question remains: Why create a video podcast?
1. The video podcast category is growing
Despite podcast listenership still growing, it can be competitive to grow podcast listeners with audio podcasts. But with video podcasts a YouTube channel is a good option as YouTube now draws a bigger podcast audience than any other platform. For that reason alone, a visual element can be what helps your show grow from the ground up.
2. It’s easier to get and hold a podcast listener’s attention
One of podcasts’ main attractions is the convenience of an audio experience. You can listen in while folding laundry, running errands, or working out. You’d think adding video elements would be counterintuitive, but it actually works out in your favor. Viewers are inherently more engaged in video consumption because of the attention it requires.
Humans are largely visual creatures. Body language and facial expressions can provide more information than spoken language alone. Also, some people just prefer consuming video content. By adding a visual of the people talking on your podcast, you open yourself up to a bigger audience and give yourself more ways to convey your ideas.
3. You can repurpose the content across social media
When you put the work in and create a video podcast, you’re giving yourself hours of content that can be cut up and repurposed everywhere. After all, video is the best-performing content type across all social media platforms.
Video just works better on social media. These platforms are optimized for video, not audio (and barely even text). All of them have videos set to autoplay, muted by default. Adding video to your podcast means more eyes on your content across all social channels.
TIP: If you’re looking for some workflow tips, we’ve got that covered in a separate post.
If you’re looking for a primer on video podcasting, with a full breakdown of all the options out there, you’re in the right place. Here’s a rundown of the different kinds of video podcasts we’ve been seeing in the wild.
Types of video podcast formats
1. Static image
Effort level: Very low
Example:
This is the easiest option out there. It just requires some simple video editing software so you can put an image over your audio. We know a video tool that makes it super-duper easy (it's Descript, in case that wasn't obvious). The image could be a logo or an image of your guest, or just something relevant to your content. You could even go a step further and add captions or a waveform to make it feel dynamic like a video.
But, like all things in life, you get what you pay for. It’s not as engaging for listeners as some of the other options, since it’s basically just a way to sneak audio files onto video platforms.
PRO TIP: Up your game with a short looping video or GIF instead of just using a static image. You’d be doing equal amounts of work for a much more interesting visual. (Check out Wondery's Even The Rich for an example.)
Remote interview recording (talking heads)
Effort level: Low
Example:
Pre-pandemic this probably would have been seen as lazy, but these days it’s basically the norm.
This is the easiest way to do remote recording, so it’s a good default if you can’t get everyone in the same room together. It doesn't require any special gear beyond a laptop, since you’re basically just going to record a Zoom call for it.
You’ll be putting a lot of trust in your software and internet, though. If either one fails, for any person in the show, at any point of the recording, you could be left with gaps in the episode, or no episode at all.
In-studio recording
Effort level: Medium
Example:
There’s a lot to be said for the energy emitted when you record in person, and an in-studio recording is a great way to share that energy with your listeners. And, as far as effort goes, it sits at a very happy medium.
You’ll need to set up at least one camera to record the conversation; if you want more angles you can always add them, but be aware that multiple cameras makes for far more complex editing. Video podcasts using the multi-cam method usually have a wide-angle shot of the whole studio and a camera on each individual speaker.
Spoiler: cameras are expensive. Plus, video editing can have a steep learning curve — though, again, if you’re using Descript it’s considerably flatter. Oh, and to record in a studio you need…a studio. That means you’ll probably have to pay for time in one. You’ll have to invest both time and money to see the full payout of an in-studio recording.
Interview & B-roll recording
Effort level: High
Example:
Once you start adding B-roll, is it even a podcast anymore? Call me a purist, but it feels like we’re treading into television territory at this point.
That said, this is by far the most engaging form of video podcasts. It’s a great way to show the audience the content you’re talking about, so you can capture their attention on multiple levels. Viewers will stay far more engaged when they can rely on both seeing and hearing the story you want to tell.
It will require a lot of effort in post-production, though, and you’ll likely end up spending even more time on the video side than the audio. It could also get expensive, depending on whether you need a camera to film the B-roll yourself, hire someone to shoot, or have to pay to license it from the web.
Animation
Effort level: VERY high
Example:
Animation is ridiculously time-consuming. Unless you’re getting paid for it or getting a degree in it, consider another format. If you want to go for it, you’ll need to get your hands on some drawing and animation software. Or, if you want a more “hack-y” version, you can always draw a few simple images or characters and then keyframe them around in any video editing software. Or request a higher credit card limit and hire an animator.
How to make a video podcast
Many people who start a video podcast already have an audio-only show and are just branching out to visuals. If that’s you, this workflow is more your speed. But if you’re starting from scratch, read on:
Step 1: Plan your production and choose a podcast format
Planning a podcast production becomes easier as you flesh out your identity and style. So to start, pick whichever topic interests and excites you the most. And the good news is, you won’t be stuck with your initial choice for all of eternity. For example, you can experiment with an easy static image to get the hang of it and try working your way up to something more challenging.
Planning checklist:
- Choose a topic: Pick a subject that you're passionate about and that will interest your target audience.
- Define your target audience: Determine who your ideal listeners are, and tailor your content to their interests and preferences.
- Decide on a format: Choose between solo, co-hosted, or interview-based formats, depending on your preference and resources.
- Create a content plan: Outline your episodes, including topics, guests, and key talking points.
Step 2: Decide on a setup and purchase equipment
In-studio recordings or interviews will require a lot more setup. You’ll have to figure out how you want to angle cameras, and make sure the room you’re filming in is clean with plenty of good light. In terms of new podcast equipment, the microphone can make all the difference so that’s where you want to invest your money.
Equipment and software checklist:
- Microphone: Invest in a good quality microphone for clear audio.
- Camera: Use a high-quality camera, iPhone, or webcam for video recording.
- Lighting: Ensure proper lighting to enhance video quality.
- Recording software: Choose a reliable software app for recording audio and video, such as Descript, OBS Studio, or Zoom.
- Editing software: Select a video editing software like Adobe Premiere Pro, Final Cut Pro, or Descript for post-production.
Step 3: Record and build a catalog of episodes
The recording process involves setting up a quiet, well-lit space with minimal distractions and testing your equipment for optimal audio and video quality — especially if you’re live streaming.
During the recording, follow your content plan, speak clearly, and maintain eye contact with the camera to create engaging and professional video podcast episodes.
Recording checklist:
- Set up your recording space: Choose a quiet, well-lit location with minimal background noise and distractions.
- Test your equipment: Check your audio and video quality before recording.
- Record your episode: Follow your content plan and record your podcast, ensuring that you speak clearly and maintain eye contact with the camera.
Step 4: Edit your recording until it’s a polished full episode
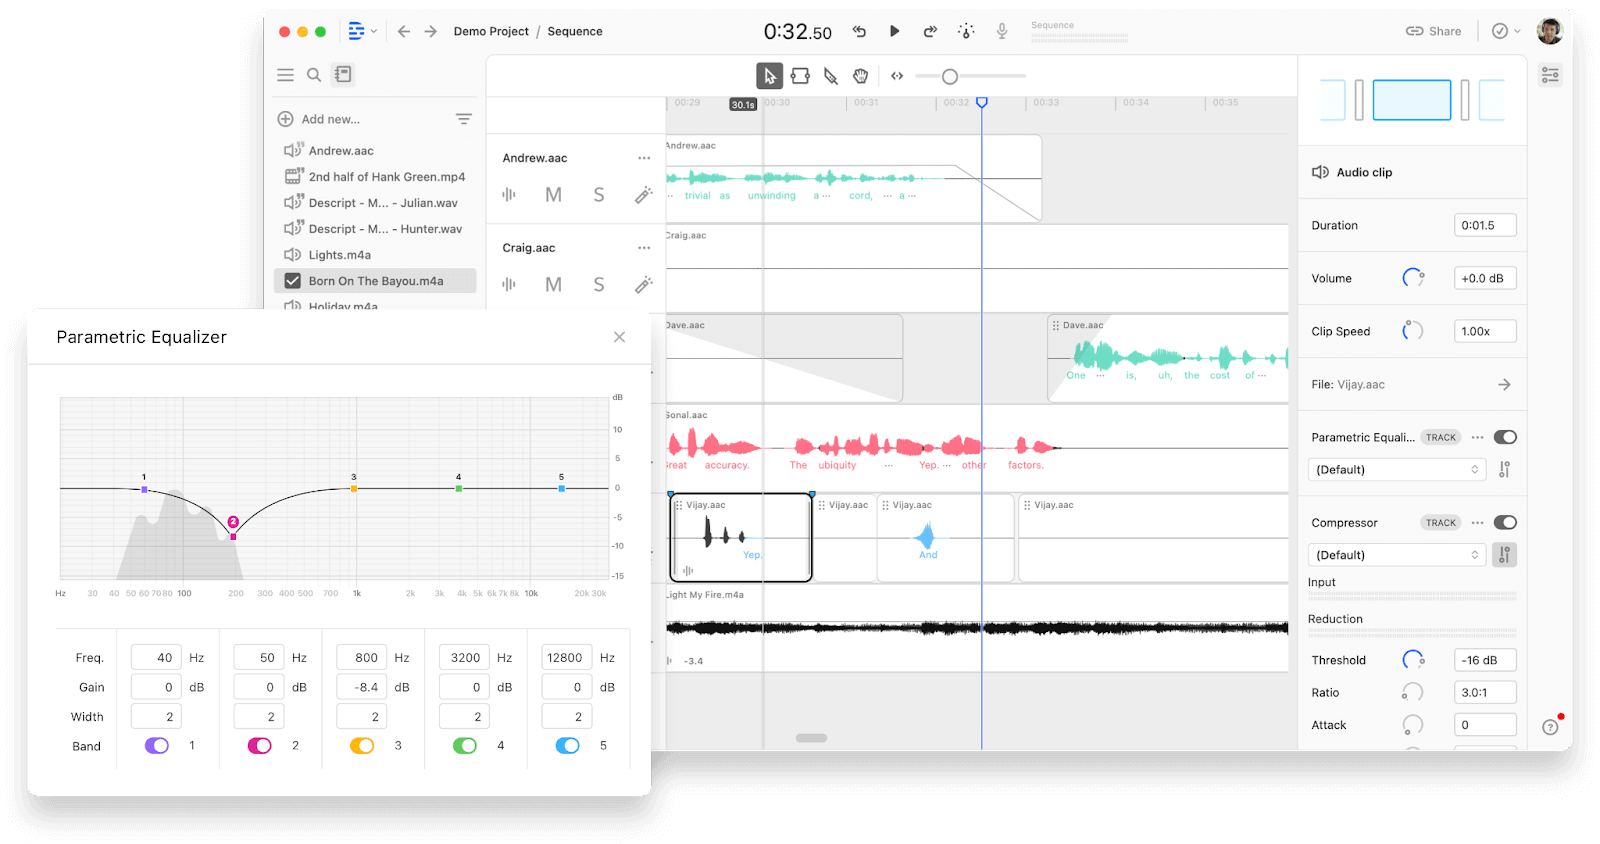
Once you’ve edited your audio, sync it with whatever visual you went with. If you’re doing a recording of an interview, it will take some editing work to line everything up. Here again we’ll note that if you’re using Descript, you can edit the audio and the video in the same project — otherwise you’ll need two different editing tools, and have to export, import, and generally burn a lot more time.
If you can find ways to incorporate fun edits and effects, you can create an even more engaging piece of content for your audience. Even simple things like zooms, cuts, and transitions can raise the video production value of your podcast.

Editing checklist:
- Import your footage: Transfer your recorded files to your editing software.
- Trim and arrange: Cut out any mistakes or unnecessary parts, and arrange your clips in the desired order.
- Add intro and outro: Create and insert an intro and outro to give your podcast a professional touch.
- Add music and sound effects: Enhance your podcast with background music and sound effects, if desired.
- Export your video: Save your edited video in a suitable format for your chosen platform.
Step 5: Publish and promote your video podcast
You’ve recorded the audio and video, you’ve synced it up, and you’ve made an engaging thumbnail. All that’s left is to send it into the world. Wherever you upload it — YouTube has the largest audience and strongest search tool, but there are other platforms — make sure you share it out across all of your social media channels.
Publishing and promoting a video podcast checklist:
- Choose a hosting platform: Select a video hosting platform like YouTube, Vimeo or Libsyn (which comes with an RSS feed) to publish your podcast. Now, the two popular podcast platforms, Apple Podcasts and Spotify, have video hosting options.
- Upload your video: Follow the platform's guidelines to upload your video, including adding a title, description, and tags.
- Promote your podcast: Share your podcast episodes on social media, your website, and through email marketing to reach a wider audience.
- Repurpose content into small clips: TikTok and Instagram make perfect places to post quotable moments or hooks that will pull in new listeners. And if you’ve uploaded to YouTube, you can publish clips to YouTube shorts directly from your full-length video.
- Engage with your audience: Respond to comments and feedback to build a community around your podcast.
Remember to be patient and consistent in producing and promoting your own podcast. It may take time to build an audience, but with dedication and quality content, you'll see growth over time.


