Everybody is an interviewer.
Lawyers interview clients about the details of a case. UX designers interview focus groups about their experiences using digital products. Lots of us interview candidates for jobs. When we pepper a friend or family member with questions about something that happened to them, we’re basically interviewing them. An interview is just one person asking another question to get information.
But as common as interviewing is, most of us aren’t very good at it. A truly successful interview elicits new information, helpful insights, or fresh perspectives, and that’s harder than you might think.
If you’re a creator trying to build an interview podcast, you have to treat interviews as part of your craft, just like writing, editing, or sound mixing. That means studying up on how to do it well, then working to hone your skills. As always, there will be lots of trial and error.
To get you started, here’s what you need to know about why and how to record an interview.
11 tips to master recording interviews
You can do a few simple things before, during, and after recording to make the process smooth, easy, and successful.
Before the interview
1. Write out a short list of questions
The conversation will probably veer off in different directions — and that’s okay. Have a list of the most important questions in hand so you can steer things back on track and cover the information you need. For more advice, read our guide to writing interview questions.

2. Check and charge your equipment
Few things are more frustrating than running out of battery or storage space in the middle of an interview.
The night before, check everything and organize backup power sources and storage devices if necessary. Also, consider updating your smartphone to the latest iOS or Android software if that’s how you plan on recording audio.
3. Avoid noisy recording spaces
Clear audio makes for easy reviewing, transcribing, and (if necessary) editing. So avoid recording audio in your local cafe and choose a quiet recording spot. If you’re conducting a remote interview, ask your interviewee to do the same while recording the call.
Small spaces with lots of soft surfaces are great for diminishing background noise. And don’t forget to put your phone on airplane or silent to avoid phone calls interrupting the interview recording.
4. Set your interviewee at ease
Be sure to explain the interview process and encourage your guest to go slowly and pause to think whenever needed. Reassure them that anything can be edited out, like misspeaking or mistakes. Give them the option to start the answer to a question again if they look flustered or lose their train of thought.
5. Make a test recording before you begin
Always check to make sure you’re capturing all audio and that everything is running smoothly before you launch into your interview. A quick test of your recording software or video recording software is ideal to make sure it’s up and running.
During the interview
6. Ask permission to record your guest
Always formally ask your interviewee for permission to record them. Do this immediately after you start recording so that you have their consent recorded with the interview.
7. Monitor your audio levels
Almost any voice recording app will show a visualization for your audio levels. Keep an eye on this, because it’s the fastest way to know if something has gone wrong and you’re no longer capturing the all-important audio.

8. Stay calm if something goes wrong
If you run into any problems while recording, don’t get flustered. Instead, let your interviewee know and take time to fix the problem. If you can’t find a quick solution, well, that’s why you brought a backup, right?
9. Don’t talk over your interviewee
In the audio biz, this interview technique is called “cross-talking.” If your guest interrupts you, stop talking and let them continue. If more than one person is talking at the same time on a recording, it’ll be hard to discern what either is saying when going back to review or transcribe the conversation.
After the interview
10. Save immediately
Once you’ve finished the interview, save your recording (and any backup recording) you’ve made ASAP. Consider saving your audio and video files in multiple places, too, like on cloud storage like Dropbox and an external hard drive.
11. Transcribe your interview with an app
A transcript makes reviewing the content easier because we can read faster than we can listen. Also, if you have a digital transcription, you can use the search function to easily navigate the interview.

Since manually transcribing an interview can be tedious, consider using an app like Descript, which automates the process.
What do you need to record an interview?
Recording an in-person interview can be as simple as placing a tape recorder between you and your guest. However, if you want a truly useful recording, it helps to be prepared with the right interview recording equipment.
Voice recorder
Recording a high-quality interview in person requires more equipment. Your smartphone’s native Voice Memos recorder app is a basic, accessible, and easy-to-use recorder.
A digital recorder, like the Zoom H4n, offers better audio quality and often has more recording space than an iPhone loaded with apps.

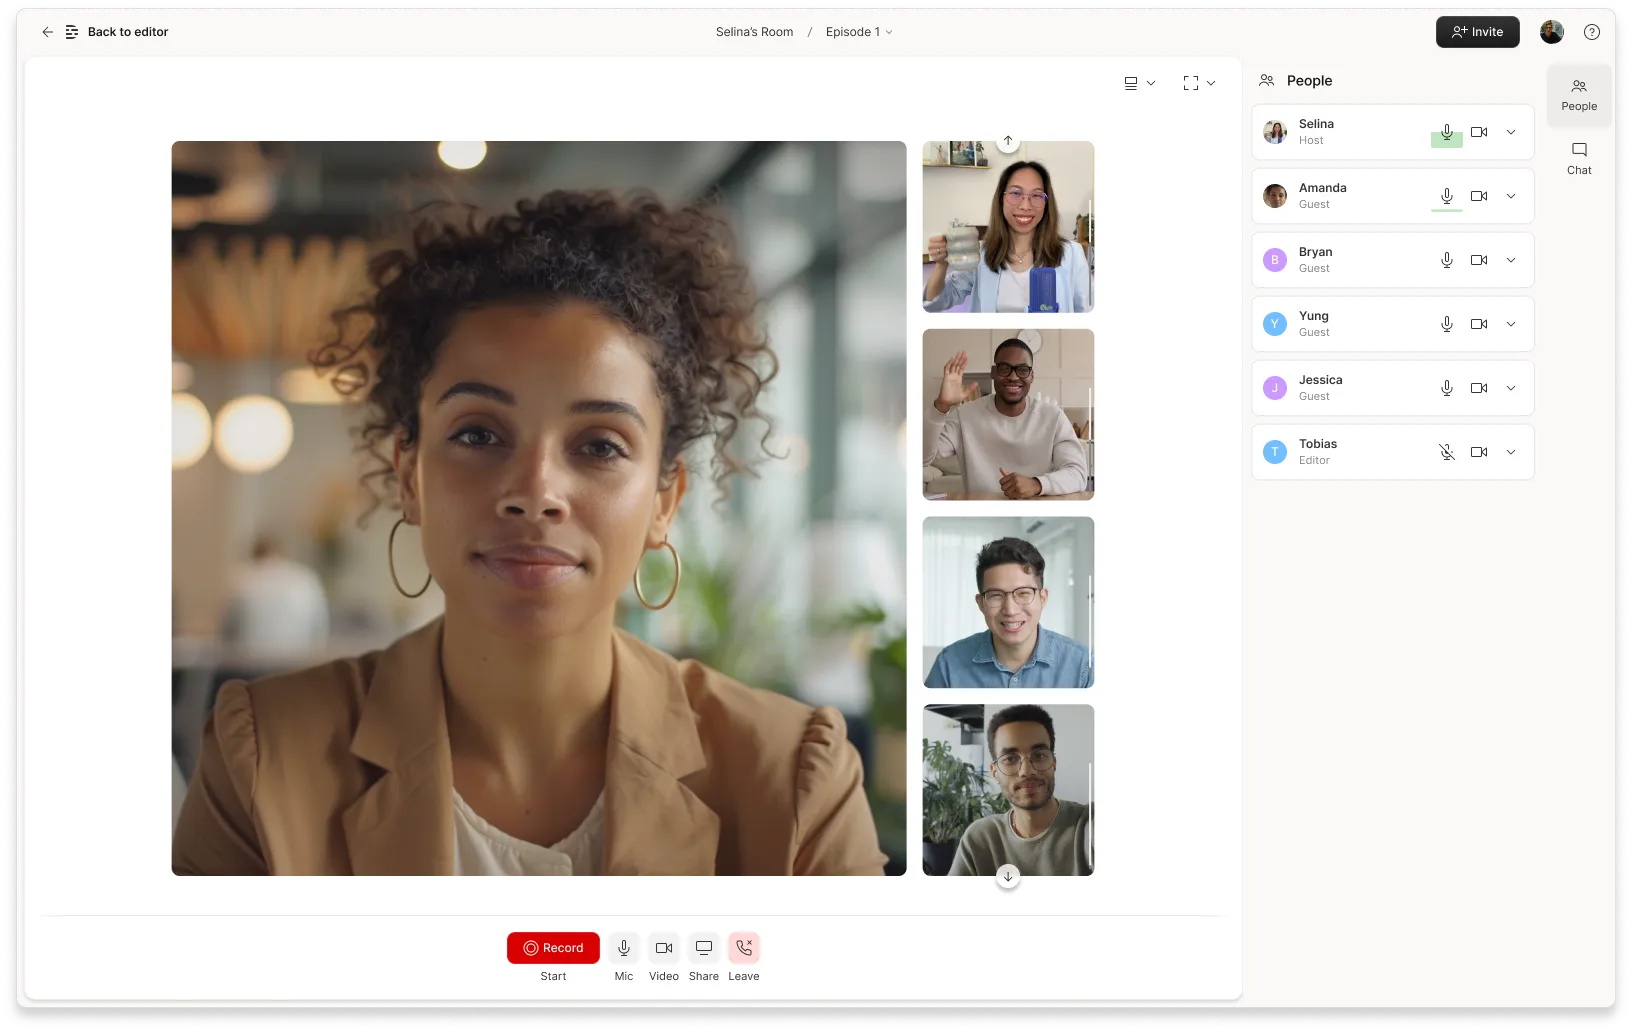
If you need to record remote interviews or video interviews, you’ll benefit from a conferencing and voice recording app like Zoom or Skype. If you plan to publish it, the best way to record an interview is with a cloud recording app that’s designed to generate high-quality files, like SquadCast or Riverside.
Microphone
While a standalone microphone or pair of microphones isn’t absolutely necessary, it’ll help you capture high-quality sound. The Blue Yeti, Samson Q2U, and Røde NT-USB Mini are all great options, but there’s a lot to consider when choosing the right microphone for your interview setup.
If you’re remotely recording your interview and plan on publishing it, consider sending your guest a microphone setup to help capture the same sound quality on both sides of the interview.
A backup recording device or method
Technological difficulties happen to the best of us. You can avoid losing your audio recordings in the event of a mishap by using one of the above recording methods as a backup. For example, if you’re recording via an app on your computer, also run a digital recorder or take out your cell phone and fire up Voice Memos. Better safe than sorry.
How Descript can help
Organizing, editing, and analyzing an interview are just as important to the overall success as a quality recording, and tools like Descript make this part easy.
Descript is an all-in-one recording and editing tool that automatically creates a transcript of your audio and/or video, whether you upload pre-recorded files or record directly in Descript.
You can use Descript with Zoom or other conference call apps to record remote interviews, and you can even create multitrack recordings, which creates separate tracks for each speaker so you can edit out any cross-talk.

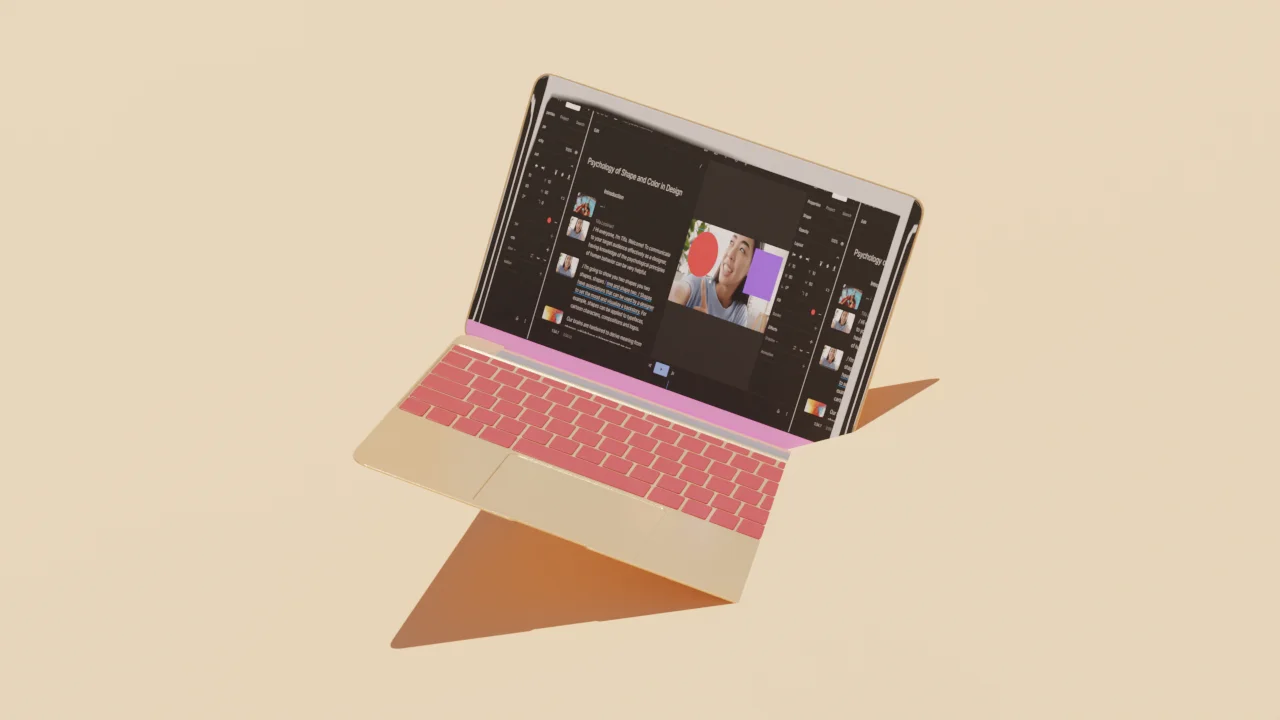
But it’s during the edit that Descript makes a big difference. The software enables you to edit your interview simply by changing the text of the transcript. So you can search for and delete all the ''ums'' and ''uhs'' in an interview, or just cut a long pause by deleting the spaces.
There’s even an overdub tool that uses AI to “record” over misspoken words when you type in the correct ones. Once you streamline your interview via the transcript, you’ll also be left with a cleaned-up audio and/or video version that you can share or publish.
Descript was also built from the ground up for teams, so it’s easy to invite others to collaborate on your projects. You can even set different permissions, allowing some people to edit alongside you, while others can simply comment.


%20(1).JPG)


