Acquiring a bunch of cool recording and editing equipment is one of the fun parts of starting a podcast — it’s easier than thinking up a name and figuring out how to market your brand-new show. You also don’t have to spend a ton of money to get going.
But before you spend any money, we strongly recommend you make sure you’ve nailed down two critical, fundamental things: defining your audience and your topic. Sure it’s possible to just get some gear, start talking, and figure it out as you go. But it will be expensive and time consuming, and far less likely to get you where you want to go.
So if you’ve done that, or you’re ignoring us and taking the plunge because what do we know, here’s a quick guide to podcast setups.
The good news: you can start a podcast, with an adequate recording studio, just about anywhere, and create high-quality audio recordings without spending a fortune or covering your guest room in egg cartons.
Essential podcasting equipment
When you’re learning how to make a podcast, you want to focus on nailing the content, not creating a state-of-the-art setup.
So while podcasting gear matters, we’d advise you not to spend a ton of time or money at the outset. One thing you do want to put some thought, time, and effort into: a podcast recording space.
Recording space
If you expect to do most of your podcast recording from home, you’ll need to find a room with adequate sound isolation — one that will be shielded from unwanted outside sounds. Podcasting microphones can pick up a lot of background noise, so try to use the quietest room in your house. (Pro tip: we have a full guide to setting up a podcasting studio right here.)

One trick lots of home podcasters use is the ol’ sound booth in the closet. The clothes hanging in a closet naturally absorb sound, and the closet door can block ambient noises. There’s usually no HVAC in closets so you don’t have to worry about that noise either.
If you don’t have an adequate closet, or don’t care to stuff yourself into a space that wasn’t meant to accommodate any activity except hanging shirts, you can absolutely record in a normal room. If you do that, try hanging blankets on the walls to deaden reverberation (echo, basically) and other background noises.
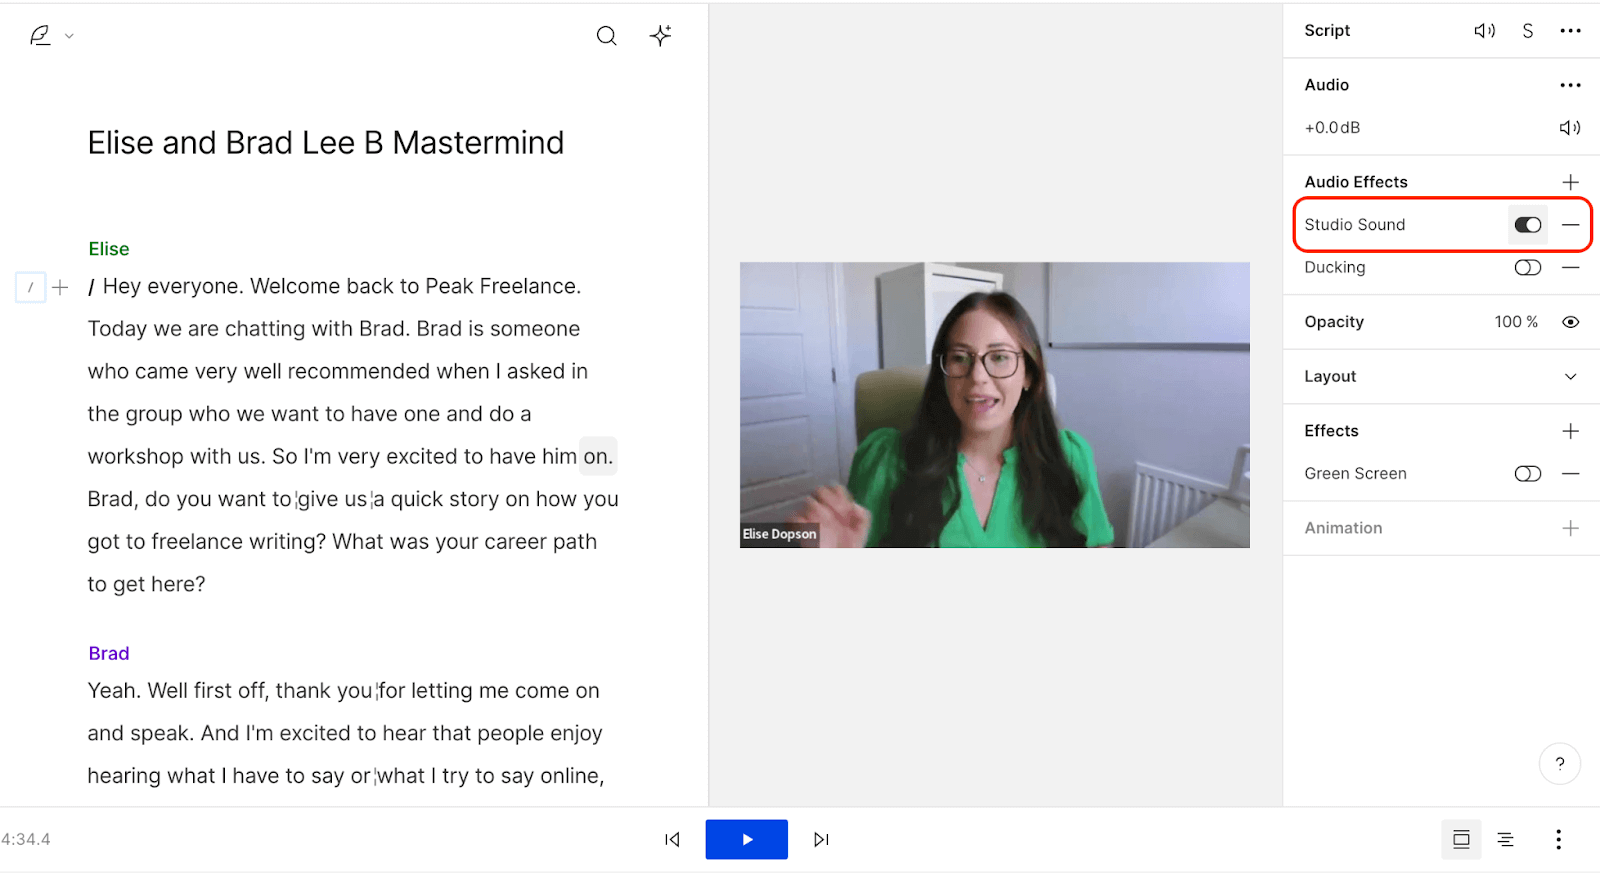
If you’re using Descript, you have more leeway to choose a space because you have Studio Sound, which uses AI to remove echo and background noise, and can make it sound like your podcast was recorded in a professional studio, wherever you were.
Microphone
A high-quality mic is the centerpiece of any podcast setup. But high-quality is subjective, and it’s not as critical as you might expect. In fact, our perspective — which a lot of creators would disagree with — is that your choice of mic doesn’t matter nearly as much as it used to.
With a good space and editing tools like Studio Sound, just about any mic will do. For a thorough breakdown on that perspective, plus our recommendations, check out our post on mics. Here’s a quick synopsis.
Many beginner podcasters appreciate the convenience of a USB microphone, which plugs directly into a computer’s USB input, eliminating the need for (and expense of) an audio interface.

The Blue Yeti is one of the most popular USB mics. It produces quality audio and only costs $100.
For higher-quality sound, you'll need to upgrade to an XLR microphone. XLR mics use three-prong connectors, which produce a balanced audio signal with little noise or electrical interference. XLR mics require a digital interface to connect to your computer, so be aware that even models that cost the same as a USB mic will end up costing more in total.
Consider these options:
- Shure SM58 mics are used across the recording industry and are known as a great all-purpose dynamic microphone at a reasonable price (around $100). They’re also a good option if you plan to travel with your gear, since they’re virtually indestructible.
- The Rode NT1 5th Generation is a versatile mic for podcasting. It comes with a shock mount and pop filter, and has both USB and XLR inputs. You can easily plug the mic into your computer or mixer and start recording for about $249.
- The Audio Technica AT4040 is a condenser microphone that offers a great deal of versatility for the price, which will run you about $300.
- The Shure SM7B is a dynamic mic that’s a mainstay of professional recording studios. At $400, it’s a bit pricier, and it has a lot of impedance — which means you need a preamp, which is a device that boosts the microphone’s signal to bring out its full audio spectrum.
Microphone stand

Mics don’t have legs. They don’t have elbows or eyelashes either, but not having legs is a bigger problem. It means that you need a mic stand. In fact, when you host a podcast, your microphone stand is nearly as important as your mic.
That’s because positioning the mic and holding it stable are critical to capturing good sound — especially with less-expensive mics. Here are the features to look for.
- Prevents vibrations and other sounds. By placing your microphone on a stand, you cut way down on the odd noises from the movement created when you hold the mic in your hands.
- Protects your mic. Mics are fragile — and expensive. A mic stand protects your microphone from damage. At the very least, dropping your mic can dent its grille; at worst, it can break the inner components of a condenser mic or ribbon mic, which affects sound quality.
- Doesn’t add noise. A great podcast microphone stand doesn’t creak or groan when it moves, which can add frustrating background noises to your recording.
If you’re recording at a table, consider the On-Stage DS7200C, a tabletop mic stand with a weighted base. It has a straight shaft (no boom arm), which means it isn’t terribly versatile, but it only costs about $20.
If you have more to spend, try the K&M 25950 Extra Low Profile Tripod Base Boom Mic Stand, which includes a boom arm for best-in-class stability. If you’d like a stand that rests on the floor, try the Atlas Sound MS43E. It’s pricey but very sturdy.
Digital recording interface

If you’re not using a USB microphone that plugs right into your computer, you’ll need a digital interface or mixer, which converts analog audio signals to digital signals your computer can understand. You plug your XLR mic into the interface, then plug the interface into your computer using USB.
Consider the Focusrite Scarlett line, maybe the best bang-for-your-buck digital audio interface on the market. Most Scarletts are bus powered, meaning the USB cable provides the power, and include solid built-in preamps. (You’ll use these preamps to power microphones with high impedance, like the Shure SM7B.)
If you’re on a tight budget, look into the Mackie Onyx Blackjack 2×2. If you’ve got a bigger budget and are interested in industry-leading audio plugins — like reverb, EQ, and compression — check out offerings from brands like Universal Audio and Apogee.
Computer or digital recorder

Of course, your audio needs to end up somewhere. For most podcasters, that means a computer. Both desktop and laptop computers play nicely with digital audio interfaces like the Focusrite Scarlett and Mackie Onyx Blackjack.
Some people record on iOS or Android mobile devices, although these offer fewer ports and more limited editing functions. You can also choose a standalone digital recorder like the Zoom H6 Pro, which has its own built-in microphones plus two XLR microphone inputs.
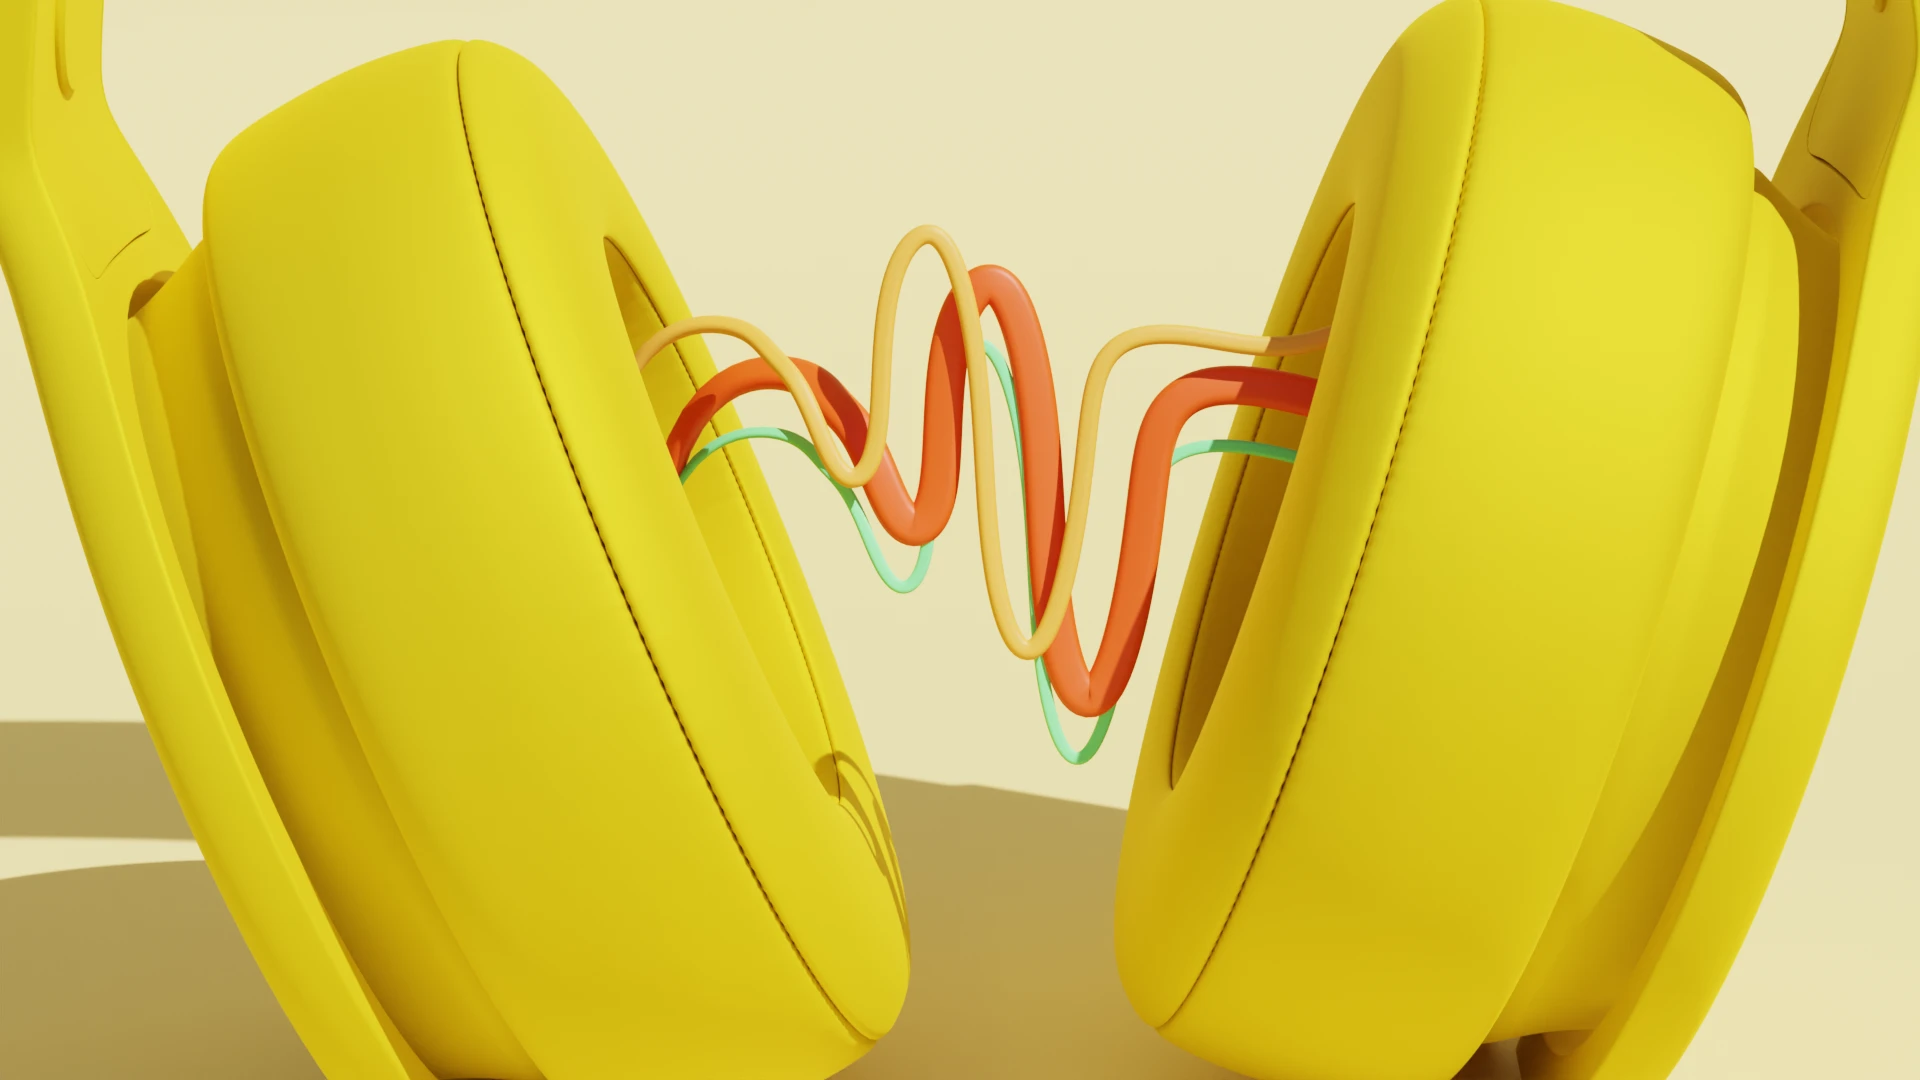
Headphones
During recording and editing, you’ll want a set of high-quality headphones that isolate surrounding noise and provide an accurate sense of the sound you're recording — a process called audio monitoring. We've got a whole article on how to buy headphones, but here's a quick recommendation.

Sony’s MDR-7506 headphones are an excellent yet affordable option. These are wired and closed-back, which is ideal for recording situations because the sound coming out of them won't bleed into the mic.
Note that wireless headsets use Bluetooth, which compresses audio frequencies and gives you a somewhat limited picture of the recording. Noise-canceling headphones add extra frequencies to the mix (it’s how they cancel out noise) and therefore aren’t ideal for recording either.
Pop filter
Pop filters are screens that go between the microphone and you. They are made of nylon or metal mesh and mounted on a flexible frame. Pop filters eliminate ‘popping’ sounds when pronouncing plosive sounds like “P,” “B,” and “T.”

Pop filters are super affordable, running you about $10 on Amazon, and can greatly improve overall sound quality.
Editing software
Once you’ve recorded your audio, you need to edit it. The easiest way to edit is with a digital audio workstation (DAW), AKA podcast editing software.
Descript’s AI-powered editing software is an easy choice for creators who want to manage their podcast in one place. It has everything you need to edit your podcast audio, as well as transcribe and promote it.
You don’t even need deep editing skills to edit your podcast in Descript. You just trim the audio by editing text. The best part? You can start using Descript for free by downloading the app on Windows or Mac.
Some of the best features, if you ask us:
- Filler-word removal to erase “ums” and “uhs” from your audio
- Studio-grade sound quality in one click with Studio Sound
- Native transcription with >95% accuracy
- One-click publishing to hosting platforms like Captivate, Transistor, and Castos
- RSS feeds to syndicate content to the most popular podcasting listening platforms
- Video editing functionality to create video podcasts and social media clips for promo
5 questions to ask yourself before buying podcasting equipment
Before you launch a podcast and start splurging on the (sometimes expensive) gear you need, reflect on which best recording setup is best for your podcast.
Here are 5 questions to get you started.
- Where will I be recording? Will you be recording in a home studio, or will you be doing lots of field recordings where you, say, travel to interview your subjects? If you’re recording remotely, it may make sense to get a portable digital recorder like the Zoom H6 Pro. If you’re recording at home, your budget may be better spent on a great microphone like the Shure SM7B.
- How many people will I be recording at once? If you have multiple podcast hosts (or guests) speaking at the same time, you’ll need extra microphones and mic stands. If you’re all recording in the same place, you’ll need an audio mixer or digital audio interface that can handle multiple inputs.
- Will I have remote guests? In that case, you’ll want to choose a remote recording platform. Some podcasters use Zoom to record remote interviews, which is fine, but may not produce the best sound: audio is compressed to cut down on bandwidth, and recordings happen in the cloud, which leaves them susceptible to glitches and other connection problems. A better option is a platform specifically designed for remote recording, like SquadCast. SquadCast records every participant locally and uploads the recording afterward, so even a shoddy internet connection won’t mess up a guest’s recording.
- Can I mix audio while I record, or do I need a partner to help? The answer to this question comes down to your audio needs and technical know-how. If you’re on a tight budget, good with technology, and don’t have a lot of guests, you might be able to adjust sound levels on your own. But realistically, don’t worry about it. Try to check your levels before you record, but otherwise, plan to clean up your audio in post-production.
- Where will I host my podcast? You can’t just upload your media directly to Spotify or Apple Podcasts. You’ll need to go through a podcast hosting service, which stores your audio and distributes your episodes to these directories. There are over two million podcasts currently in production, which has created a burgeoning market for podcast hosting. You’ll need to research which hosting service is right for you, but Acast, Anchor, Buzzsprout, and Captivate are all good options.